

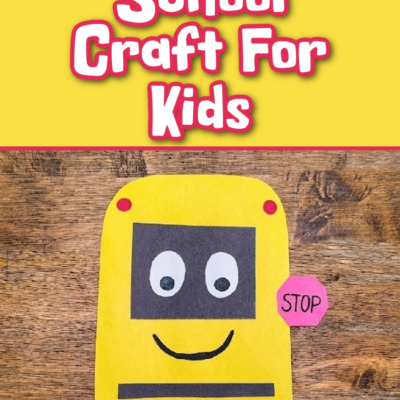
Today we have a fun paper school bus craft. Kids of all ages will have so much fun making this paper craft. Younger kids and older kids alike should be able to do it with relative ease, and it’s a great back to school activity. This budget-friendly craft only uses a few supplies which makes it even better. Make this school bus craft at home or in the classroom.
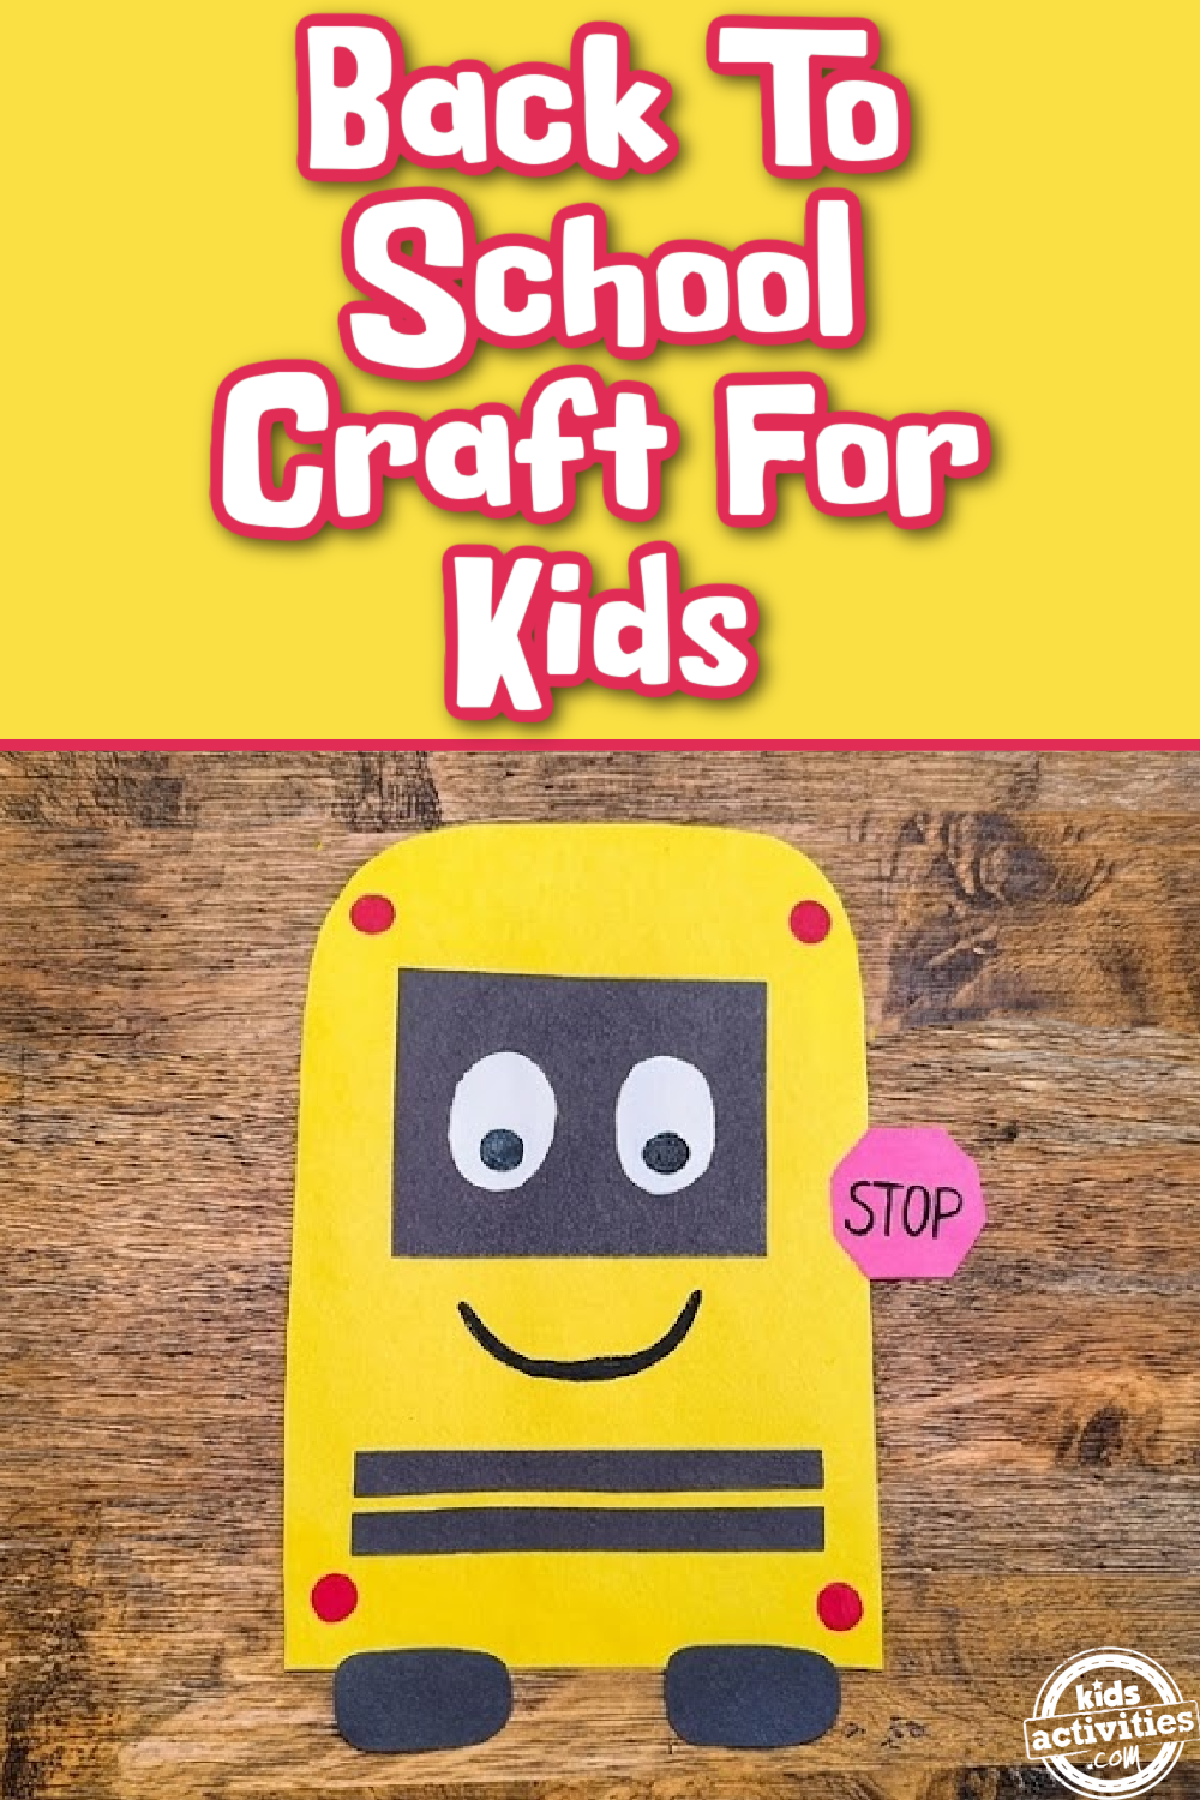
Paper School Bus Craft
We have a fun back to school craft. All you need is a couple art supplies. Simple paper crafts are sometimes the best. This paper craft allows your child to explore colors, get excited for school, and practice fine motor skills.
So all you need is a little paint, paper, glue, and scissors, and something to write with. But you can use markers, paint pens, or gel pens instead of acrylic paint. And if your little one has a hard time painting eyes you could use stickers or googly eyes.
This post contains affiliate links.
Related: Check out our great list of budget-friendly school supplies.
Supplies Needed To Make This School Bus Craft
- Yellow, Black, and Red Construction Paper
- Acrylic Paint (Black, White, and Red)
- Paint Brushes
- Scissors
- Glue Stick
- White Crayon
- Pencil
- Optional: Ruler
How To Make This School Bus Craft
Step 1
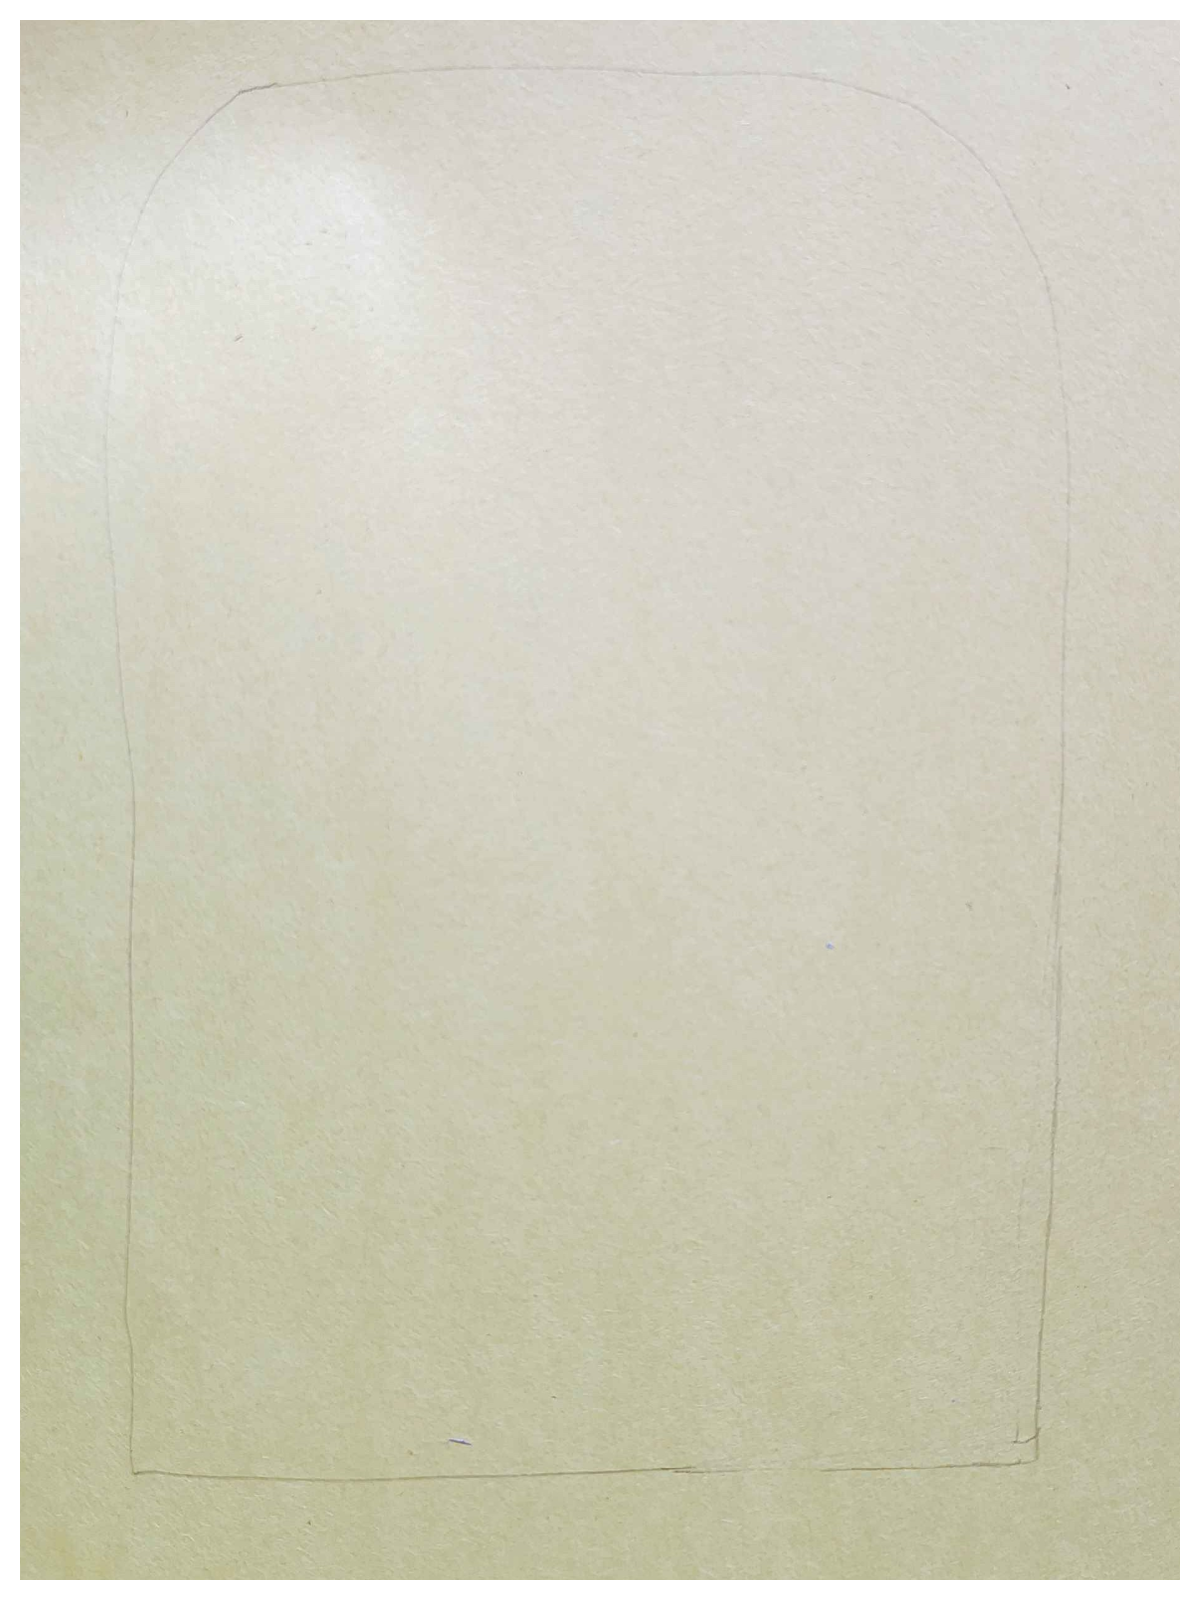
Trace the the school bus on the yellow paper. It should be rounded at the top, and flat at the bottom.
Step 2
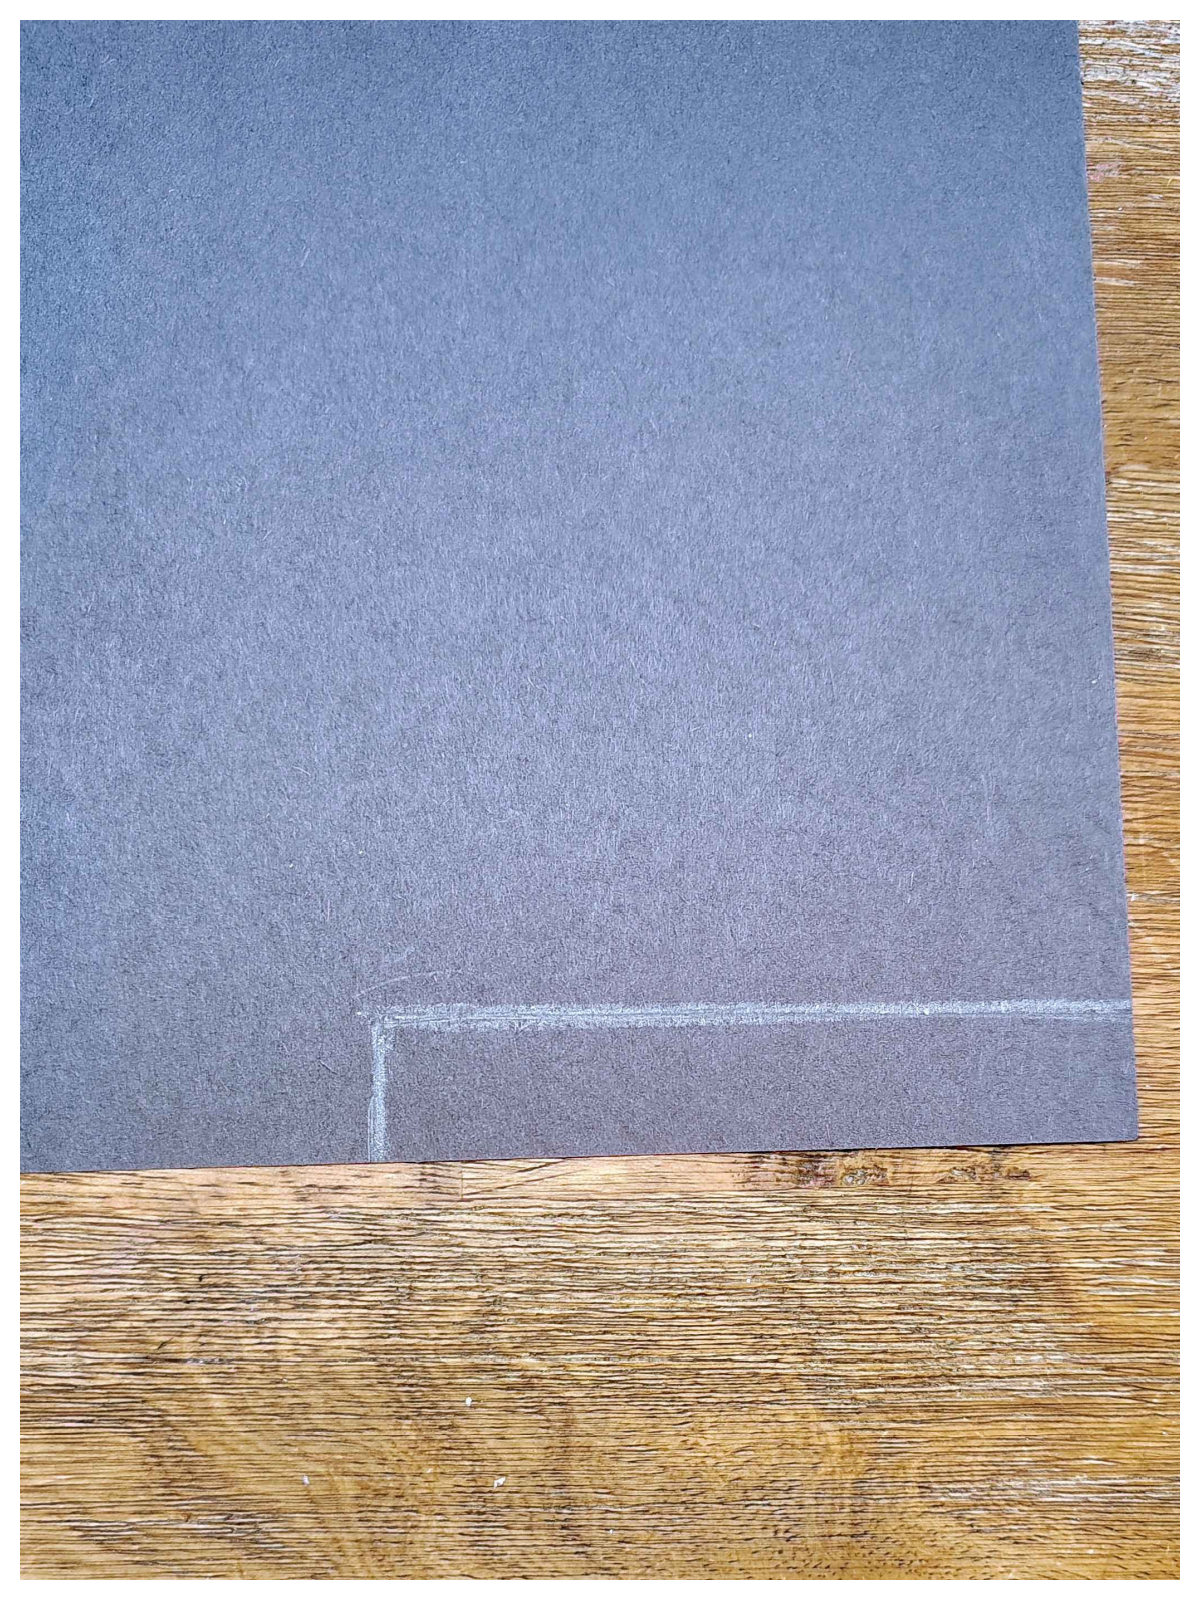
We used a ruler, and on the black paper made a rectangle that was about half an inch wide. It should be shorter than the school bus’s length. Cut the rectangle in half.
Step 3
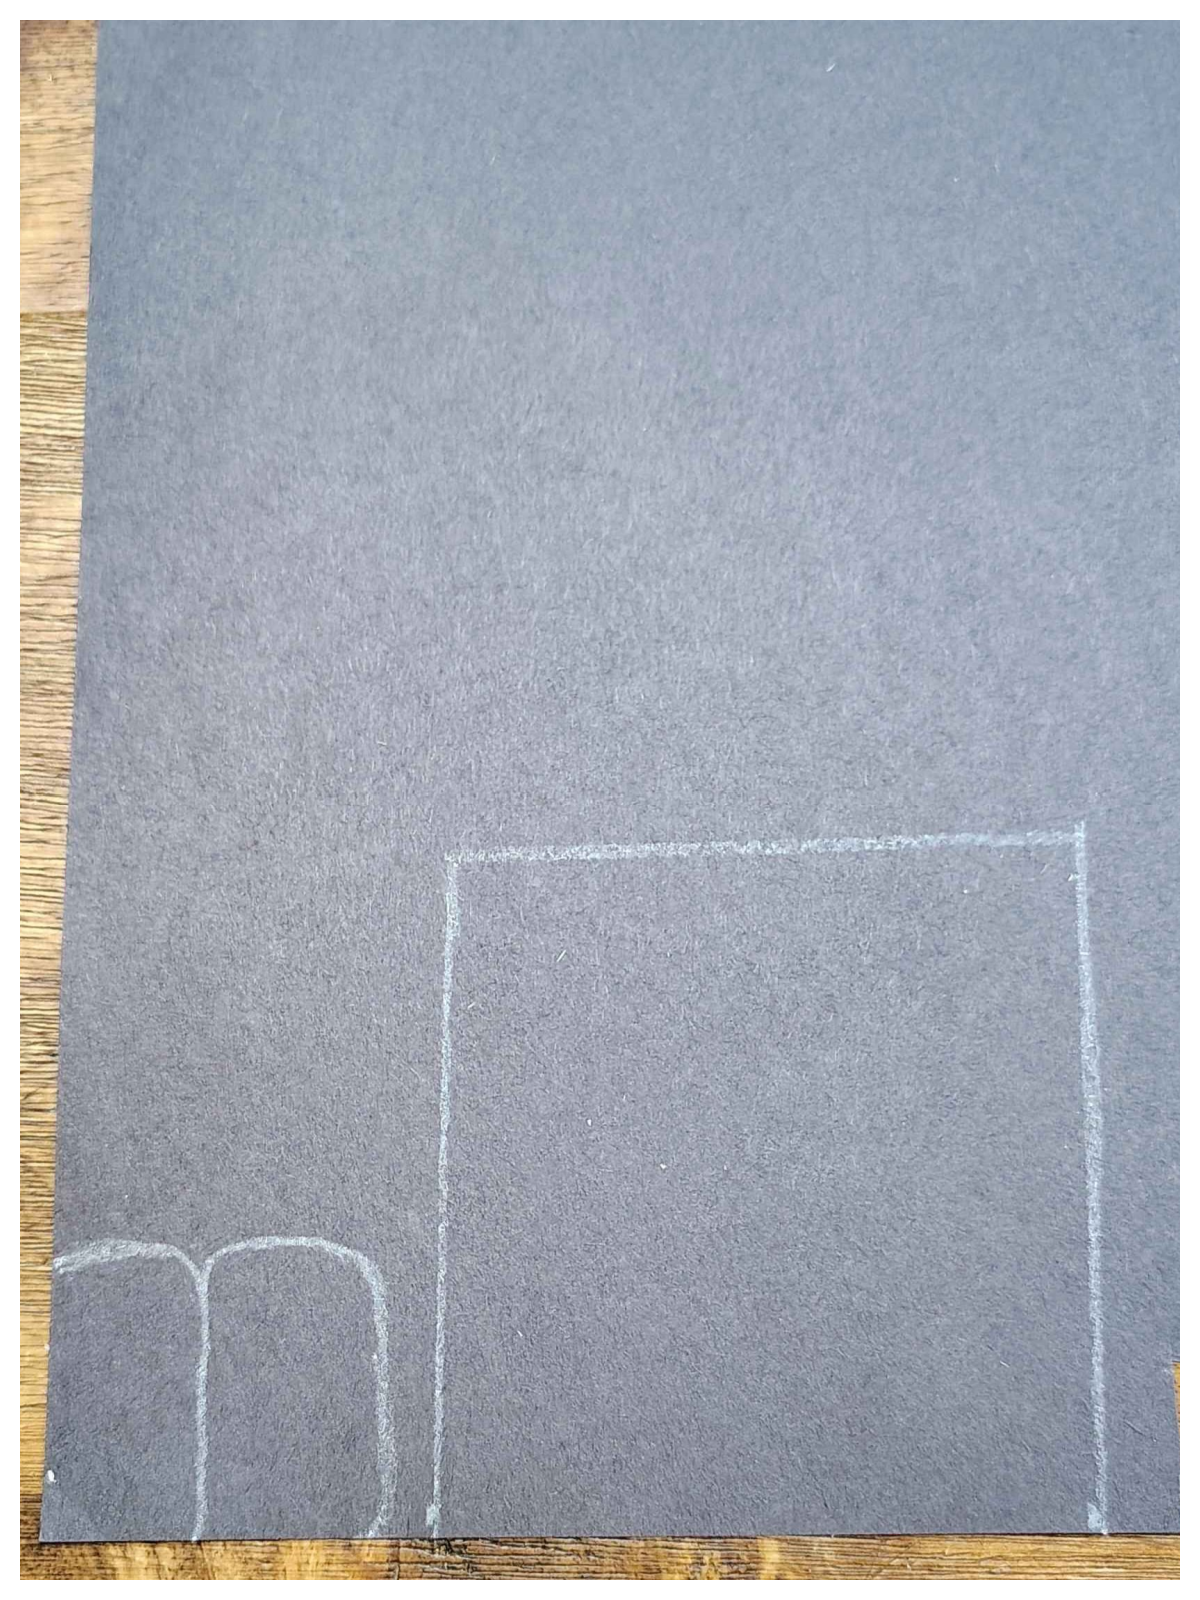
We cut out a square (and ended up cutting it down a pit, it was 3×3, but cut off about an inch) and free handed some tires. They were shaped like rounded rectangles. Cut them out.
Step 4
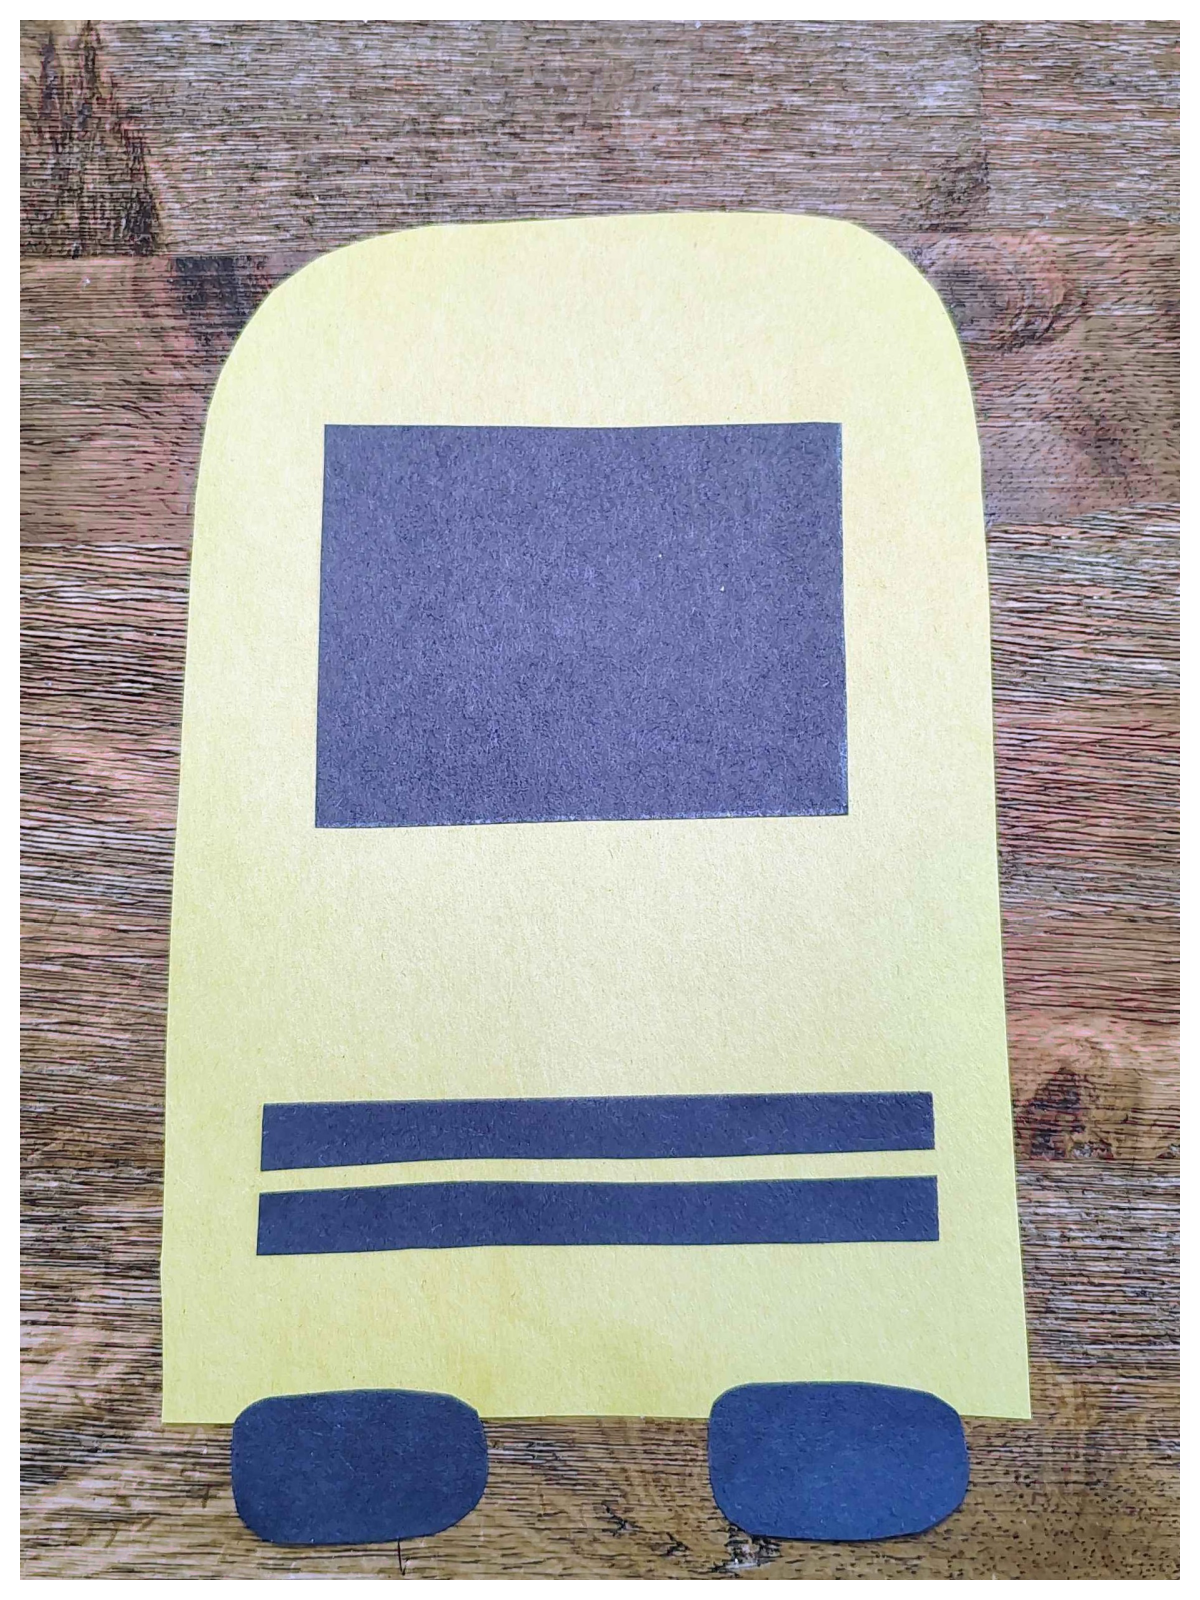
Glue the two bars close to the bottom of the bus, the windshield near the top, and the tires to the very bottom.
Step 5
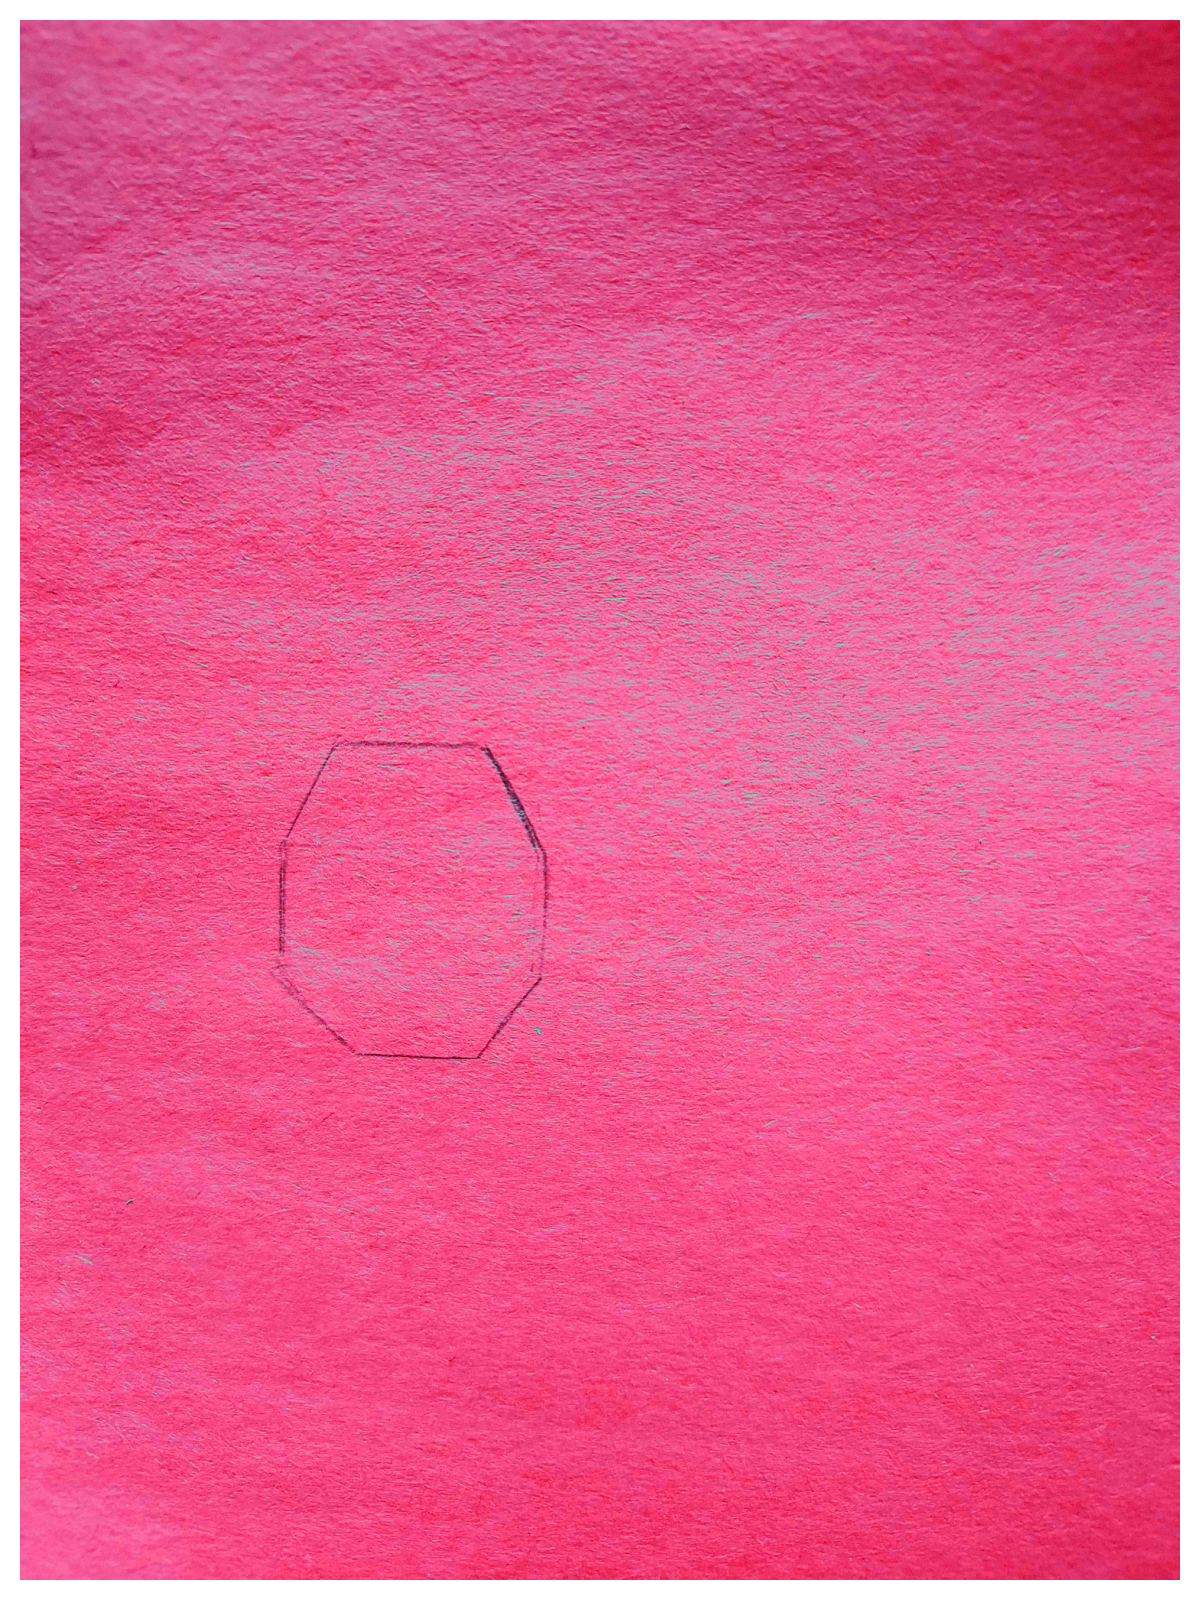
Draw an octagon on red paper. Cut it out. You can shape it more as you cut.
Step 6
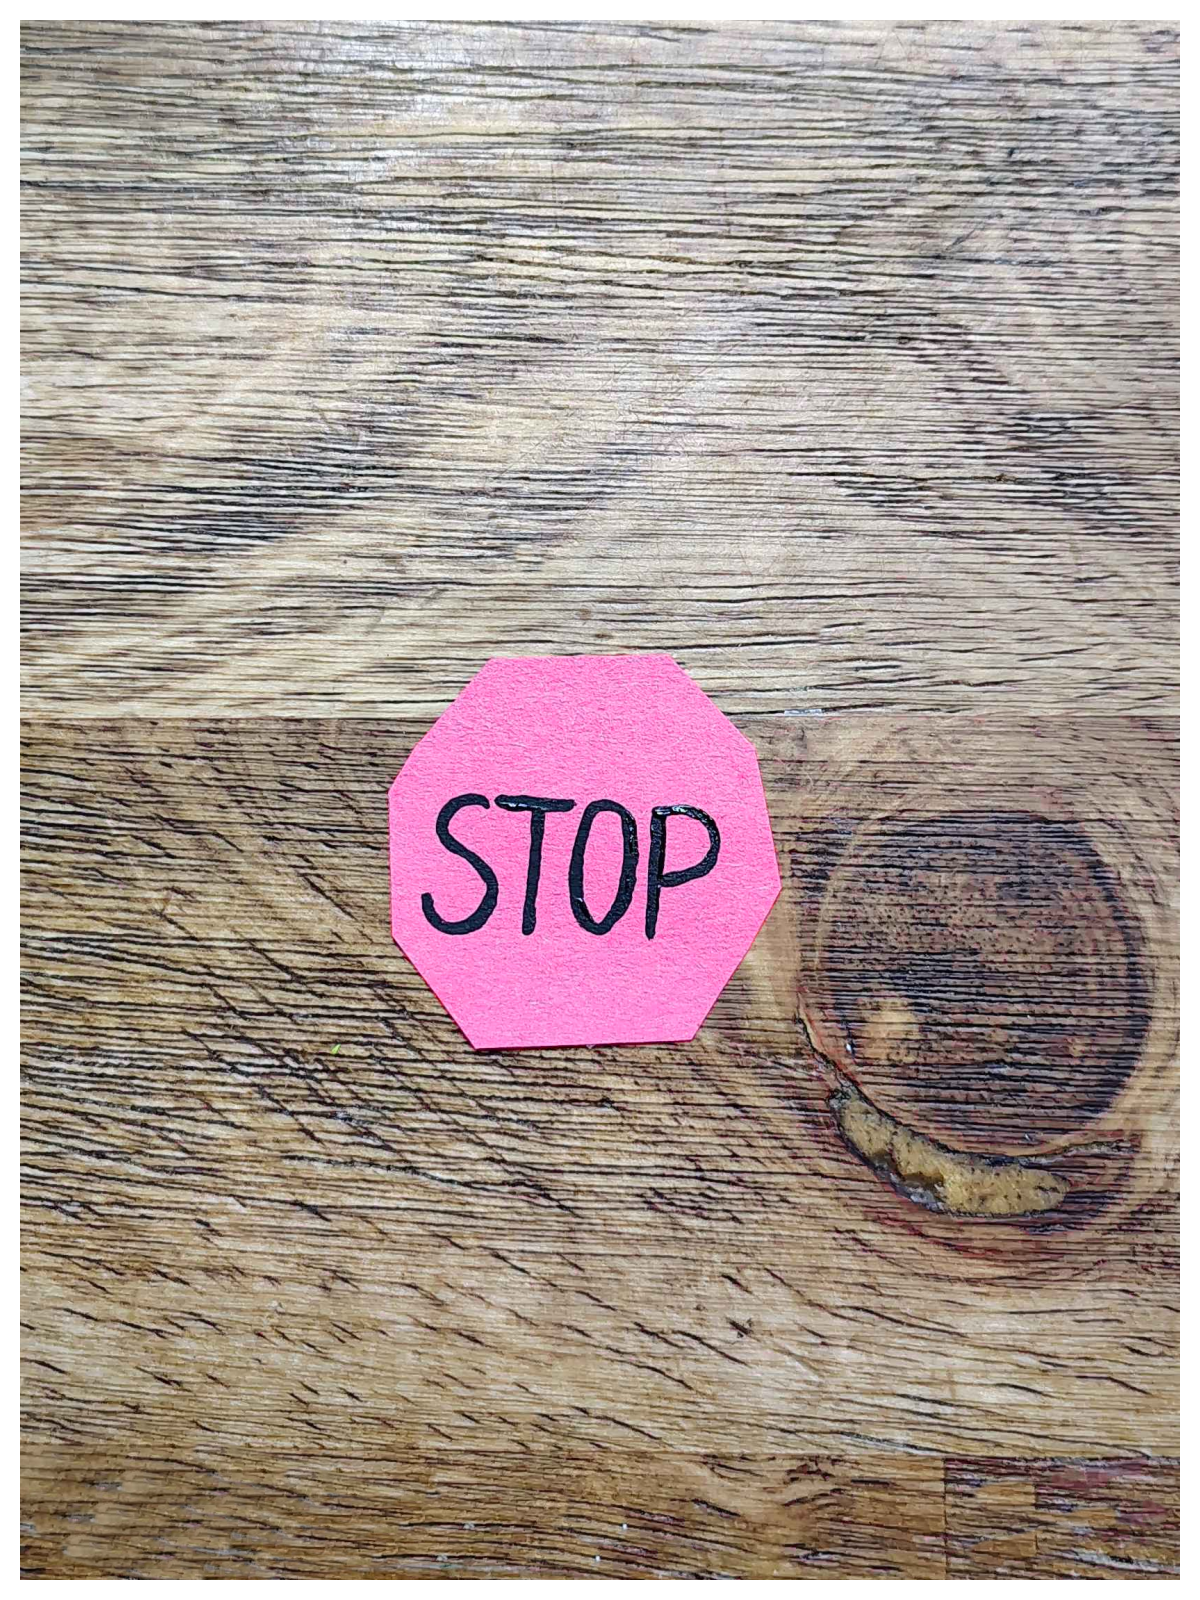
Write STOP on the octagon.
Step 7
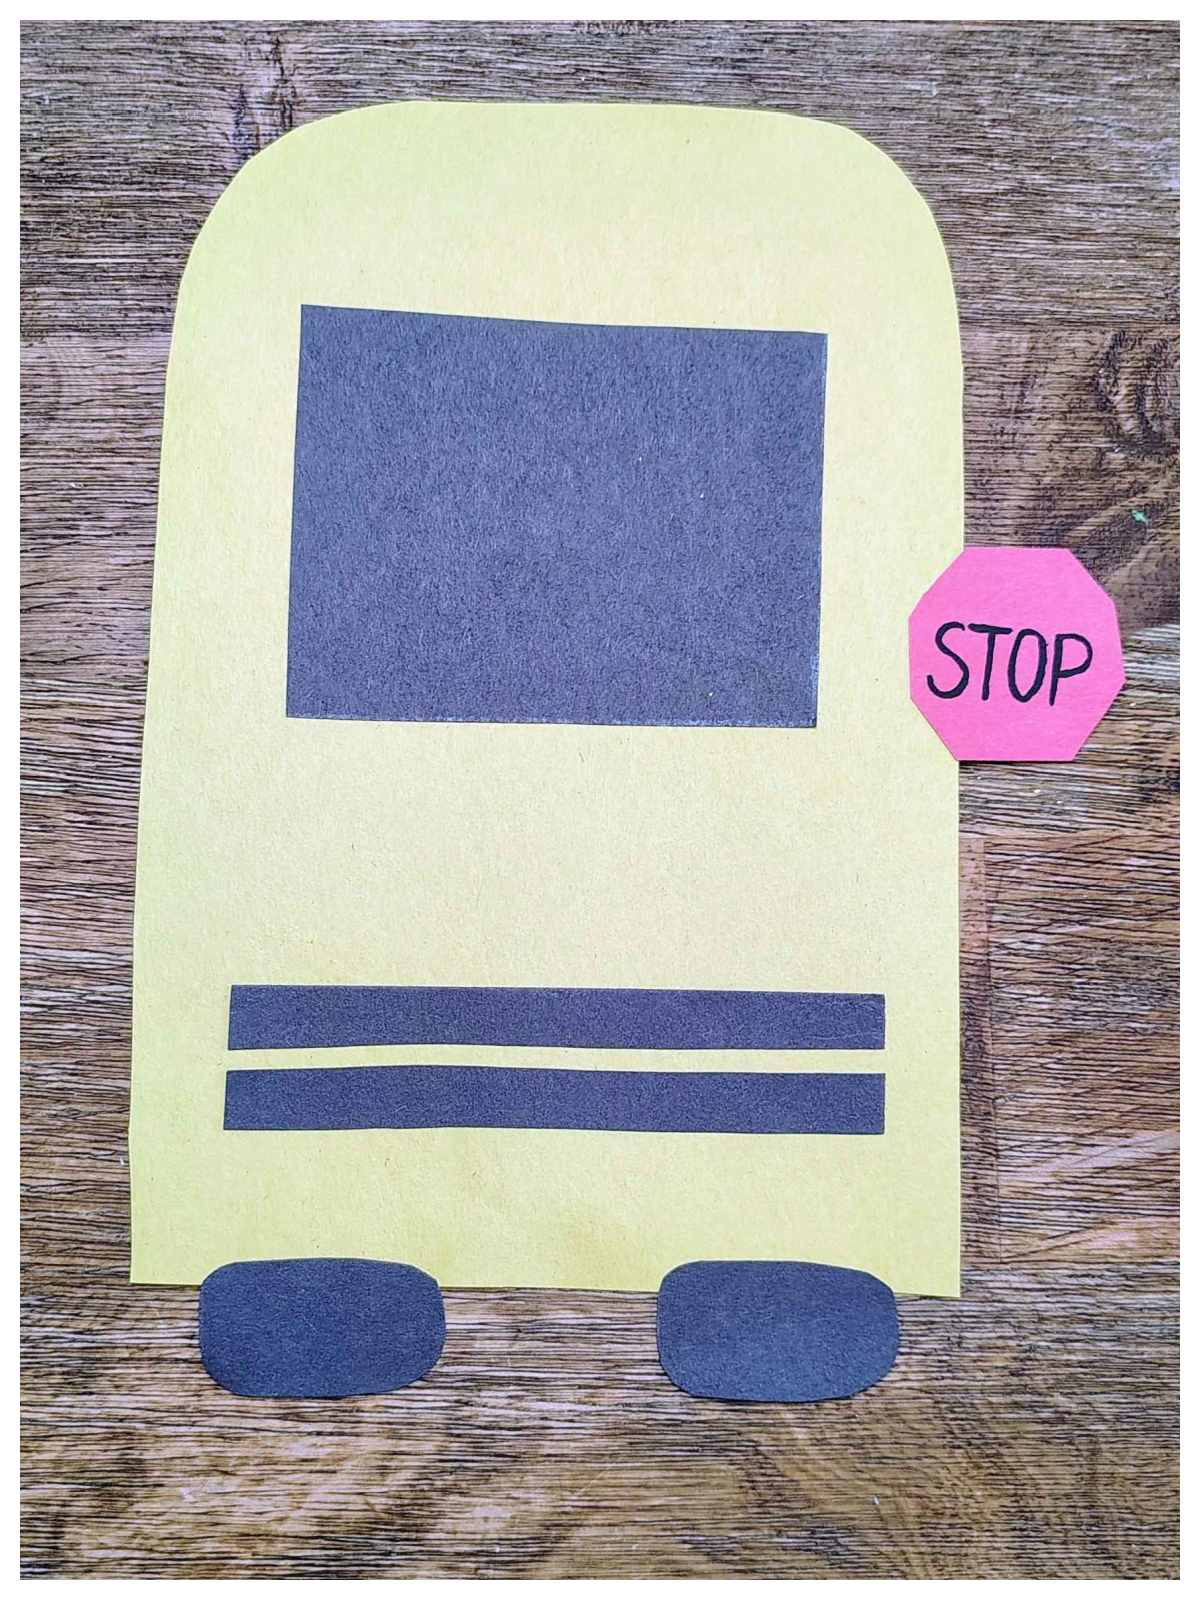
Glue it to the right side of the bus.
Step 8
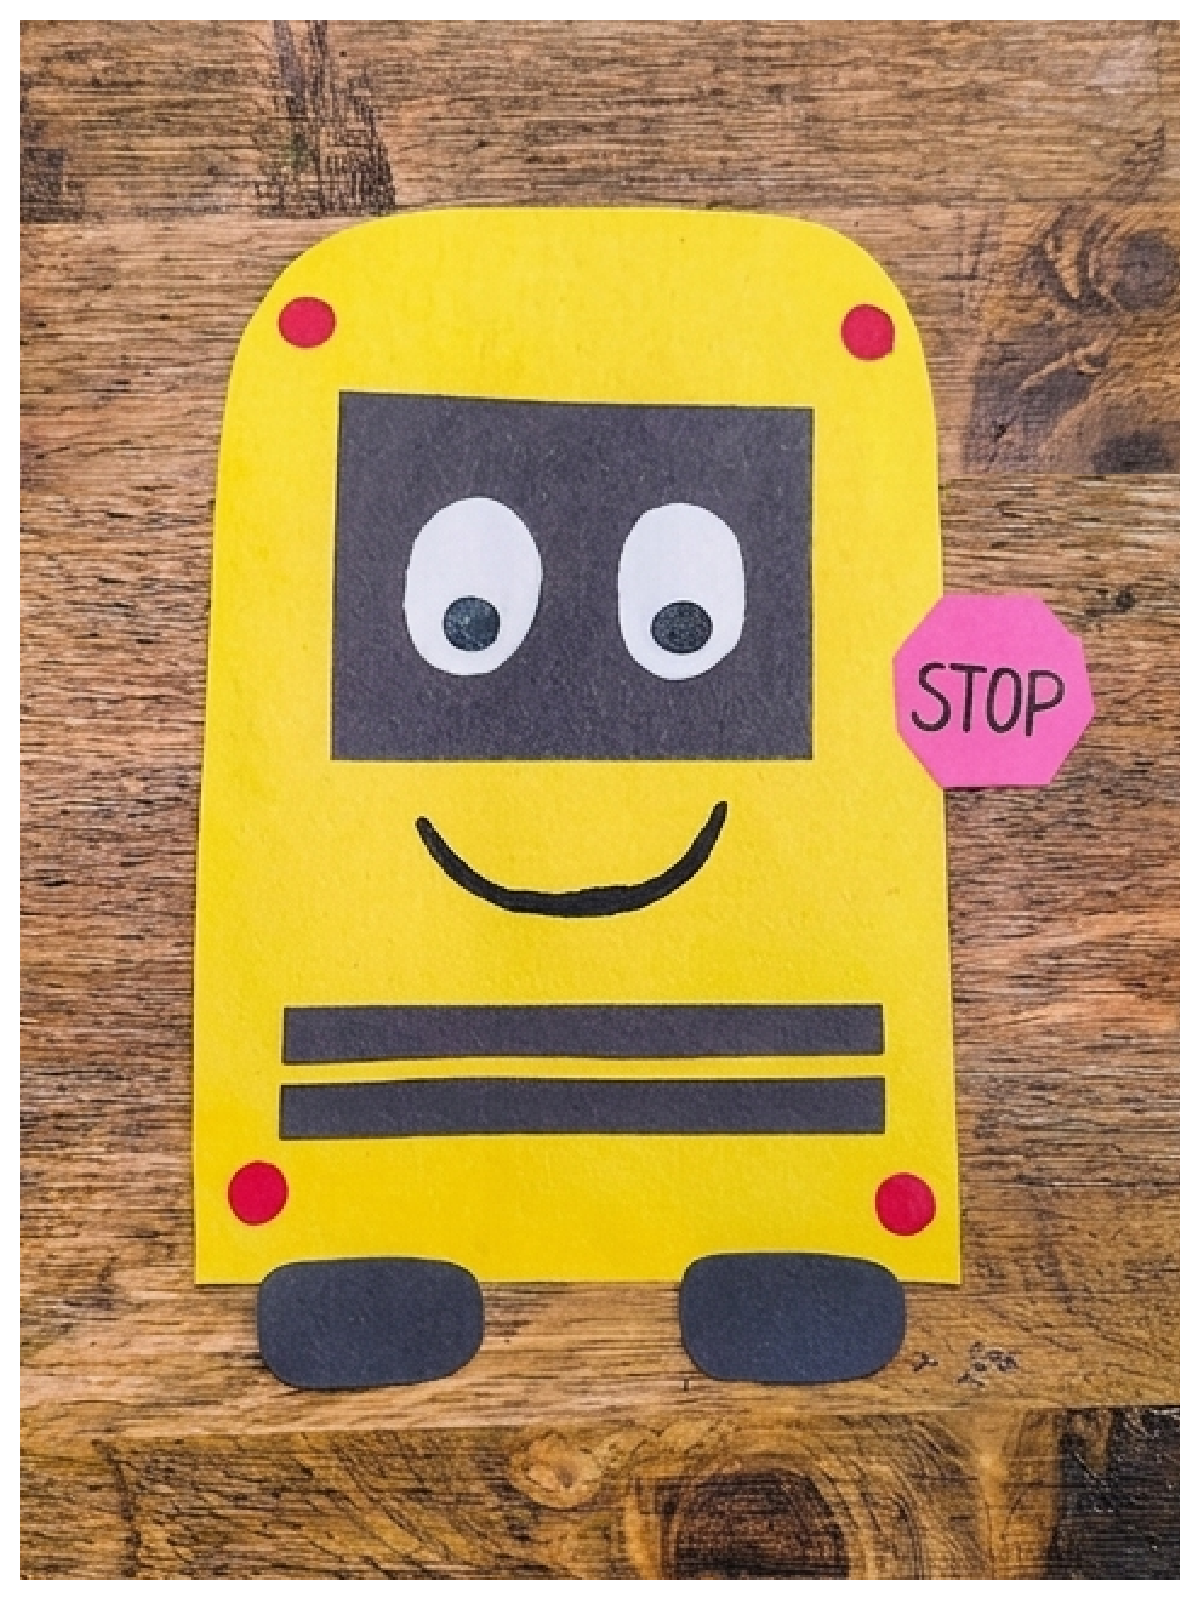
Add details. Paint red lights at the top and bottom of the bus. Add a smile. Paint on some white eyes adding black pupils. And you’re done!
How To Make This School Bus Craft Your Own
Just like all our other crafts you can make this paper craft your own. You can do things like:
- Use googly eyes instead of painting eyes.
- Use sticker eyes instead of painting eyes.
- Add a sticker mouth instead of painting eyes.
- Use glitter glue.
- Make your tires long.
- Add different details.
- Use card stock.
Our Experience With This Paper School Bus Craft
My kids are going back to school. And while we homeschool, I wanted them to have things to do that were fun to get back into routine and to get excited about learning again.
And they don’t get to get on the big yellow bus, so I figured, let’s make out own.
Using construction paper and a few other items we were able to. But any kid can make this paper craft. So I hope your family has as much fun as mine did making this school bus craft and hope your child has a blessed year at school!
Back To School Paper School Bus Craft
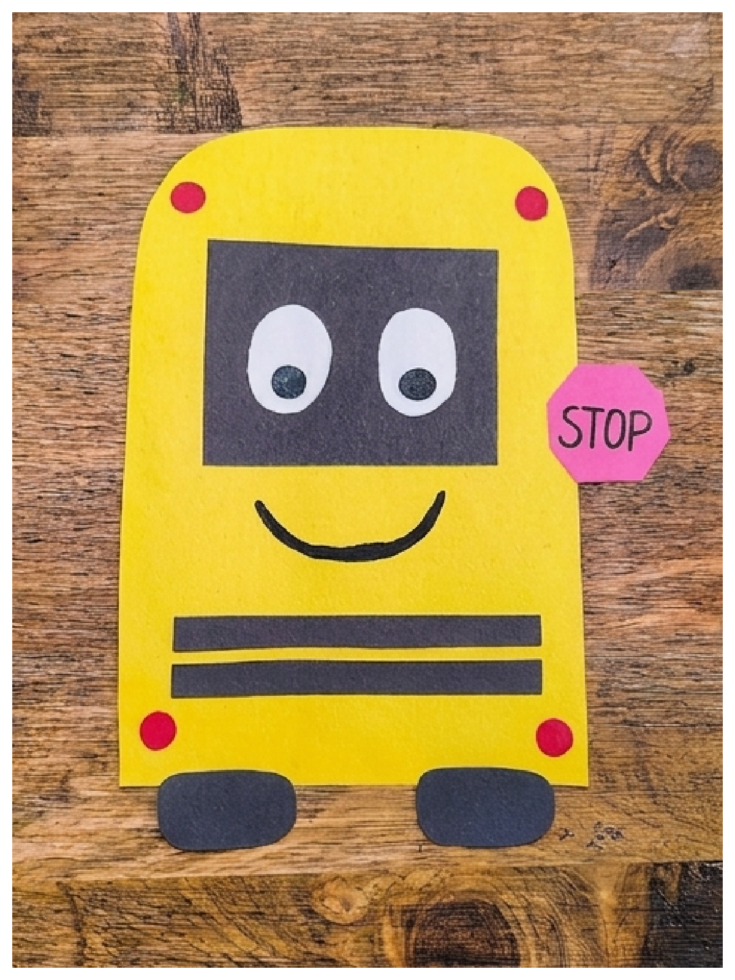
Grab some paper, scissors, paint, and glue, we are making a yellow school bus!
Materials
- Yellow, Black, and Red Construction Paper
- Acrylic Paint (Black, White, and Red)
- Paint Brushes
- Scissors
- Glue Stick
- White Crayon
- Pencil
- Optional: Ruler
Instructions
- Trace the the school bus on the yellow paper. It should be rounded at the top, and flat at the bottom.
- We used a ruler, and on the black paper made a rectangle that was about half an inch wide. It should be shorter than the school bus’s length. Cut the rectangle in half.
- We cut out a square (and ended up cutting it down a pit, it was 3×3, but cut off about an inch) and free handed some tires. They were shaped like rounded rectangles. Cut them out.
- Glue the two bars close to the bottom of the bus, the windshield near the top, and the tires to the very bottom.
- Draw an octagon on red paper. Cut it out. You can shape it more as you cut.
- Write STOP on the octagon.
- Glue it to the right side of the bus.
- Add details. Paint red lights at the top and bottom of the bus. Add a smile. Paint on some white eyes adding black pupils. And you’re done!
More Fun School Crafts and Activities From Kids Activities Blog
Also, check preschooler activities and kids activities if you looking for more things to do with your kids.
- Try a unique picture day hair style for the first day of school.
- This after school clock will help you stay on the schedule.
- Wondering when to start back to school shopping?
- Do you have a scared child that goes to school with tears? This will be helpful.
- This apple craft using tissue paper is so much fun.
- Kids will surely love these School jokes.
- These gummy bear lunch box notes are so cool that you don’t want to miss!
- This frozen sponge hack will save you from buying ice packs for lunch.
- Kids love notes from mom in their lunch boxes. These Lunch box trivia will help you from running out of ideas.
- Cute ideas for the first day of school pics.
- Try these back to school crafts before school starts.
- School morning checklist will help you kickstart your day in peace.
- Are you ready for school? This back to school essentials list will help you be prepared
- You have to see these cute picture day outfits!
- Or these 5 back to school coloring pages!
- Check out these back to school essentials kits!
- Check out these back to school easy nail art!
- Make your own magnetic locker clips for school!
- This first day of school sign printable is great for kids in grades pre-k-6th grade.
- Check out this pencil craft! You can make a back to school number 2 pencil vase!
- Use these learning tricks to help your child flourish and thrive.
- Make your own backpack tag that is just too cute!
- Make your own back to school study space for teens.
- Check out our list of walmart must have’s for school!
How did your school bus craft turn out?






0