
Today we are making homemade wind chimes! Kids of all ages, both younger children and older children, will have so much fun making pretty homemade wind chimes. This is a budget-friendly craft that upcycles old tin cans! It’s fun, easy, and makes great outdoor décor that can even be used to explore sound. Make this homemade wind chime craft at home or in the classroom.
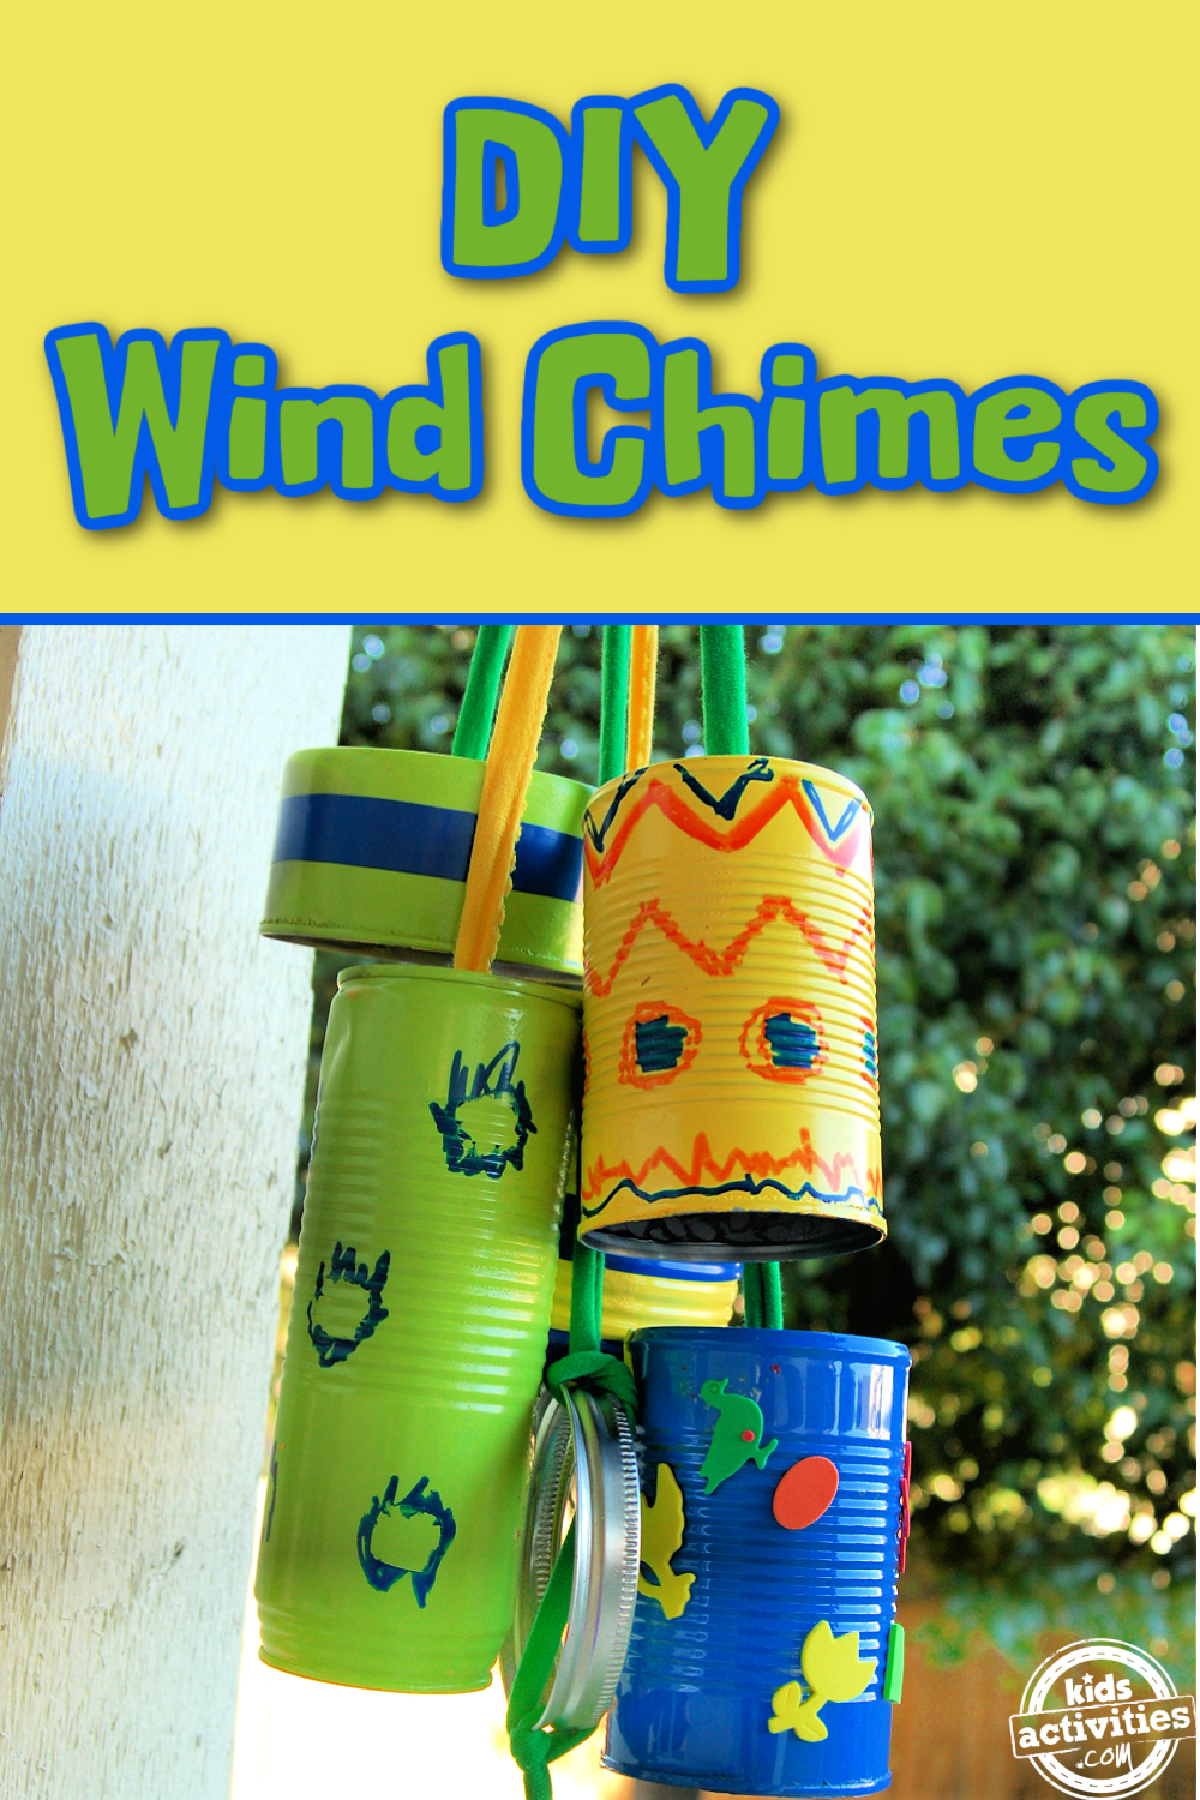
Homemade Wind Chimes
These homemade wind chimes are a great way for kids to practice fine motor skills, learn the importance of upcycling and reusing, and create fun décor to make the home a prettier place.
Not to mention, kids can use various tools on the different sized cans to make different and unique sounds. It’s also a great sensory activity! So, without further ado, let’s make some homemade wind chimes.
This post contains affiliate links.
Related: Learn how to make beaded wind chimes.
Supplies Needed To Make Homemade Wind Chimes
- String or Rope
- Varying Sizes of Tin Cans
- Spray Paint
- Stickers or Foam Stickers
- Permanent Markers
- Hammer
- Screw Driver
- Pliers or Sandpaper
- Safety Gear: Gloves (for sanding down sharp edges if needed) and Respirator
- Optional: Canning Lid and Washers
How To Make Homemade Wind Chimes
Step 1
If your cans have sharp edges, carefully fold the edges down with pliers or use sandpaper to sand down the edges. You may want some safety gloves while doing this.
Step 2
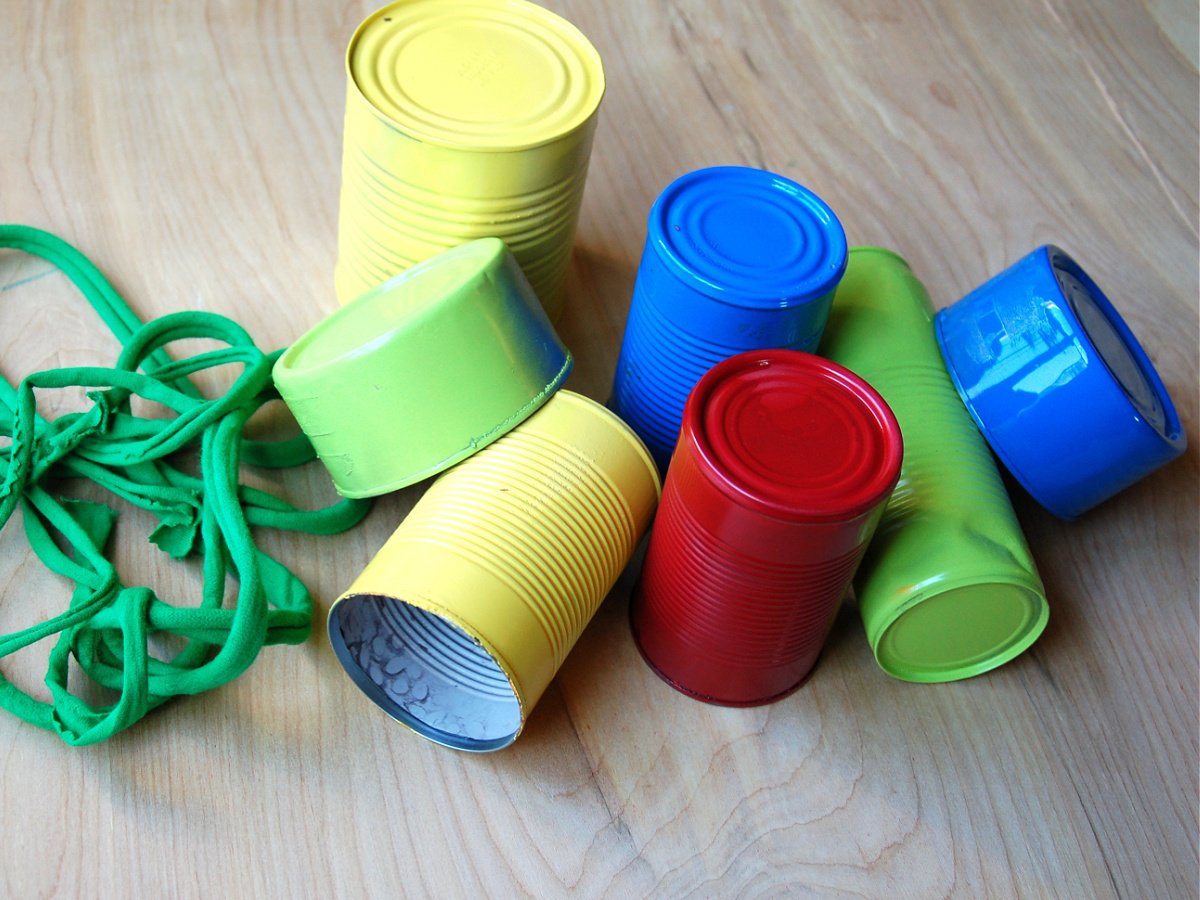
Put on your mask and spray paint the cans. Let them dry. Make sure the area is well-ventilated or outside.
Step 3
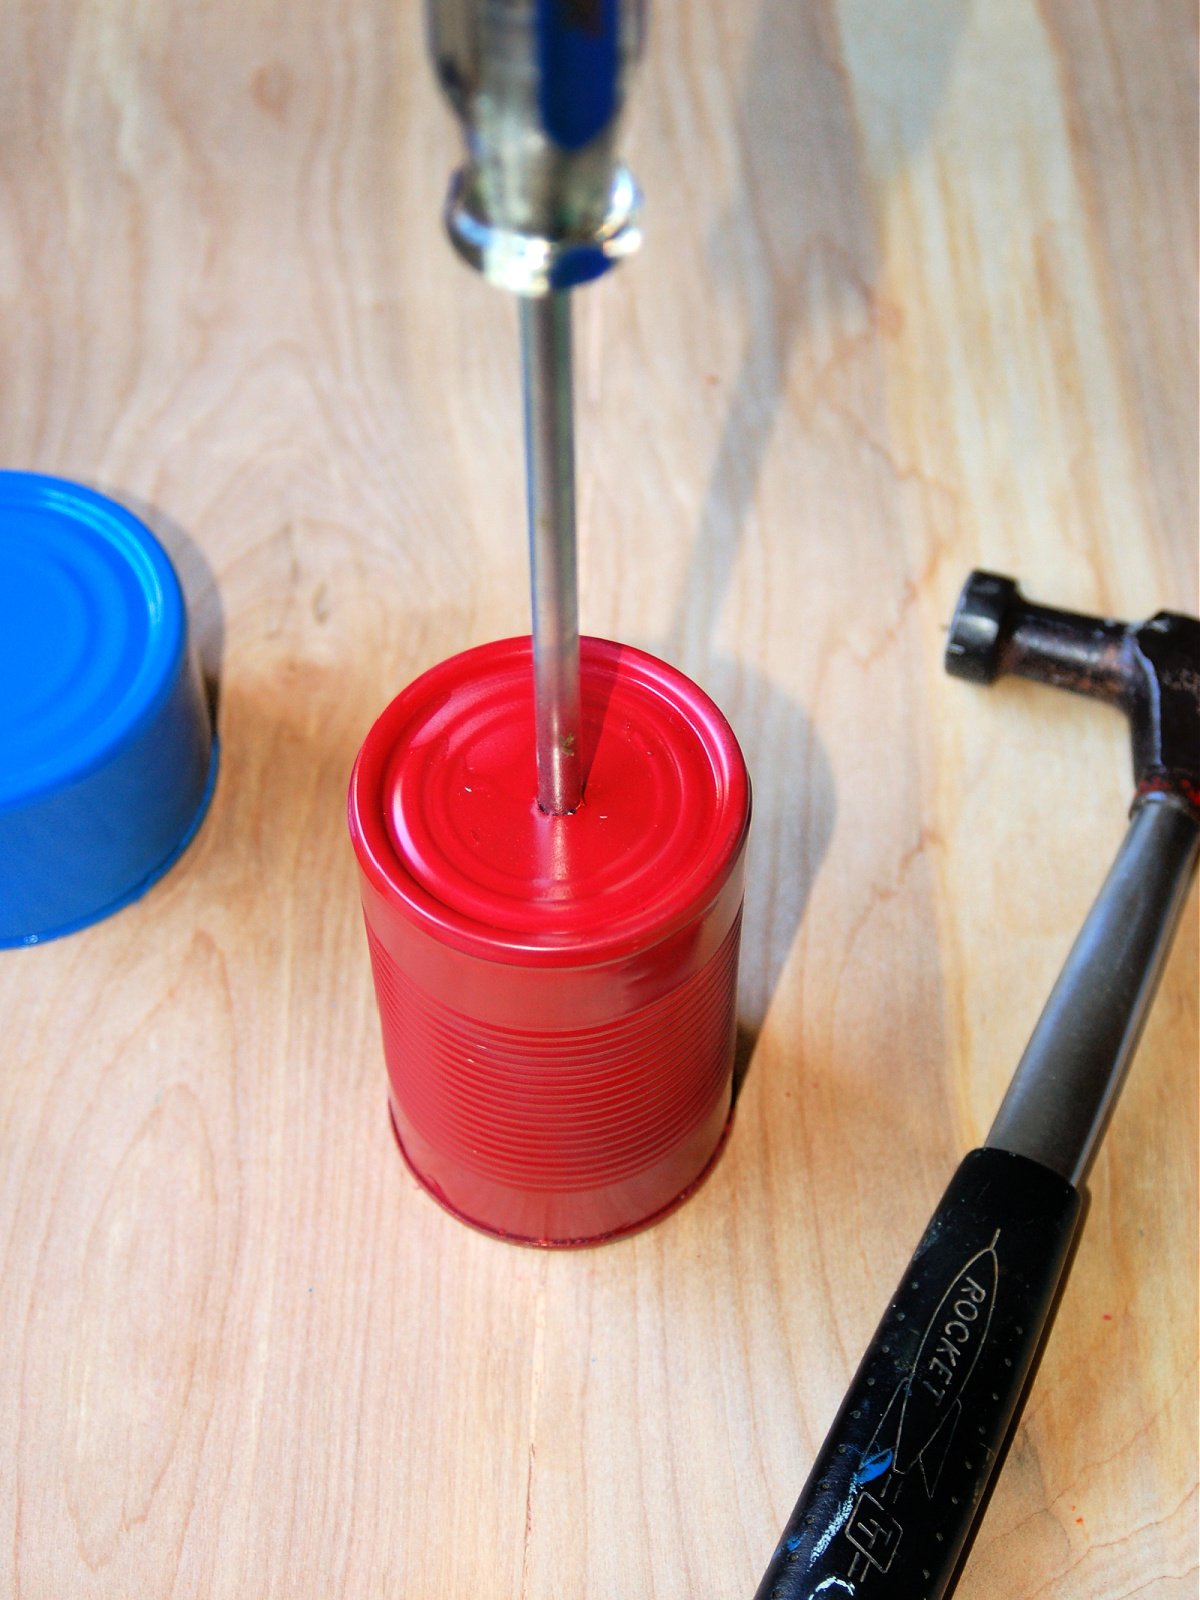
Take the screw driver and place it at the unopened end of your can. Use the hammer to carefully punch a hole into the can.
Step 4

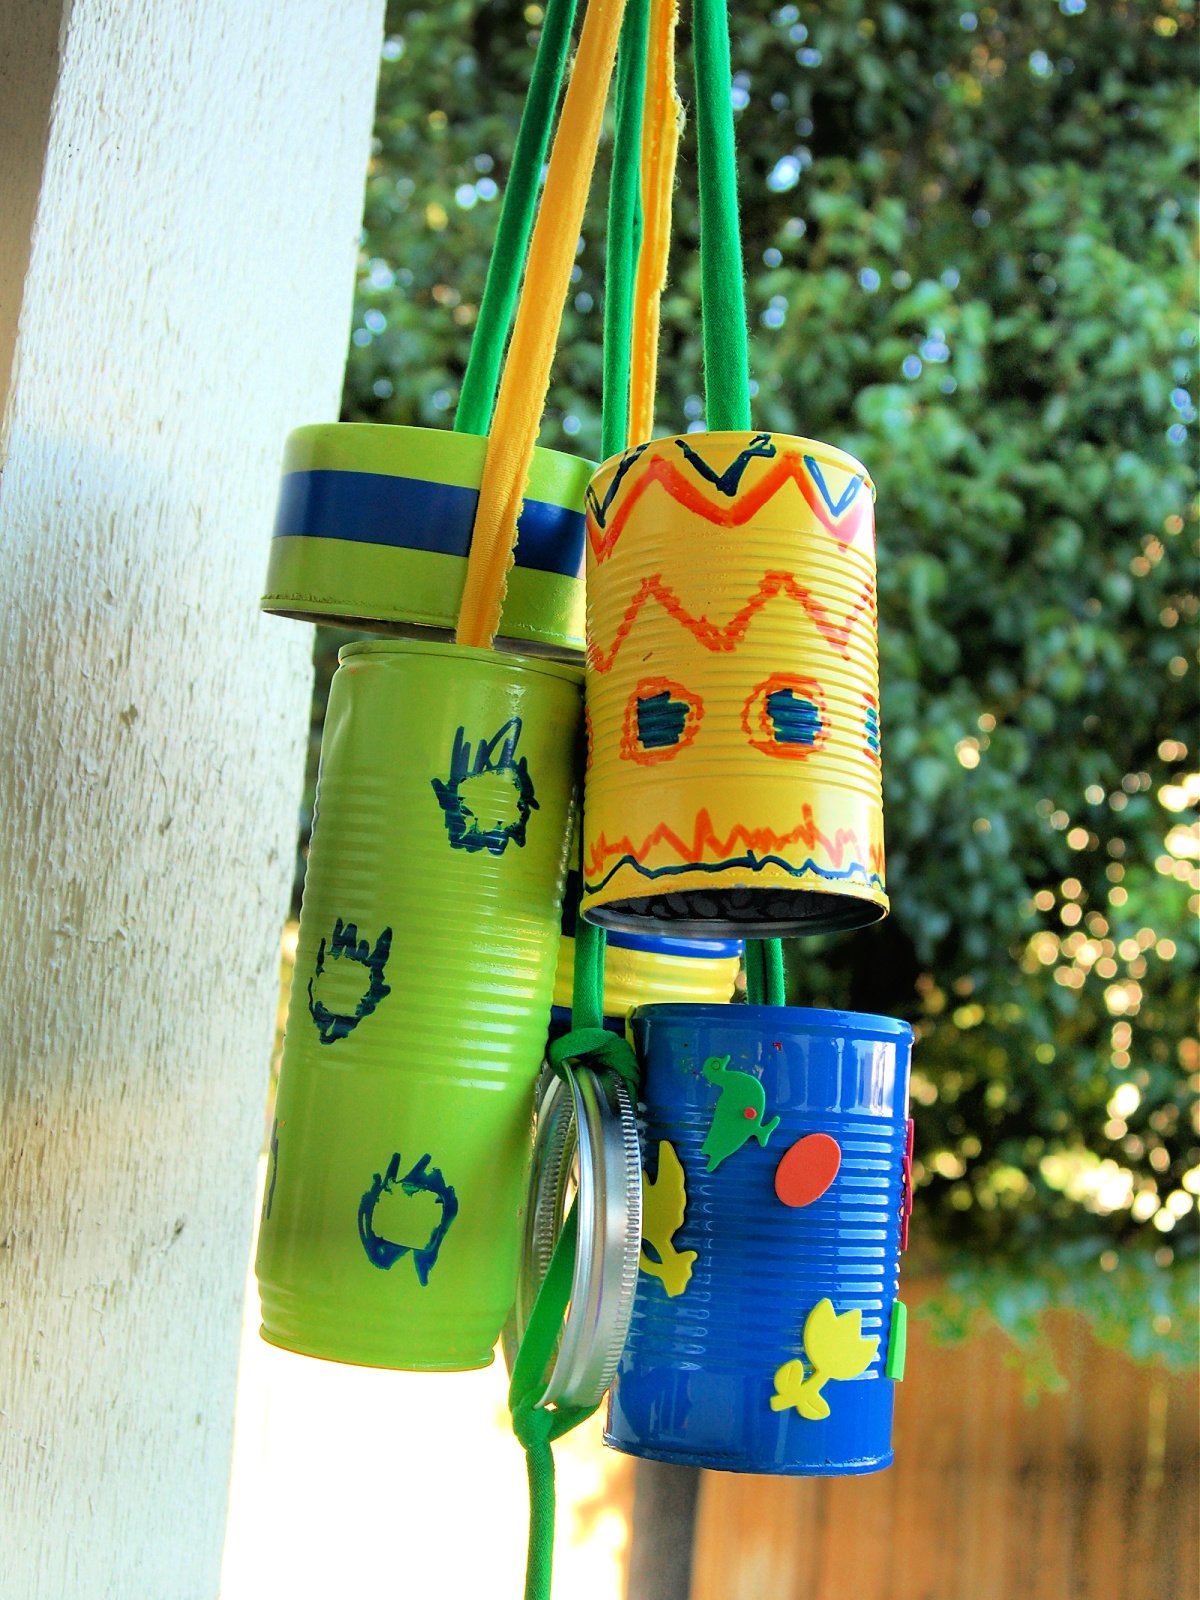
Finish decorating your cans with paint and stickers.
Step 5
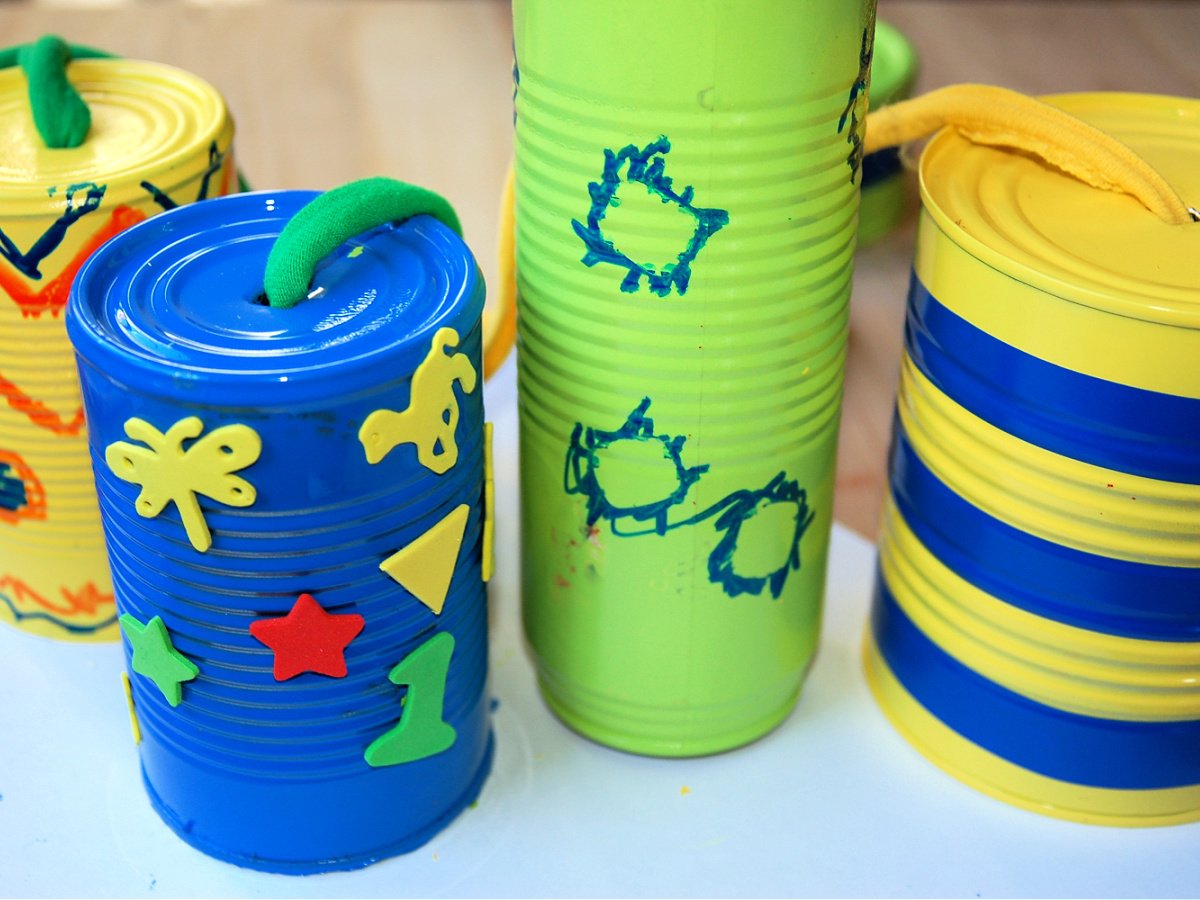
Loop the string or rope through the hole in the can and make sure you tie it into a large knot or knot it through should that won’t go through the hole like a large washer.
Step 6
Tie it to a tree limb, play set, or your porch and listen as the wind jostles the can around. You may wanna put it somewhere it won’t get too wet.
Craft Note:
We tied a canning ring to a string in the middle and let the string dangle, that way we can come out and ring the chimes as well. It’s a great way to let kids know it’s dinner time when they’re playing outside or that it is time to come in.
Related: Check out our big list of wind chime crafts!
Fun Modifications For This Homemade Wind Chime Craft
Tie something hard at the knot of your rope so when it jostles the knot inside the can will make a noise.
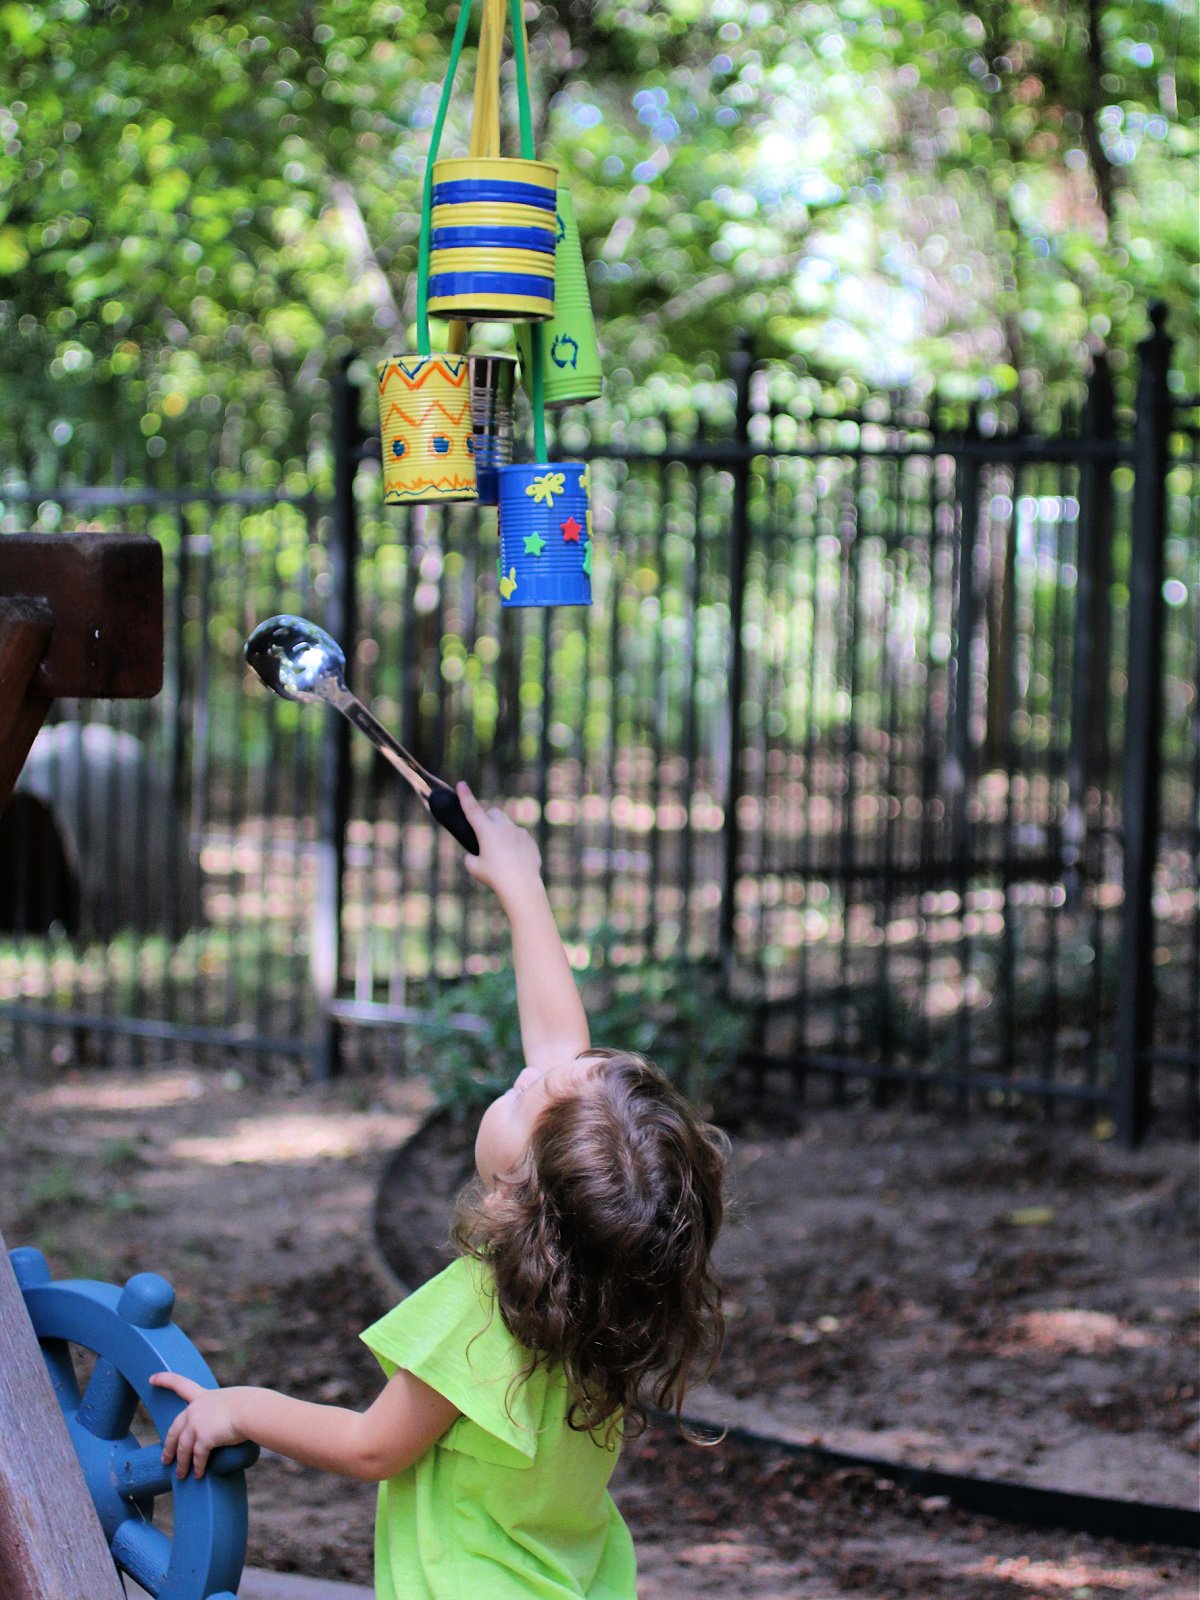
Let your child smack the cans with a metal spoon or such to see the different sounds the big cans make vs the little cans.
Our Experience With These Homemade Wind Chimes

We had a lot of fun making our own DIY wind chimes. It’s always windy here and we have a number of wind chimes to begin with. But what’s another set going to hurt? Plus, it let us upcycle some cans, so that is always a plus.
My kids had a lot of fun (messy fun) painting and decorating the cans. We have pink cans, red can, blue cans, every color. But it’s fun. Really makes the porch and play set look more bright and adds some fun sounds and “music” to our lives.
Plus, my kids wore themselves out smacking them with a metal spoon to make sounds, so it is kind of a win-win! I hope your family has as much fun making these homemade windchimes as my family does.
DIY Wind Chimes

All you need is some cans, paint, and string to make your own wind chimes. You do need a few other craft supplies, but this DIY wind chime craft is so easy!
Materials
- String or Rope
- Varying Sizes of Tin Cans
- Paint
- Stickers or Foam Stickers
- Hammer
- Screw Driver
- Pliers or Sandpaper
Instructions
- If your cans have sharp edges, carefully fold the edges down with pliers or use sandpaper to sand down the edges. You may want some safety gloves while doing this.
- Let your child paint the cans.
- Take the screw driver and place it at the unopened end of your can. Use the hammer to carefully punch a hole into the can.
- Finish decorating your cans with paint and stickers.
- Loop the string or rope through the hole in the can and make sure you tie it into a large knot or knot it through should that won’t go through the hole like a large washer.
- Tie it to a tree limb, play set, or your porch and listen as the wind jostles the can around. You may wanna put it somewhere it won’t get too wet.
More Fun Upcycle Crafts From Kids Activities Blog
- You can make upcycled toys at home!
- Here are 15 cool ways to upcycle an old crib.
- Wow, here are 15 fun ways kids can upcycle old cd’s.
- Did you know you can upcycle old board games to make cards?
- I love these 16 DIY toys you can make with empty boxes.
- Try making these DIY clings.
- Fun crafts that also double as toys!
- We have a big list of DIY toys you can make!
- This electronic UNO toy is perfect for babies and toddlers.
- Try freezing your kids toys for a new fun experience!
- Here are check out these 50 sock crafts.
How did your homemade wind chimes turn out?


0