
Today we’re making a cute Christmas treat bag. Kids of all ages will be able to make treat bags. Younger children and older children alike will be able to make this Christmas tree craft. It requires minimum crafting supplies and is budget-friendly and perfect for stockings or even at Christmas parties. Make these DIY Christmas treat bags at home or in the classroom.

Christmas Treat Bag
We wanted this to be simple enough even toddlers and preschoolers can make these Christmas treat bags. And we found a way! Are they fancy, no, but they’re fun to make and even more fun to bust in and get the candy.
Kids will be able to do this Christmas craft with ease. Plus, they’ll explore colors, practice fine motor skills, measure, and more! So, without further ado, let’s make these Christmas treat bags!
This post contains affiliate links.
Related: Make these reindeer treat bags for Christmas!
Supplies Needed To Make These Super Cute Christmas Tree Treat Bags
- Green Construction Paper
- Acrylic Paint– Light Green, White, Yellow, Blue, Red
- Glue Stick or Double Sided Tape
- Candy
- Scissors
- Pencil
- Ruler
How To Make These Simple Christmas Treat Bags
Step 1
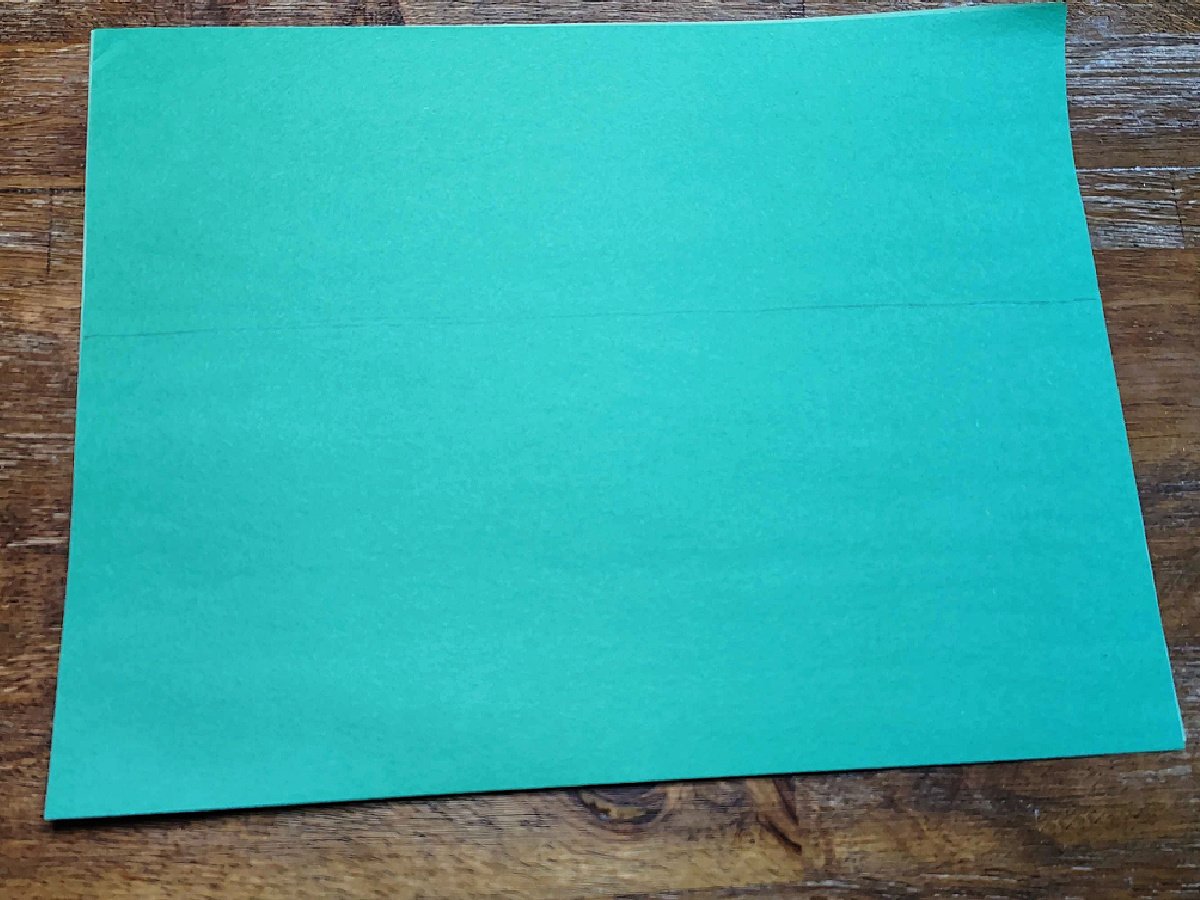
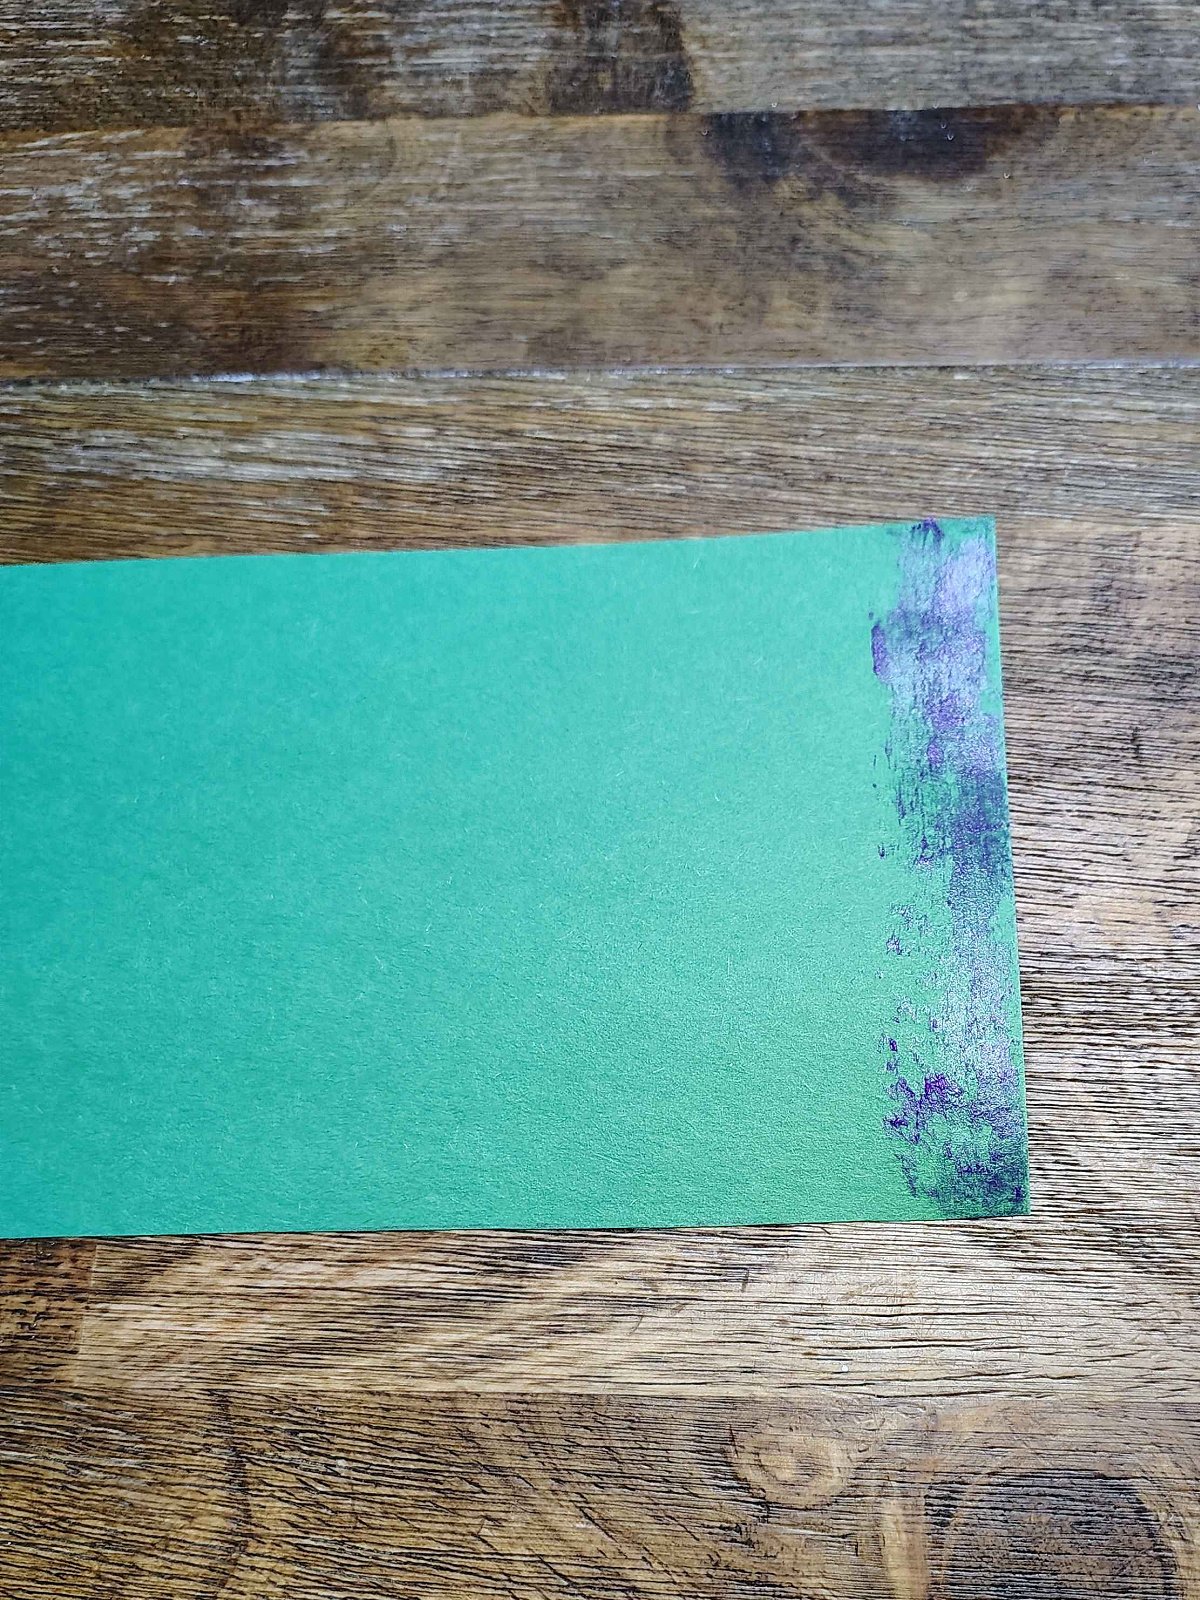
Measure the paper. We measured up about 5-6 inches and drew a line across and then cut across the line. Use the bigger half of the paper.
Step 2
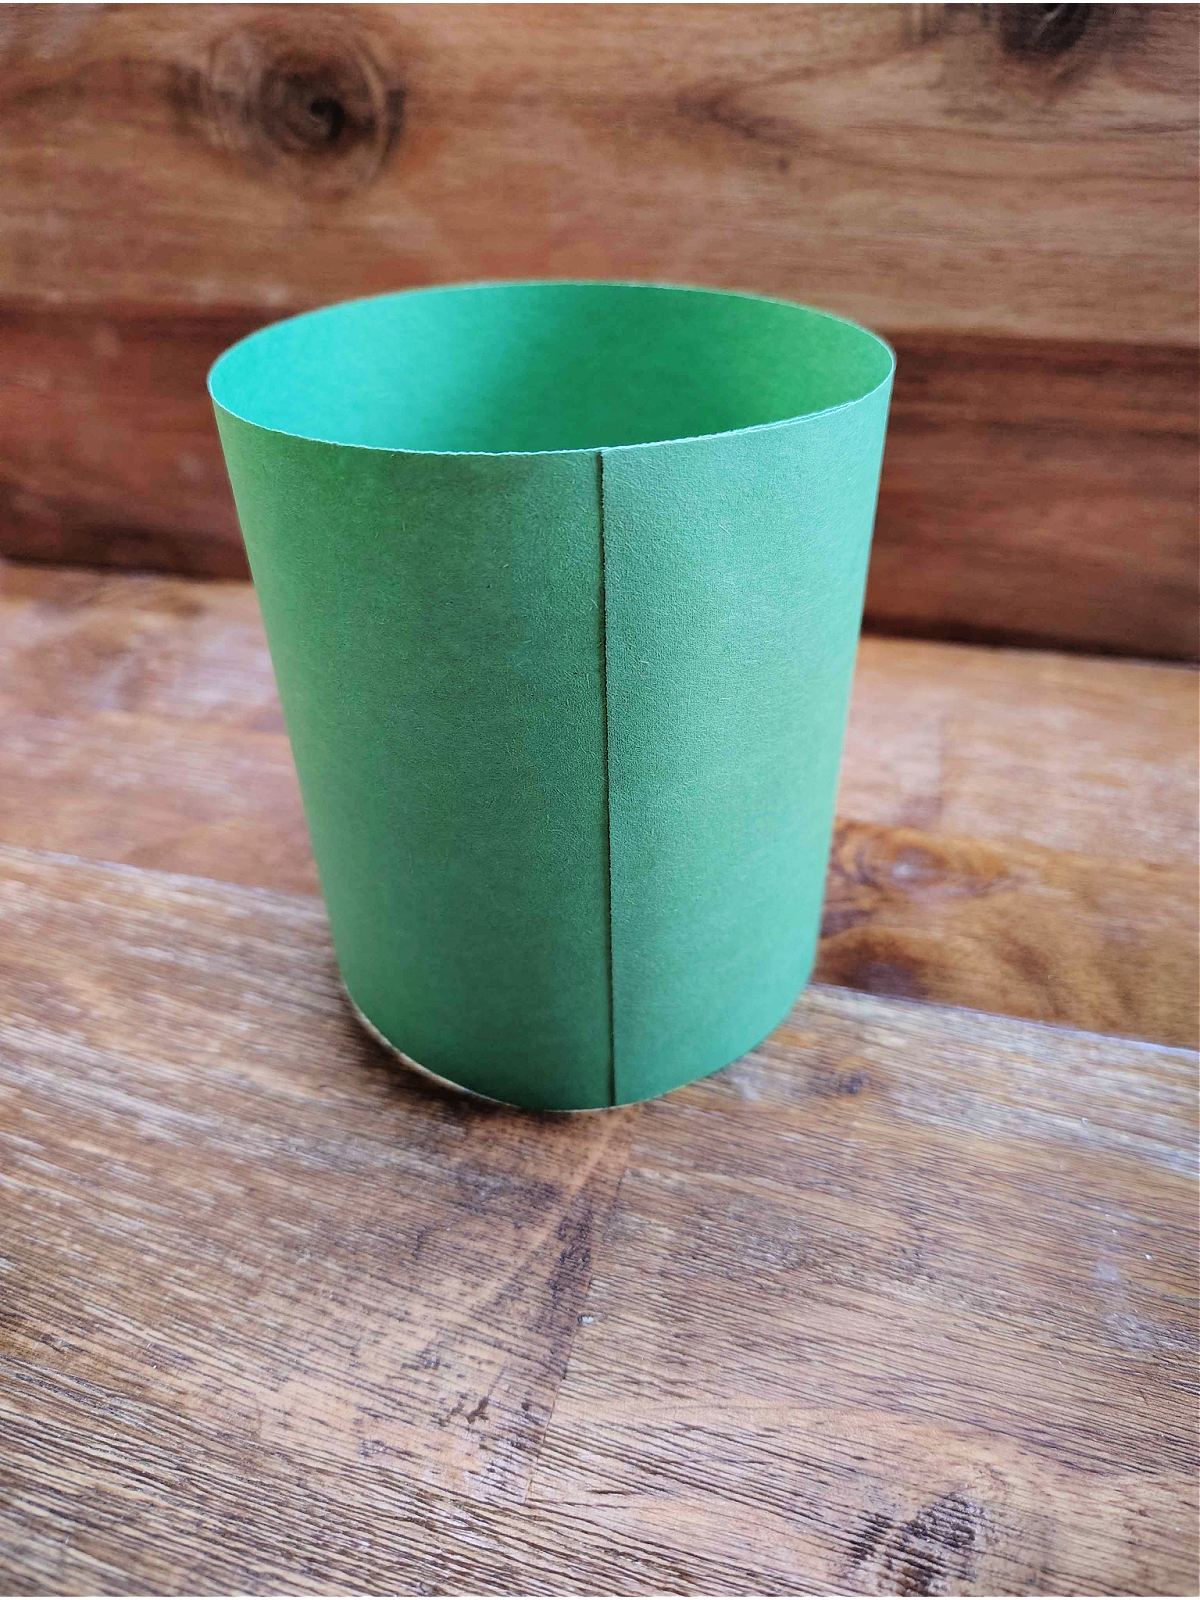
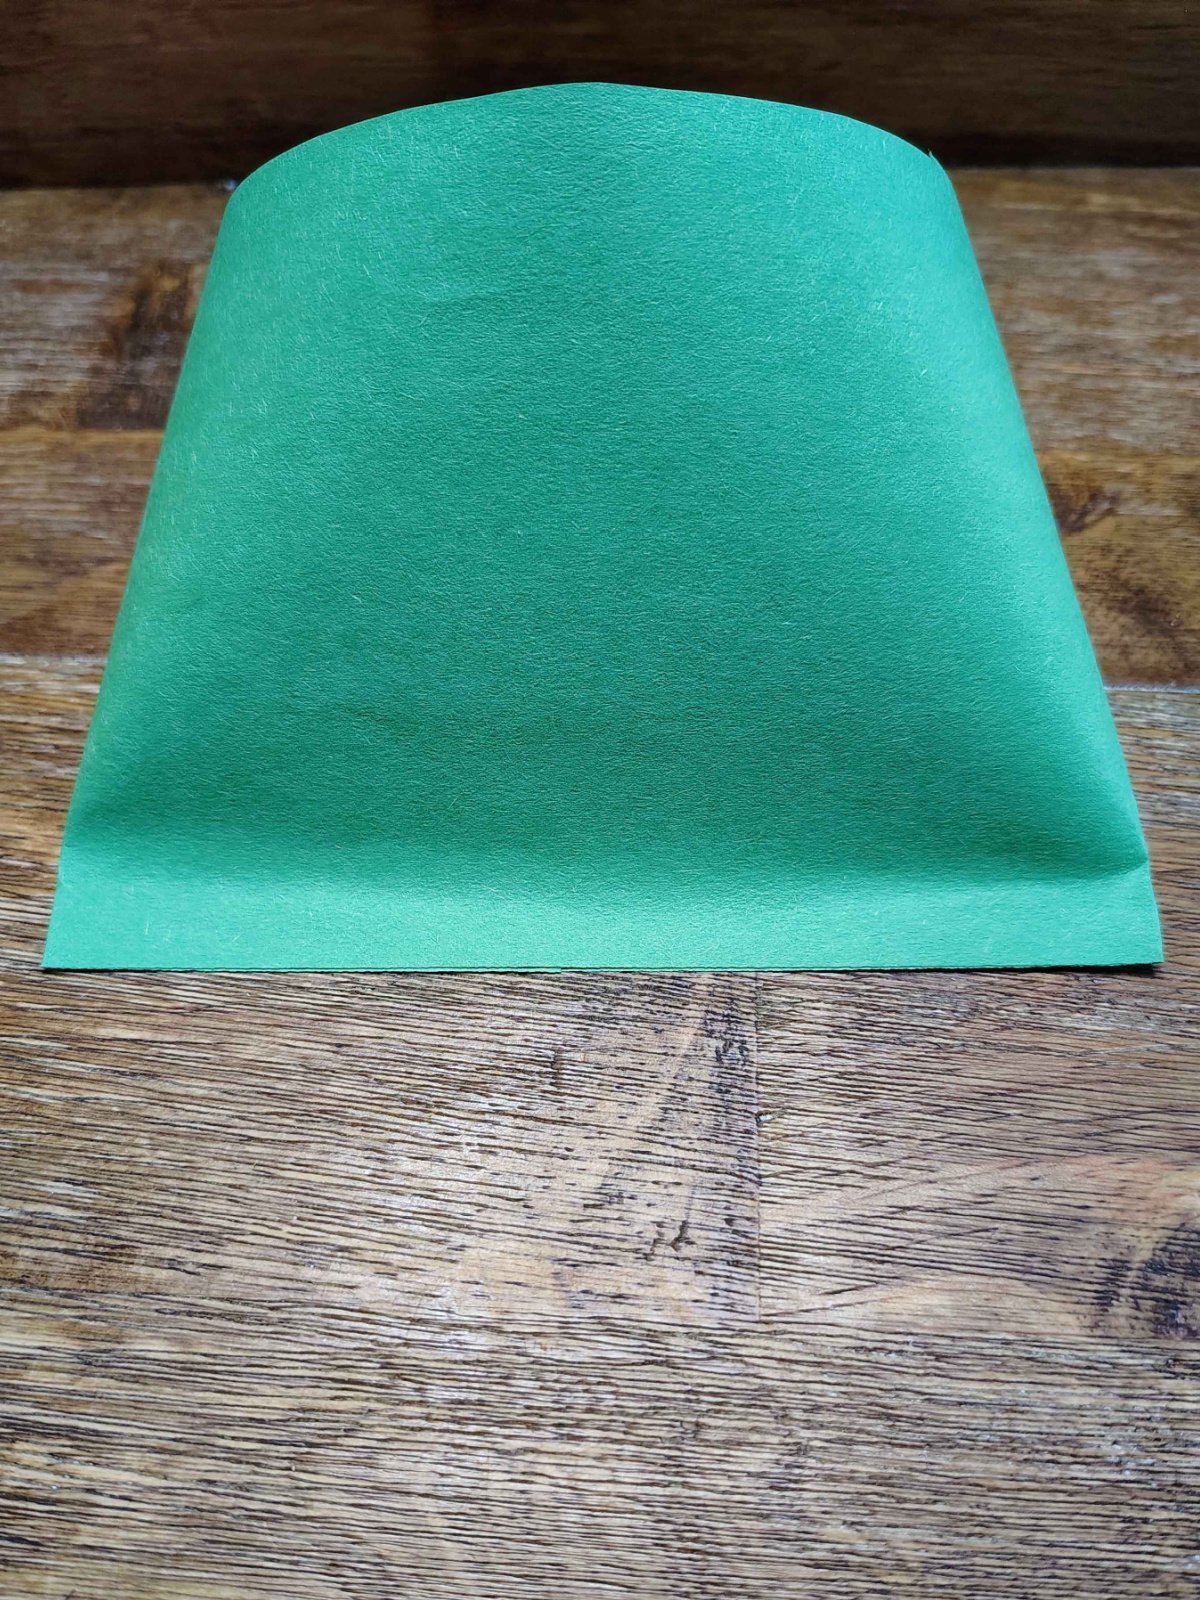
Glue one short edge to the other side to create a cylinder.
Step 3
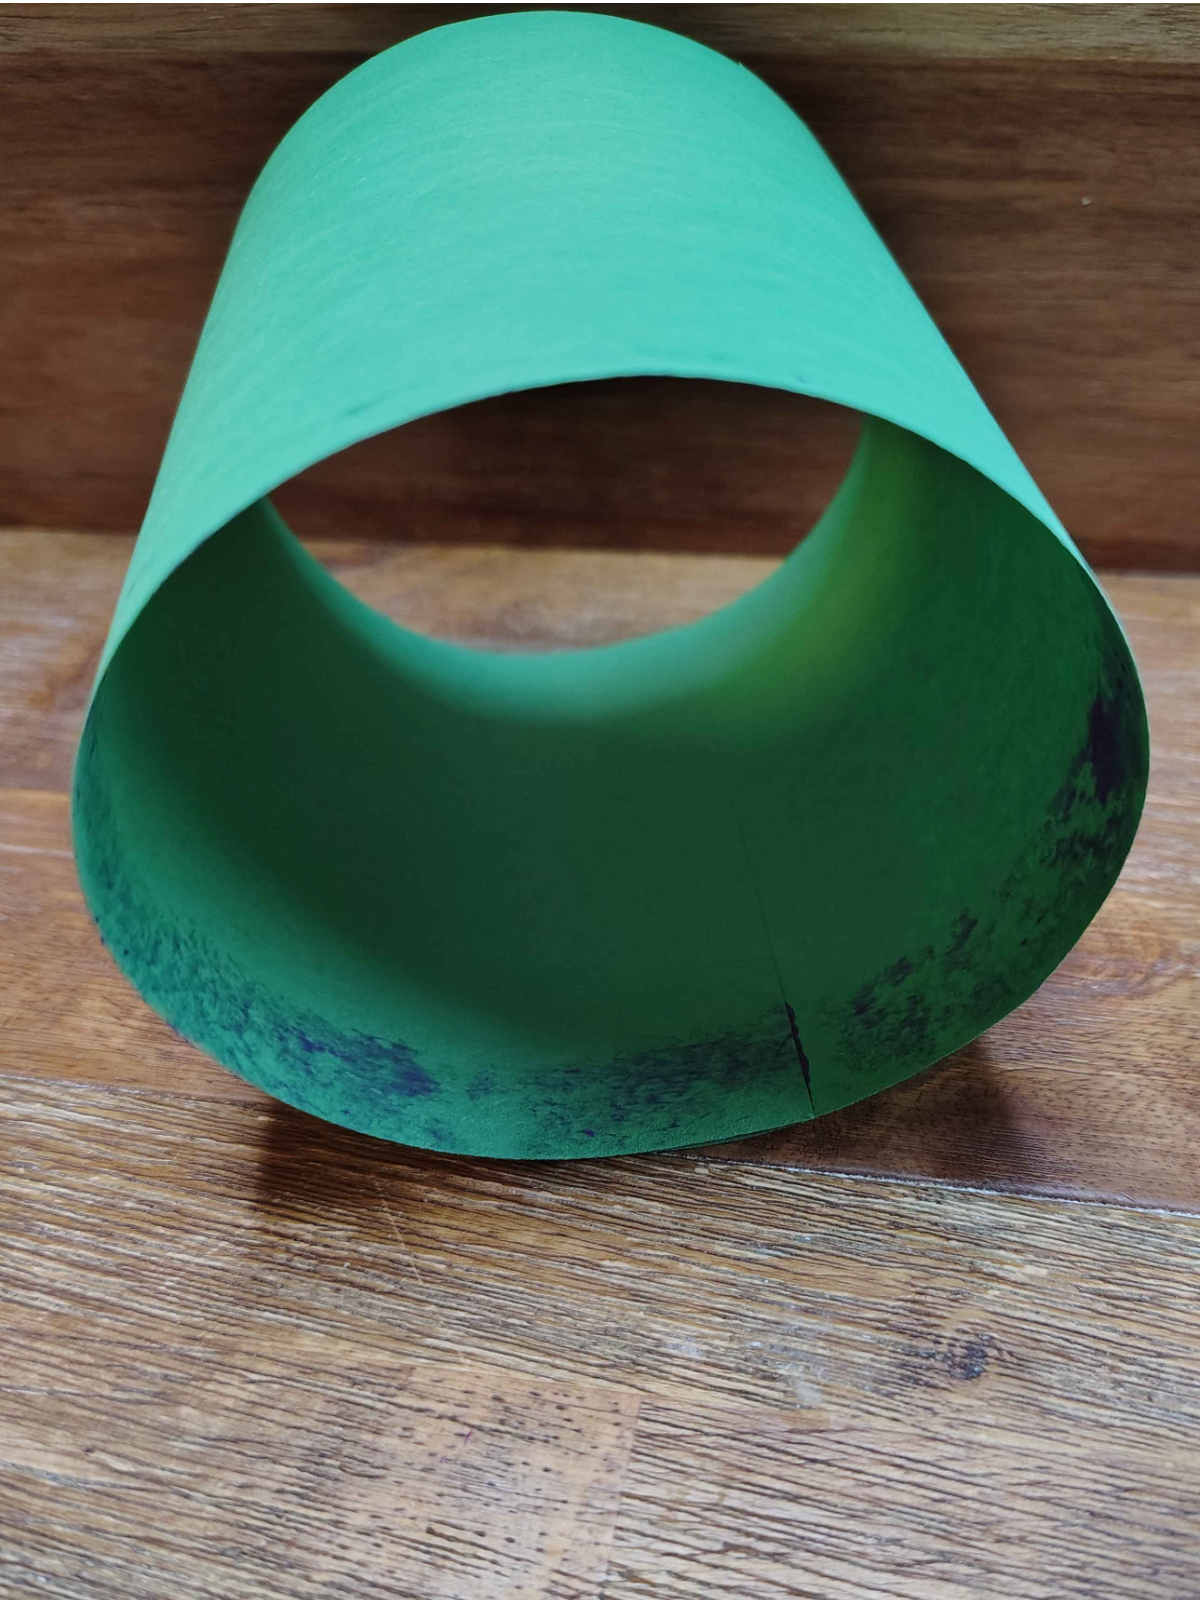
Once dried, glue one open edge shut by pinching the edges together.
Let it dry.
Step 4
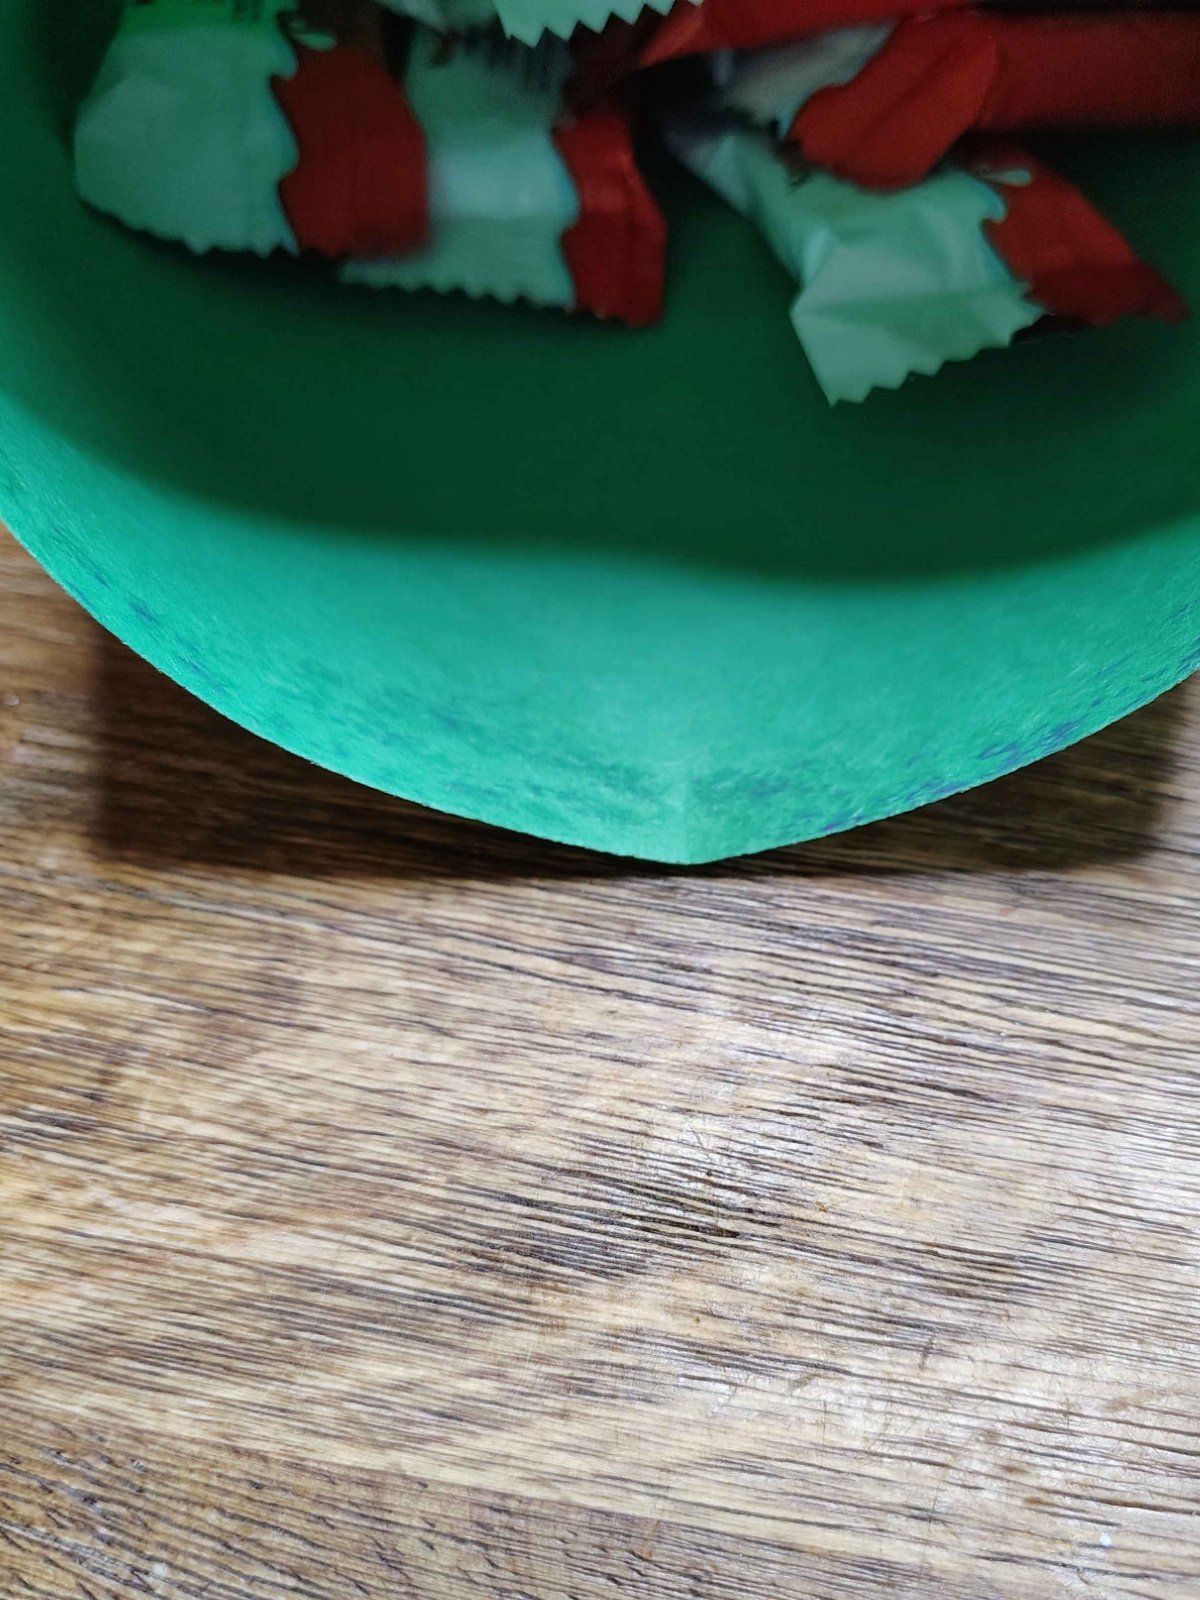
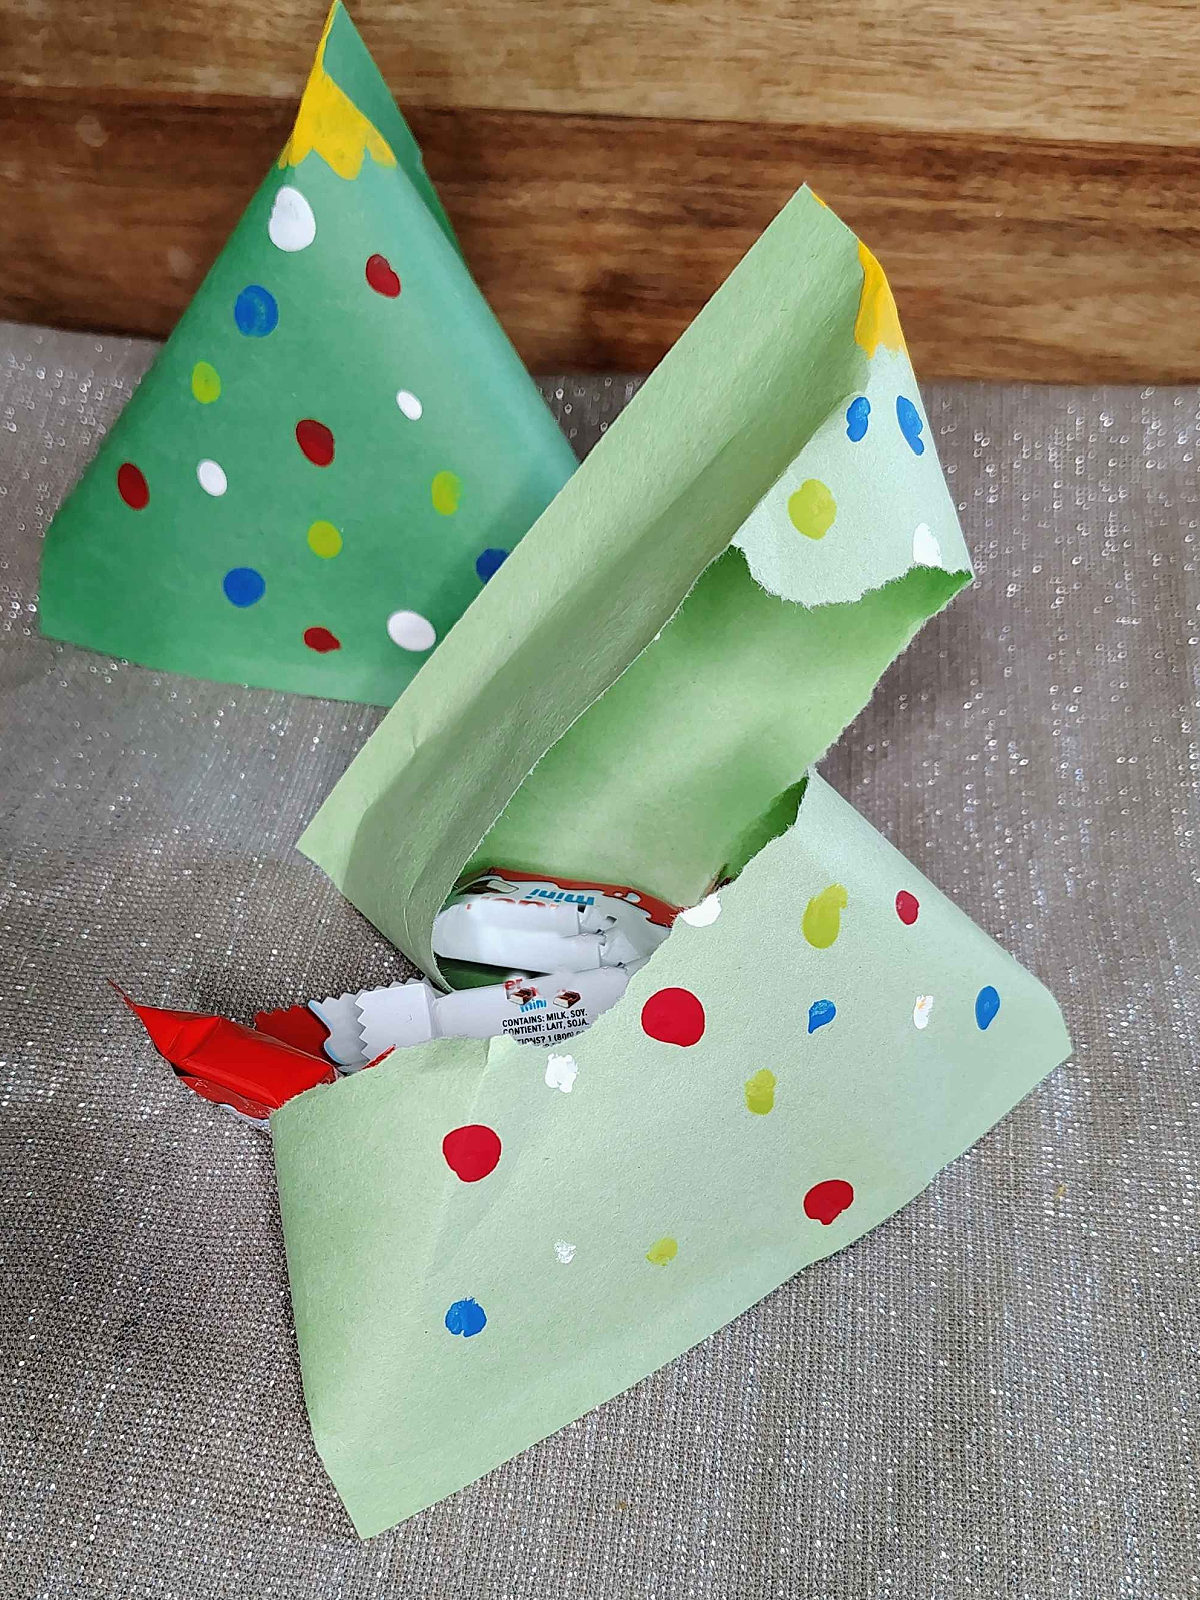
Once dry add your candy.
Step 5
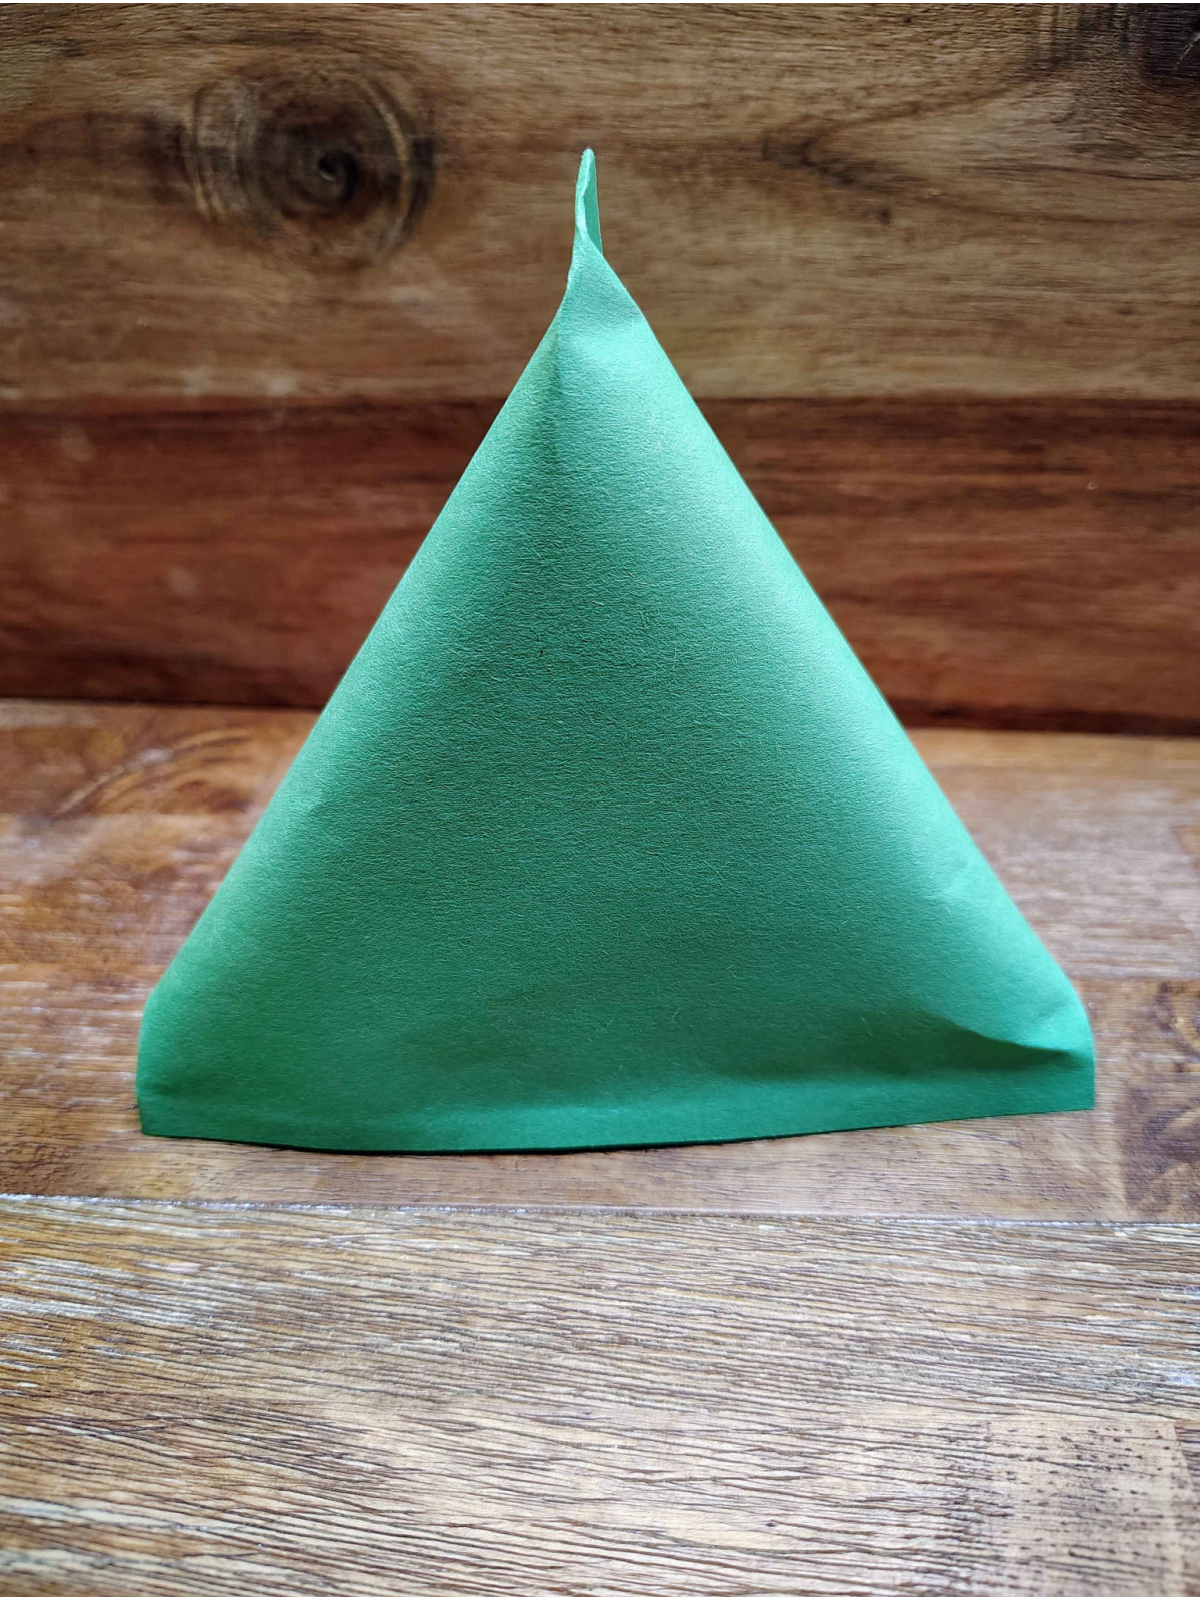
Glue the other edge shut, but do it the opposite way from the first edge you glue shut to ensure you have a triangle.
Craft Note:
You may need to put something heavy on the edges to ensure they stay glued shut. For smaller kids double sided tape may work better.
Step 6
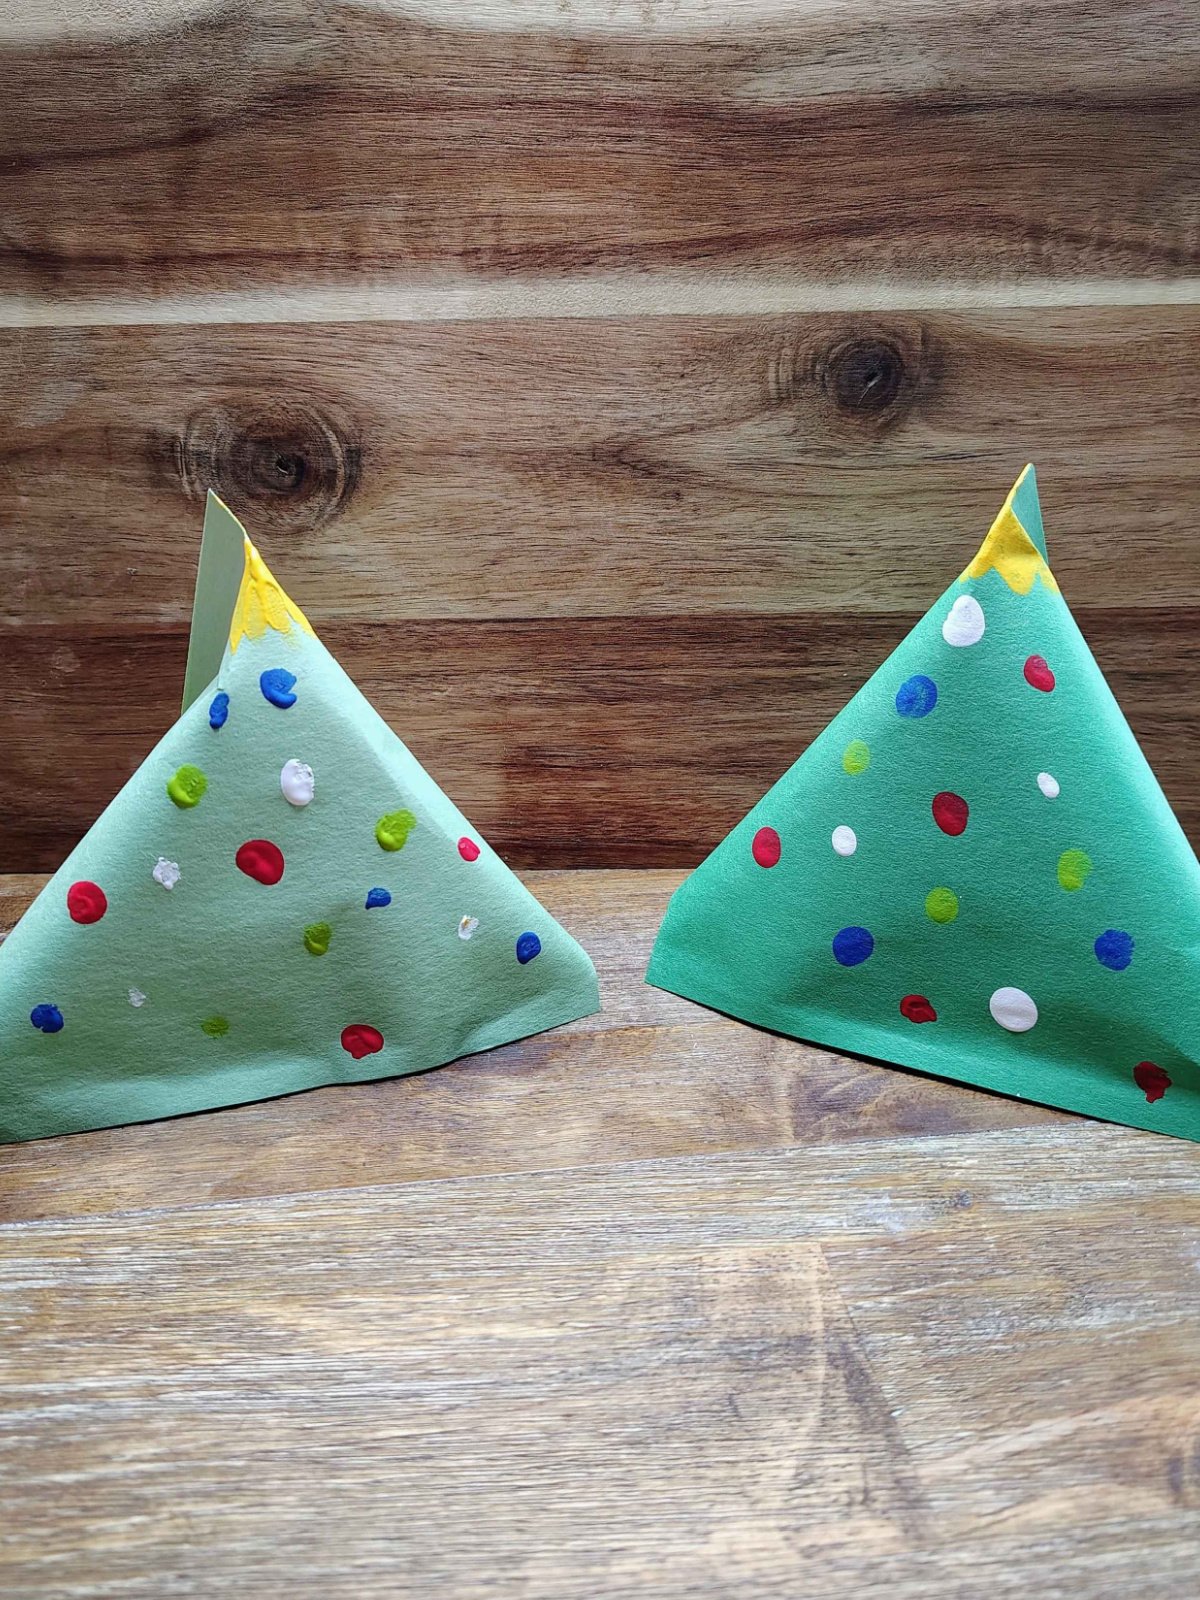
Paint the top yellow for a star and add finger paint ornaments! And you’re done!
How To Make This DIY Treat Bag Craft Your Own
Like all our crafts, you can change things up to fit your needs. You can change things on this Christmas treat bag craft like:
- Use stickers instead of finger paints.
- Use glitter glue instead of paints.
- You could also stick mini pom poms on it.
- Fill it with other treats or snacks.
- Make a face on the Christmas tree.
- Add pipe cleaners for garland.
Our Experience With This Christmas Tree Treat Bag Craft
My kids and I had a lot of fun making these. And it is a cute way to hand out treats to others. Since I have littles, I had to make sure that they would be able to make their own.
I like when all my kids can be involved, especially when we’re doing festive crafts. I want everyone to get into the Christmas Spirit you know?
My kids will be having a Christmas party later this month and I think we will definitely be making more of these to hand out and set out on everyone’s desk. It’s just so much fun to tear into and see what you’re going to get. I hope your family has as much fun as mine did making this Christmas craft!
Christmas Tree Treat Bags You Can Make Had Home

This is a fun toddler and preschooler craft that is perfect for Christmas. Make your own treat bags filled with candy!
Materials
- Green Construction Paper
- Acrylic Paint– Light Green, White, Yellow, Blue, Red
- Glue Stick or Double Sided Tape
- Candy
- Scissors
- Pencil
- Ruler
Instructions
- Measure the paper. We measured up about 5-6 inches and drew a line across and then cut across the line. Use the bigger half of the paper.
- Glue one short edge to the other side to create a cylinder.
- Once dried, glue one open edge shut by pinching the edges together.
- Let it dry.
- Once dry add your candy.
- Glue the other edge shut, but do it the opposite way from the first edge you glue shut to ensure you have a triangle.
- Paint the top yellow for a star and add finger paint ornaments! And you’re done!
Notes
You may need to put something heavy on the edges to ensure they stay glued shut. For smaller kids double sided tape may work better.
More Christmas Crafts From Kids Activities Blog
- Here is a roundup post with 327 Christmas crafts for kids!
- Why not try handprint Christmas crafts?
- A pinecone tree craft is always a great idea.
- This simple Christmas craft doubles as a festive wreath.
- This cardboard reindeer craft is super festive!
- Check out these Elf Christmas crafts!
- Check out these great Christmas hacks.
- Have you tried our great xmas craft?
- Do not miss this DIY Christmas Pinecone Decoration!
- Make this ornament painting!
- We have a fun snowman painting craft too!
How did your Christmas treat bag craft turn out?


0