
Today we are making a water siphon. Kids of all ages will have so much fun learning what water siphoning is, how to make a siphon, and watch water move on it’s own! This water siphon science experiment is easy to set up, fun, and educational. You can do this water siphon science activity at home or in the classroom.
Water Siphoning
Did you know before there was plumbing and water faucets people would siphon water to use it. Though there were those who carried water, siphoning helped get water to different places with less work. Whether it was for personal use or farming, people had to siphon water from one place to another.
Water siphoning is a way to make water move without using a pump. You can make it move from one place to another, including small bends and hills, by using gravity, atmospheric pressure, cohesion, and continuous flow.
Kids will be able to explore a number of scientific principles, like the ones listed above, and watch as water moves from one place to another. Cool, huh?
This post contains affiliate links.
Related: Download and print our scientific method steps for kids printable!
Supplies Needed For This Water Siphon Experiment
- 2 Clear Containers
- Clear Plastic Tubing
Optional: - Food Coloring
How To Set Up Your Water Siphon Experiment
Step 1
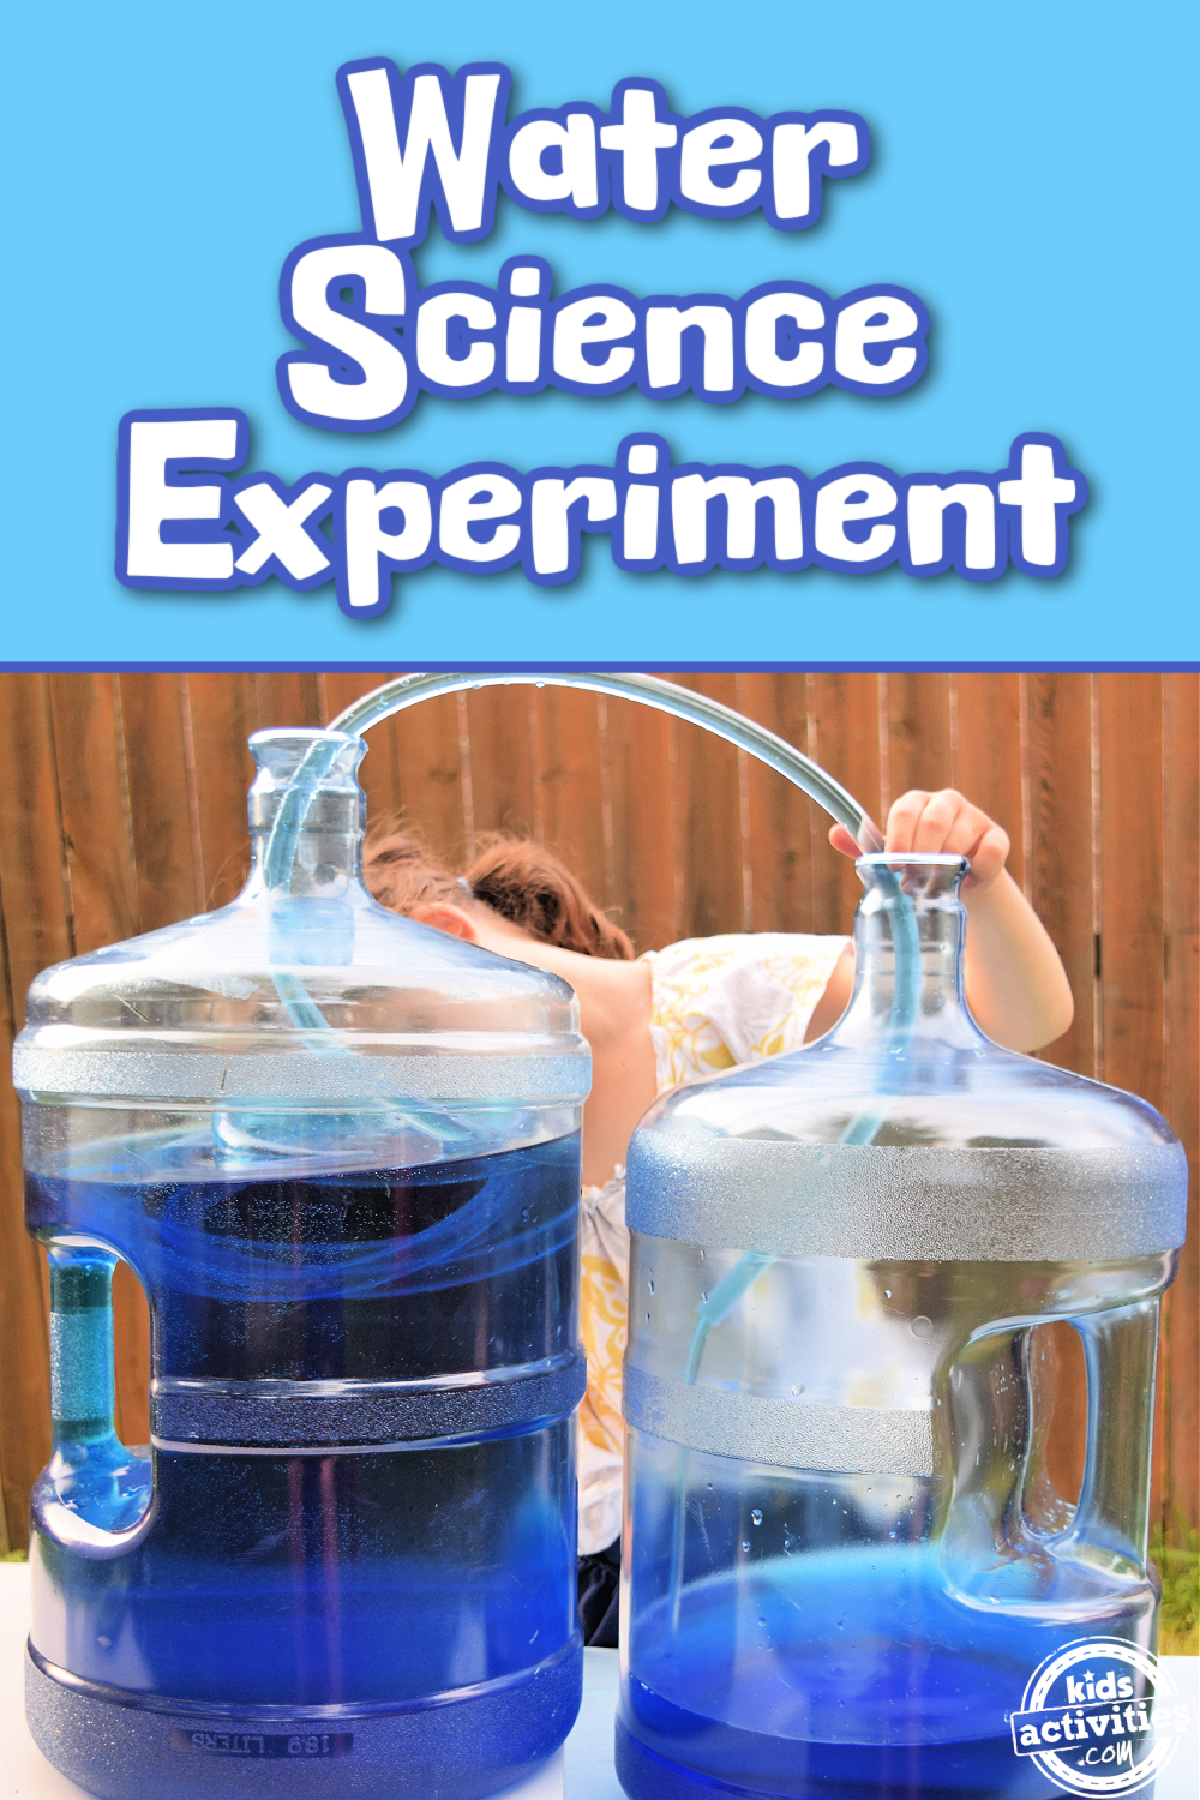
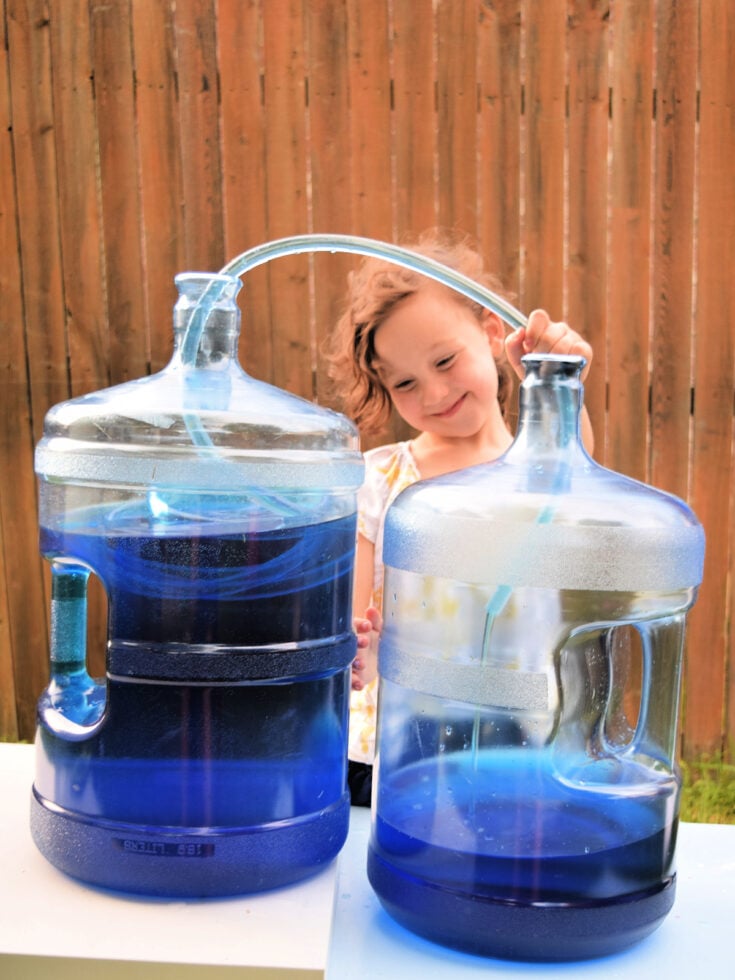
Fill up one container with water. You can also add some food coloring and swish it around.
Step 2
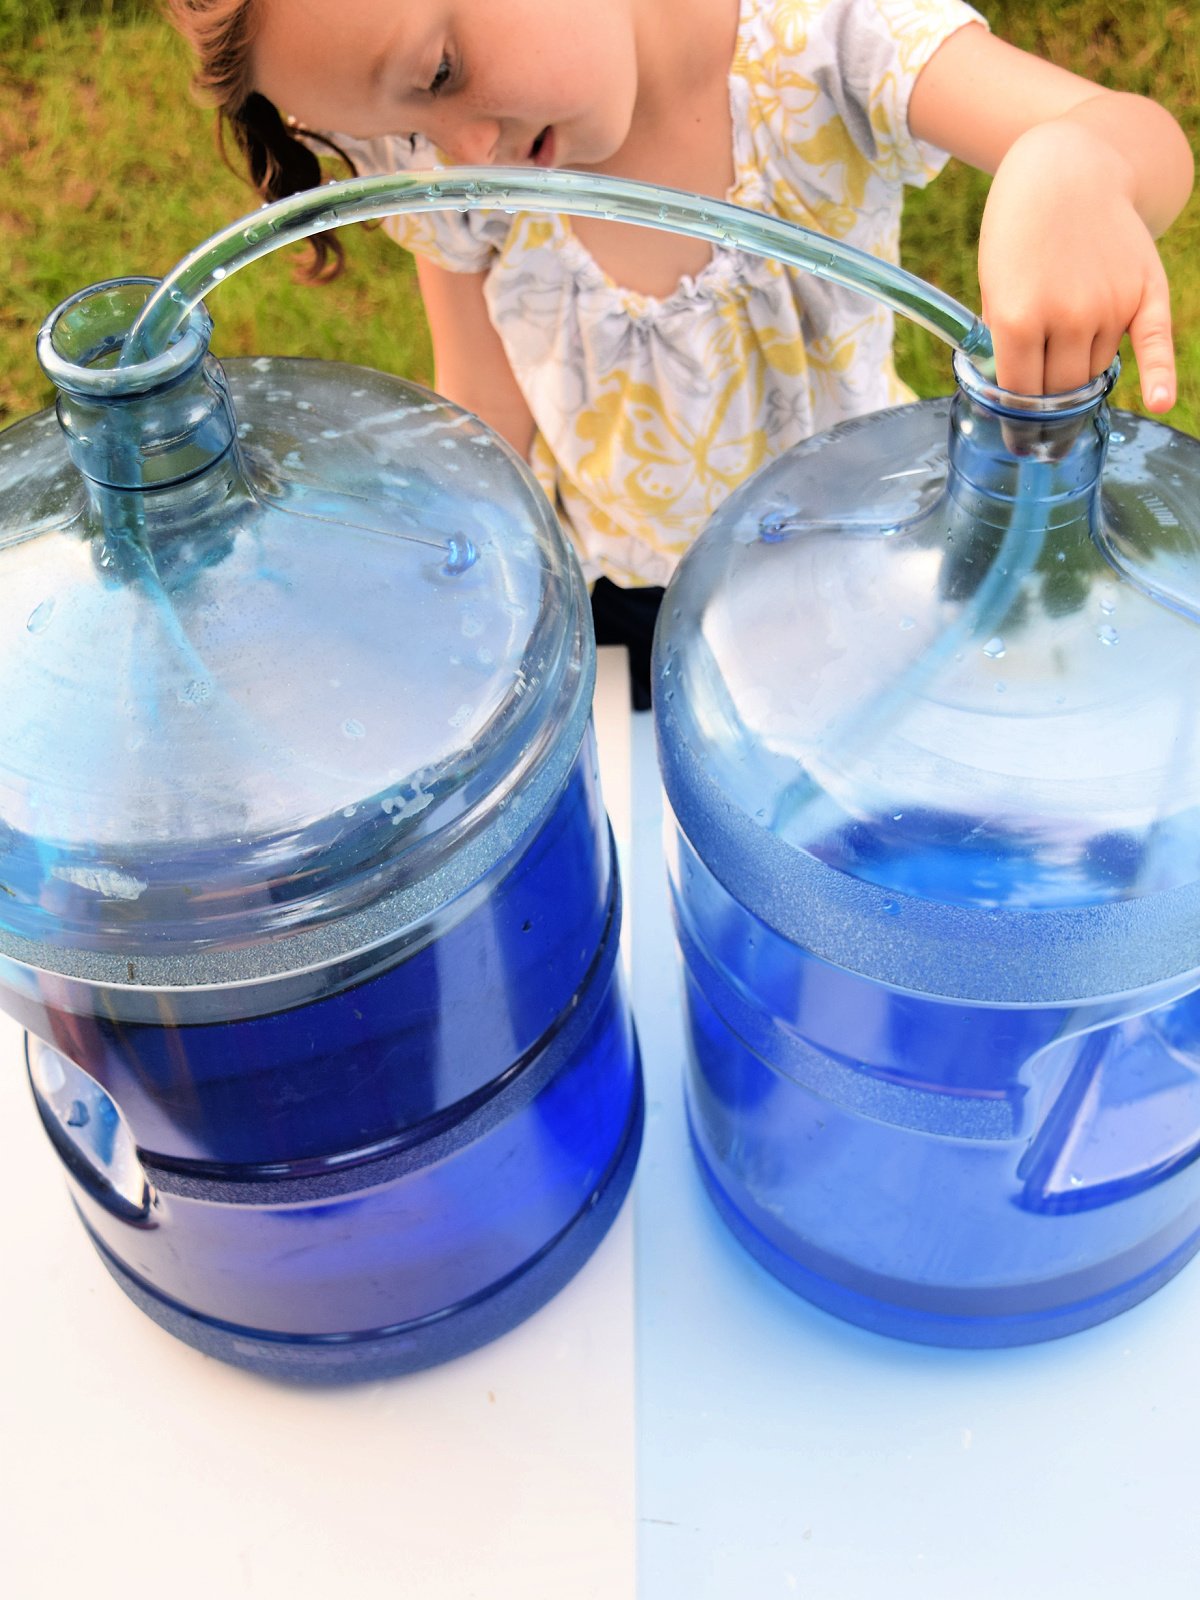
Place the containers a little less than the tube length apart from each other, and put the one with water higher up. You can place it on a box.
Step 3
Put the tubing under the water and close off the other end with your thumb, leaving it under the water.
Step 4
Move the end that you are holding above the second container and let go of the covered end once it is held at a lower level than your water source.
What happens?
The Outcome Of The Science Experiment
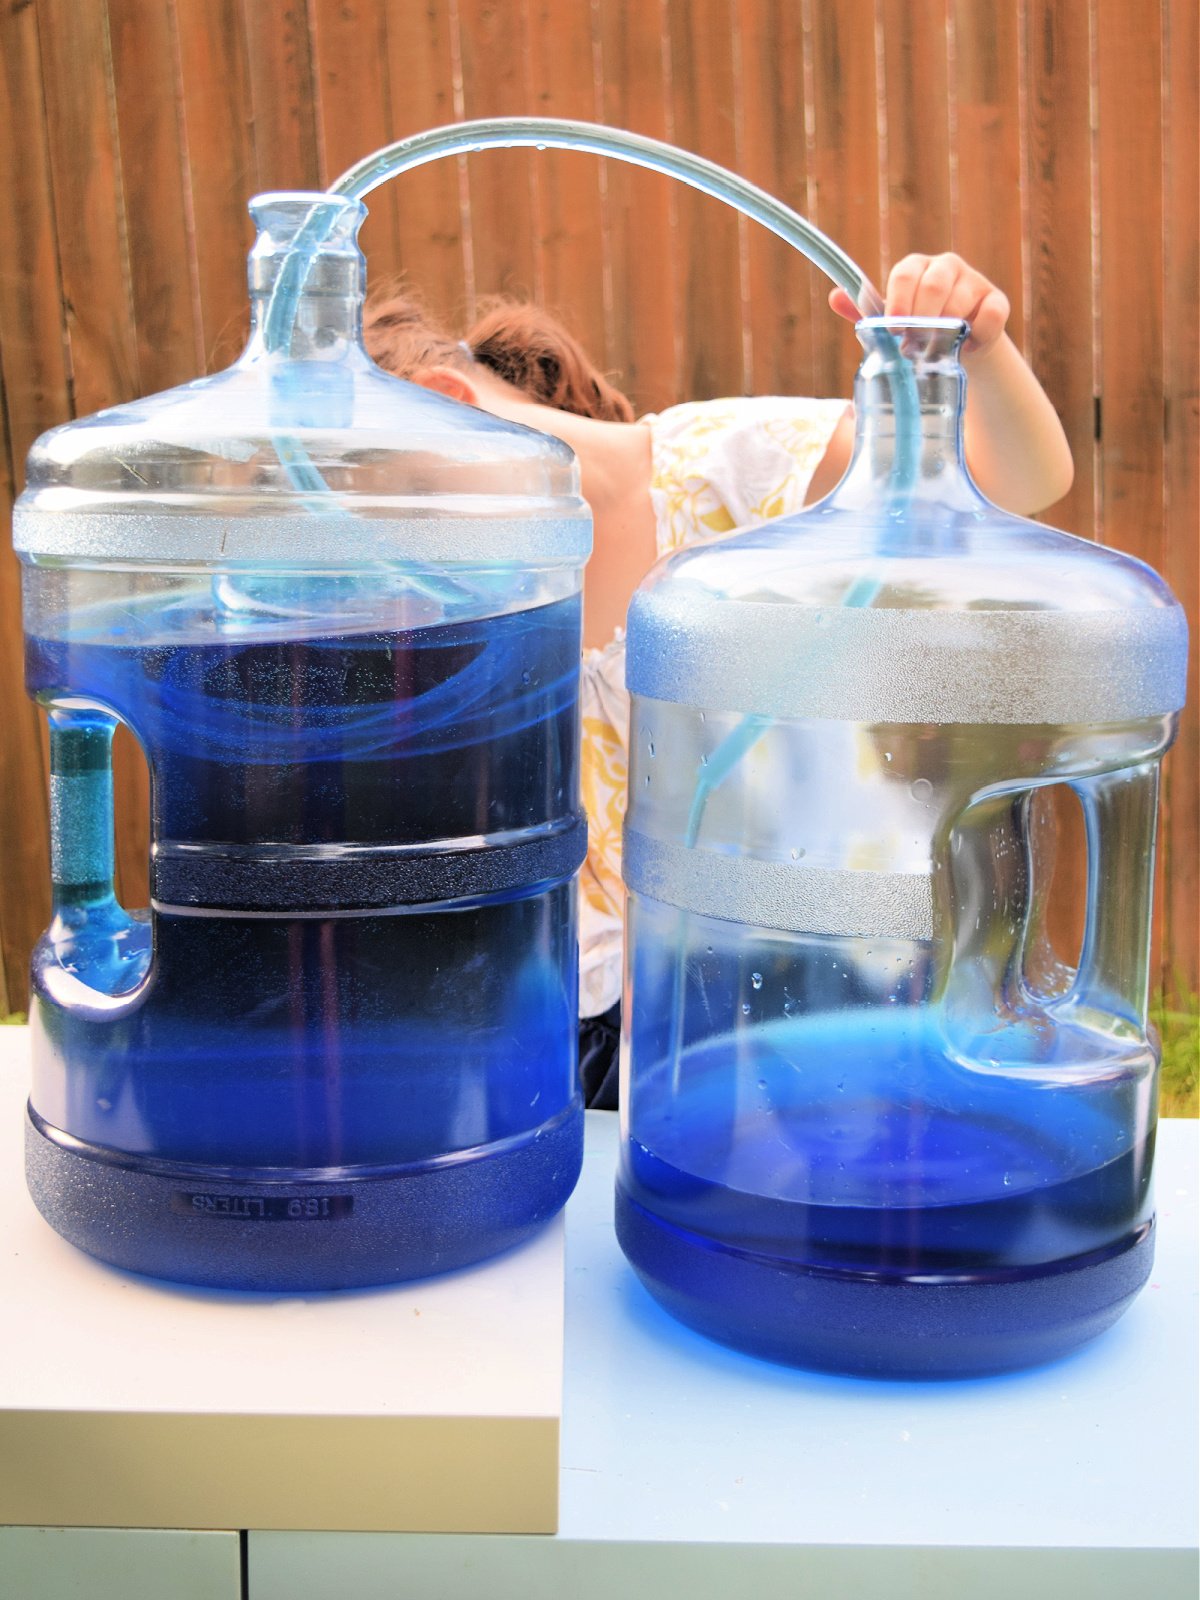
Once you release the end of the tubing the water should start flowing from one container to another. You created a siphon like the once people used to use in ancient Rome!
Water is now able to flow from one container to the second container as long as there is no break in the water and as long as the second container is lower than the first. Gravity is doing all the heavy lifting!
But why does it work?
The Water Siphon Explanation

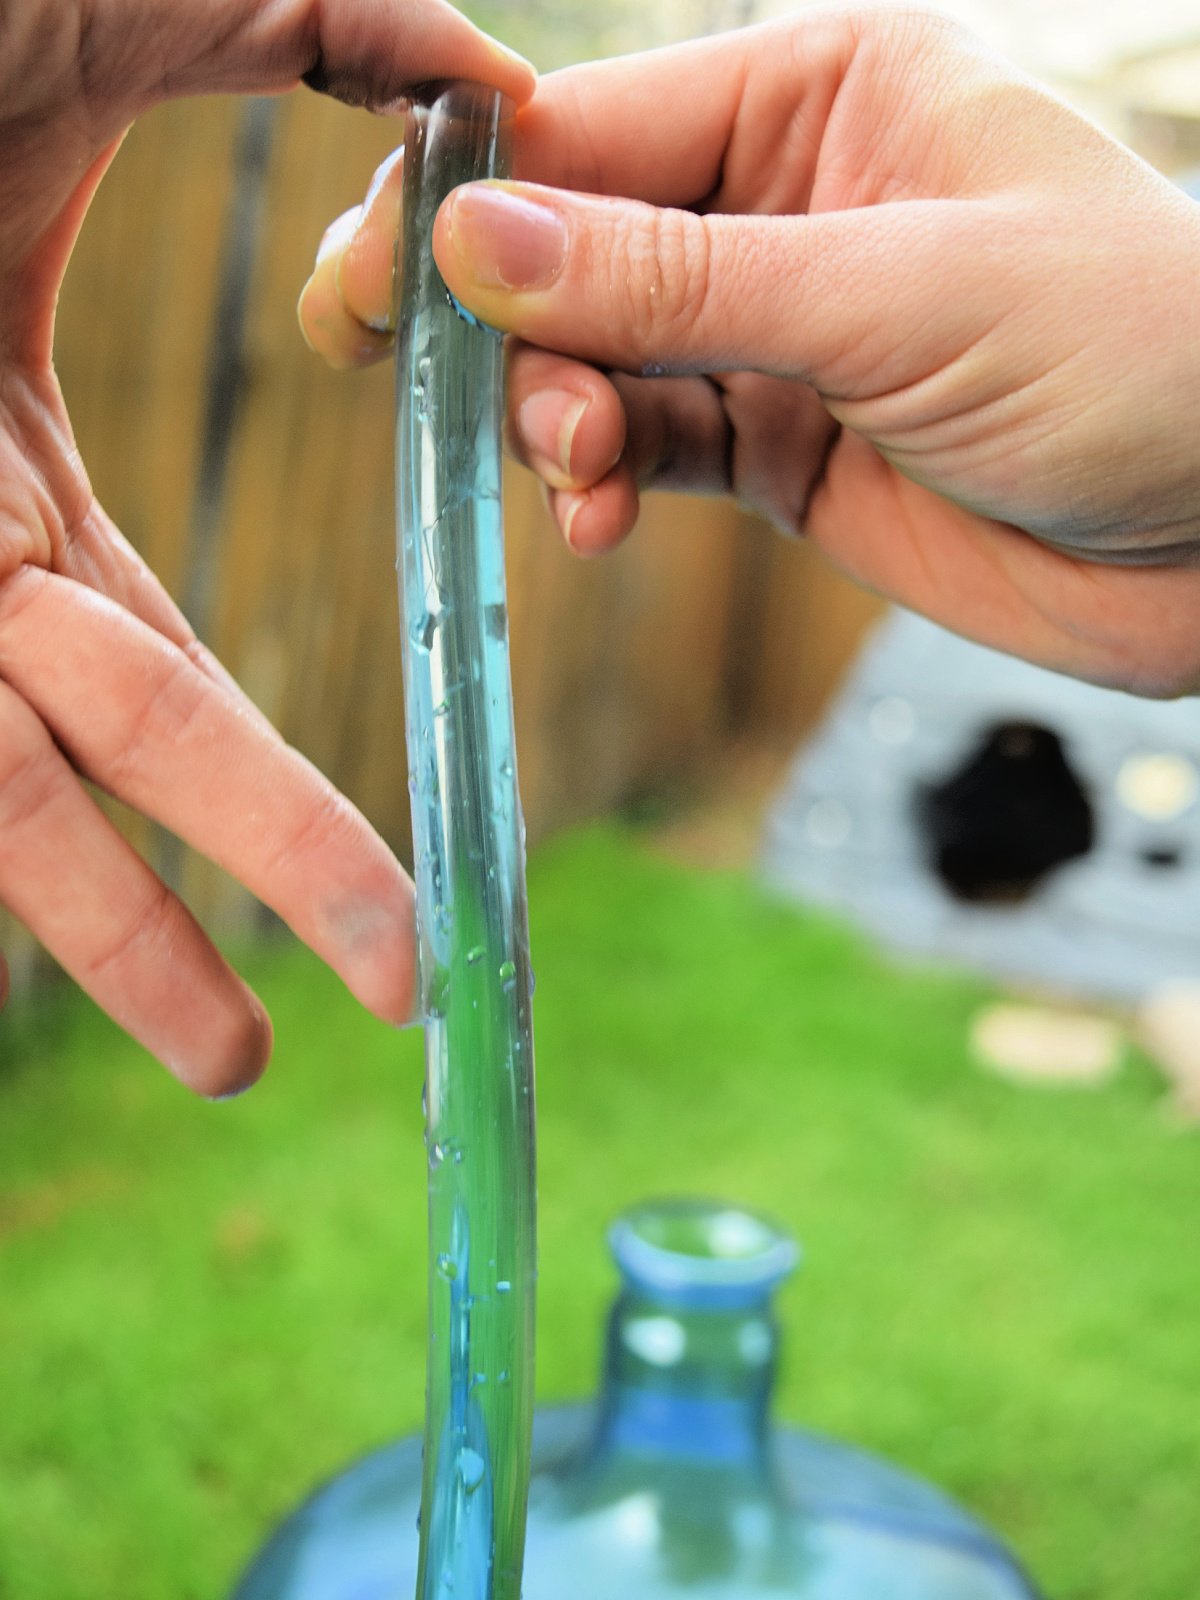
The water in your first container weighs more than the other container. Plus, water drops like to stick together because of cohesion. The molecules are all chained together and so they work as a chain. Which is why they seemingly can defy gravity and move from one container to another.
But where does atmospheric pressure come into play? There is more air pressure pushing down on the surface water in the container that holds the fluids. The pressure helps push the water into the tube once you uncover the end. Then gravity takes over.
Water Siphon Experiment
Let's learn about gravity, atmospheric pressure, cohesion, and continuous flow through this water siphon science experiment.
Materials
- 2 Clear Containers
- Clear Plastic Tubing
- Optional:
- Food Coloring
Instructions
- Fill up one container with water. You can also add some food coloring and swish it around.
- Place the containers a little less than the tube length apart from each other, and put the one with water higher up. You can place it on a box.
- Put the tubing under the water and close off the other end with your thumb, leaving it under the water.
- Move the end that you are holding above the second container and let go of the covered end once it is held at a lower level than your water source.
More Science Fun From Kids Activities Blog
- Here are 50 fun and interactive science games!
- Learn more about atoms and grab atomic model worksheets here –> What is an atom?
- Learn about chromosomes and genes and grab free science worksheets for review.
- And here are tons of new science experiments for kids at home.
- Kids of all ages will love this ferrofluid science experiment.
- Printable periodic table science worksheets and lots of learning about the periodic table of elements.
- Why not try these gross science experiments too?
- Don’t miss our fun facts for kids!
- Learning the model of an atom – easy fun printables!
- We have a dancing raisin experiment for kids.
- Check out this science activity! You can make an atom.
- Learn how germs are spread.
- Make your own copper train!
- Learn how to make elephant toothpaste!
How did your water siphon experiment turn out?


0