
Today we are making a super adorable fall gift box! Kids of all ages, and adults, will love making these fall gift boxes. The best part is, we have so many different designs you can print and use to create a number of different ones. Use these to give presents to all your loved ones! You can make these DIY gift boxes at home or in the classroom.
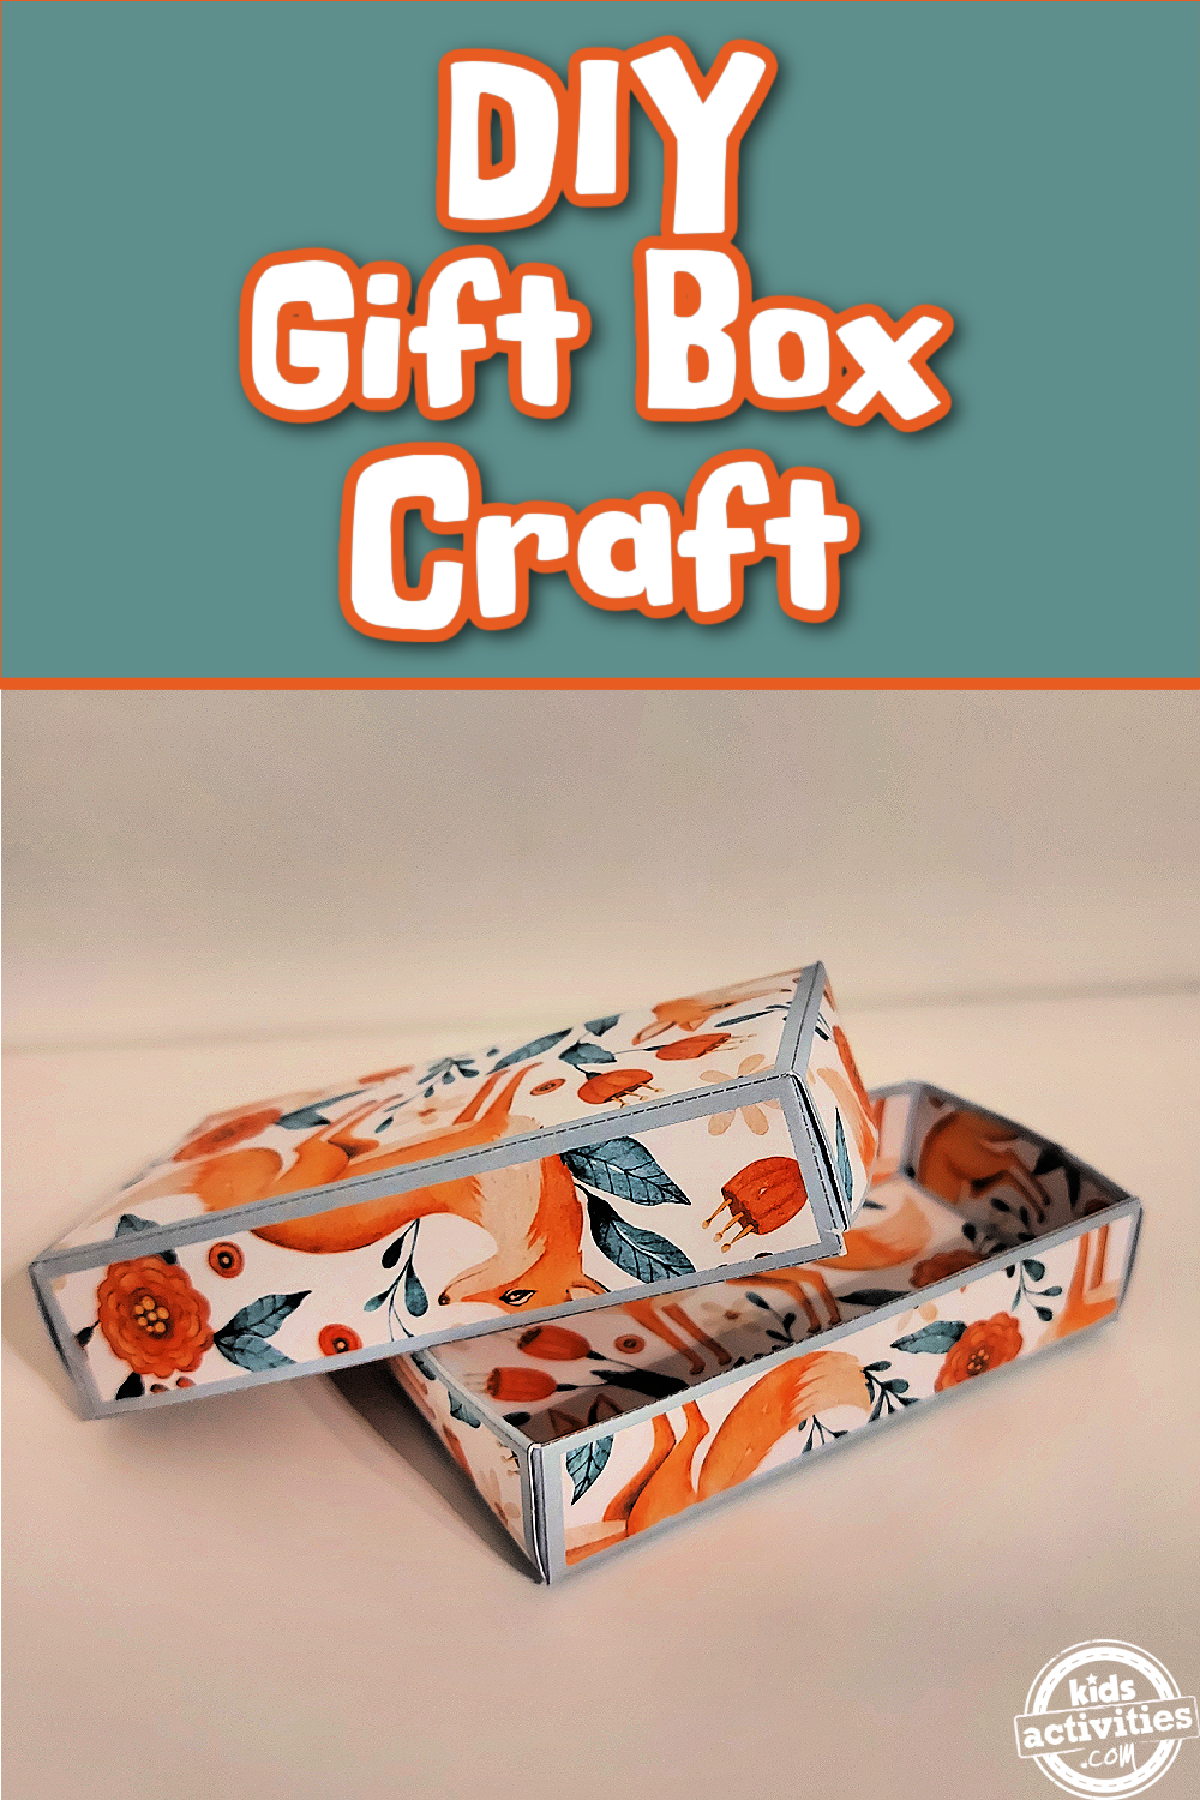
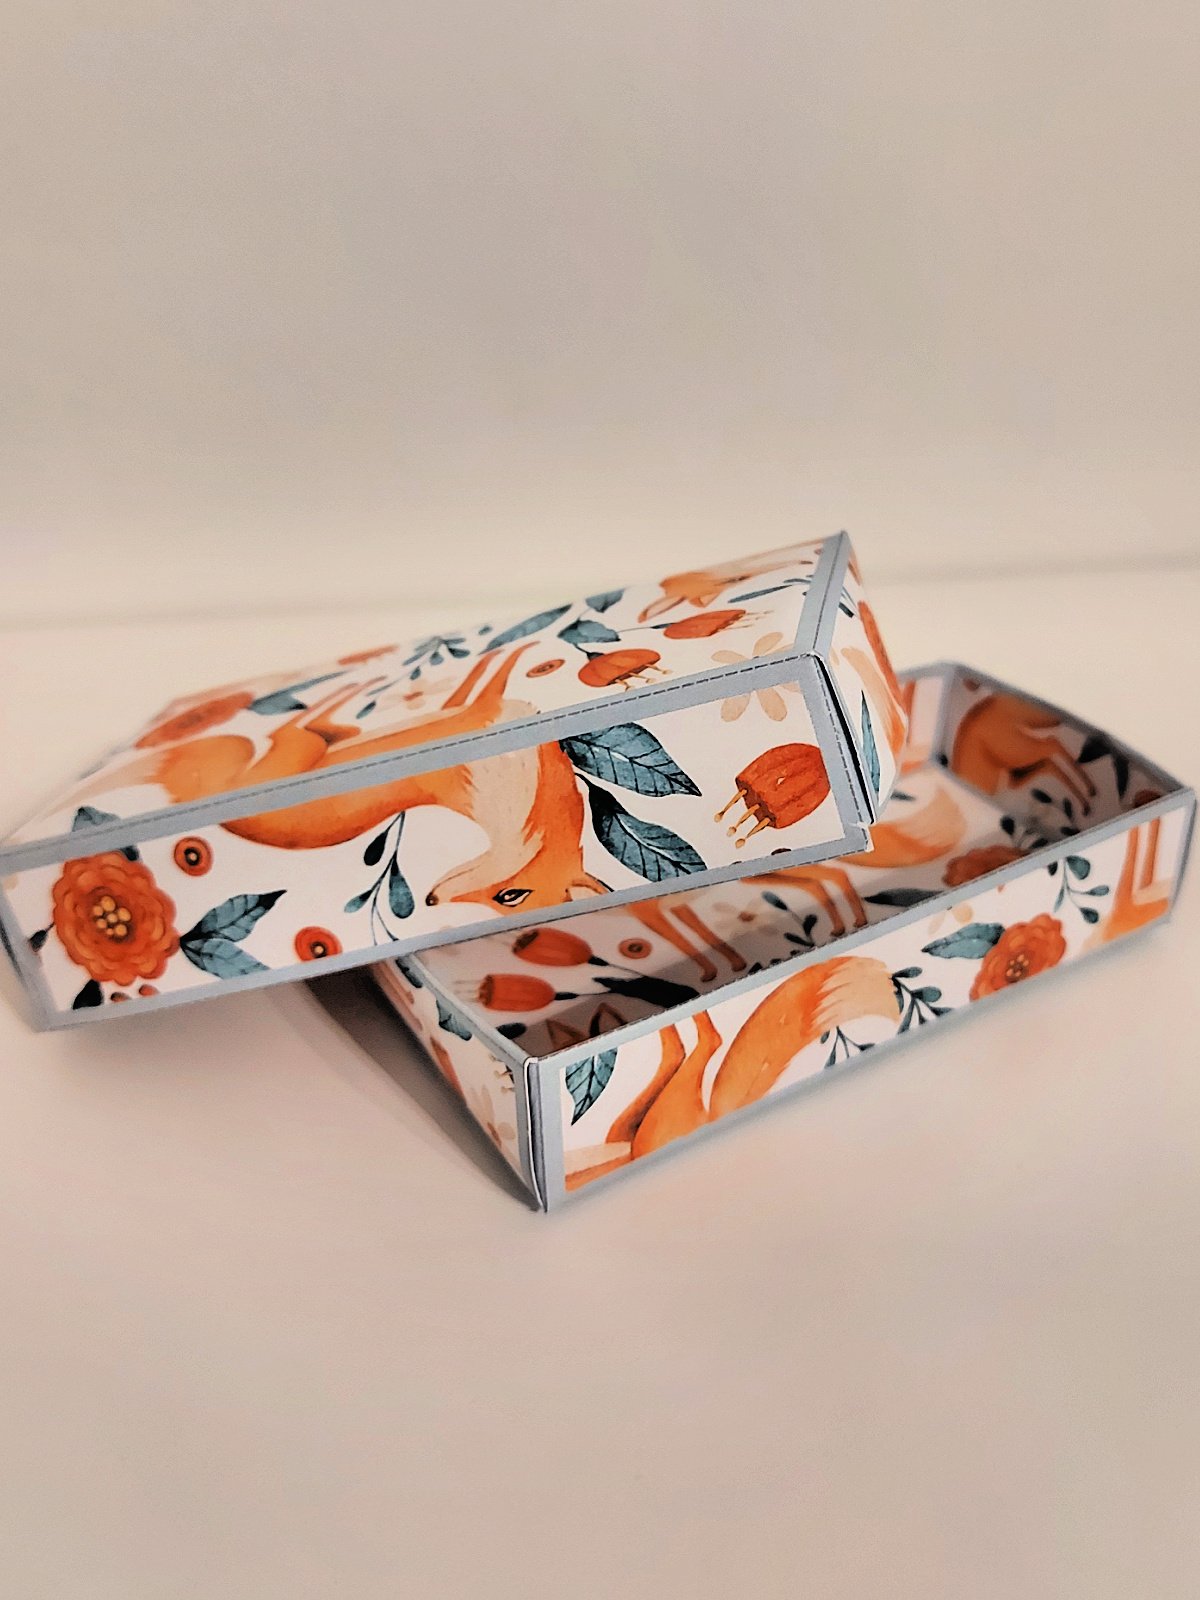
Free Printable Woodland Themed Gift Boxes
Fall is here and what’s cuter than woodland creatures and pretty leaves. We have 10 different fall themed designs you can use to make fall gift boxes, each one different and beautiful in it’s own right. And they’re so easy to put together! Put all sorts of little gifts inside like jewelry, pictures, candies, and so much more! Anyone would love to receive a gift in a fall gift box. Download and print our DIY gift box templates now:
This post contains affiliate links.
Related: Learn how to make glitter wrapping paper that isn’t messy.
Supplies Needed To Make Fall Gift Boxes
- Scissors
- Double Sided Tape or Glue
- Our Printable Templates
How To Make These DIY Fall Gift Boxes
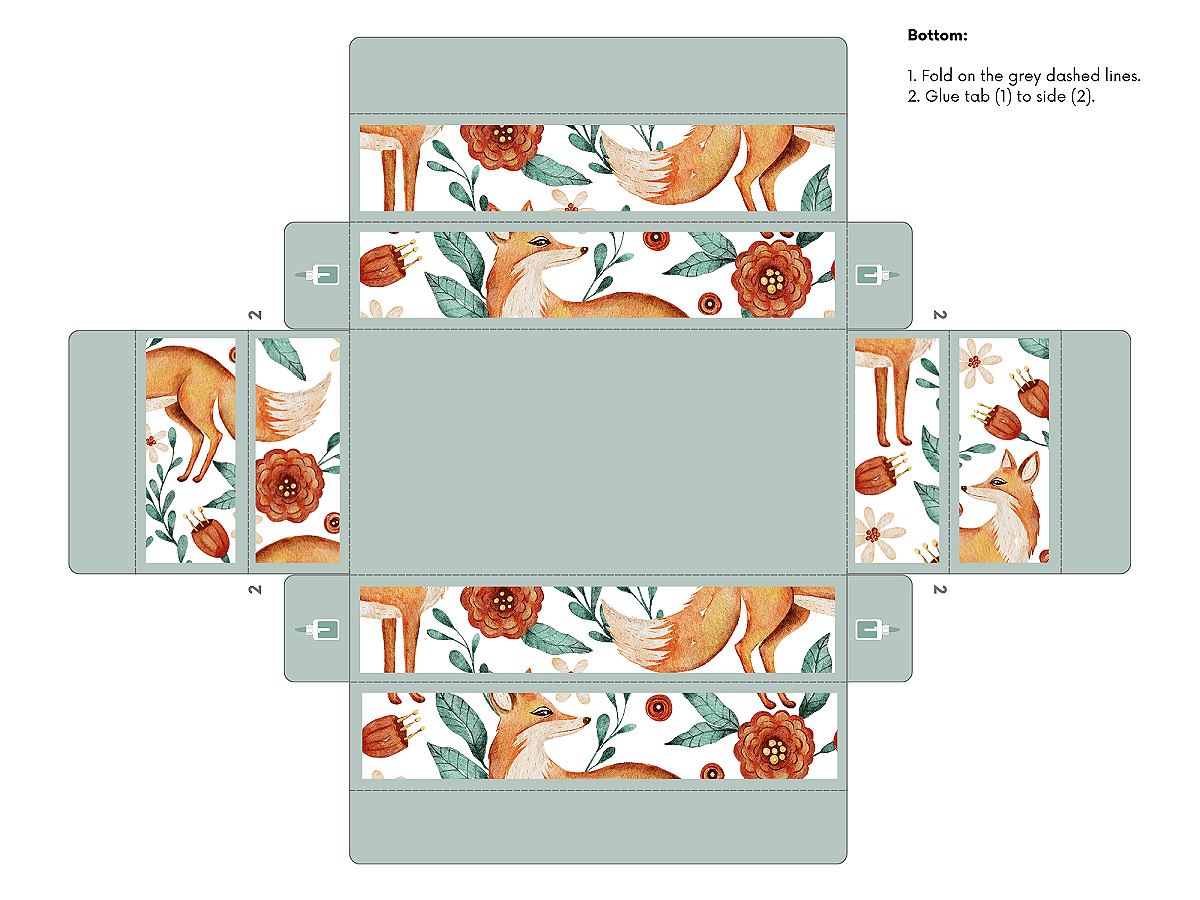
Bottom-Step 1
Choose a template of your choice. We had 10 to choose from and cut it out from the white paper along the black lines.
Bottom-Top-Step 2
Fold on the gray dashed lines.
Bottom-Step 3
Glue tab 1 to side 2.
Bottom-Step 4
Glue or use tape to secure the tabs marked 1 and attach them to the shorter side panels.
Bottom-Step 5
Add glue to the outer tabs and fold the longer panels on the side to the inward side to secure them.
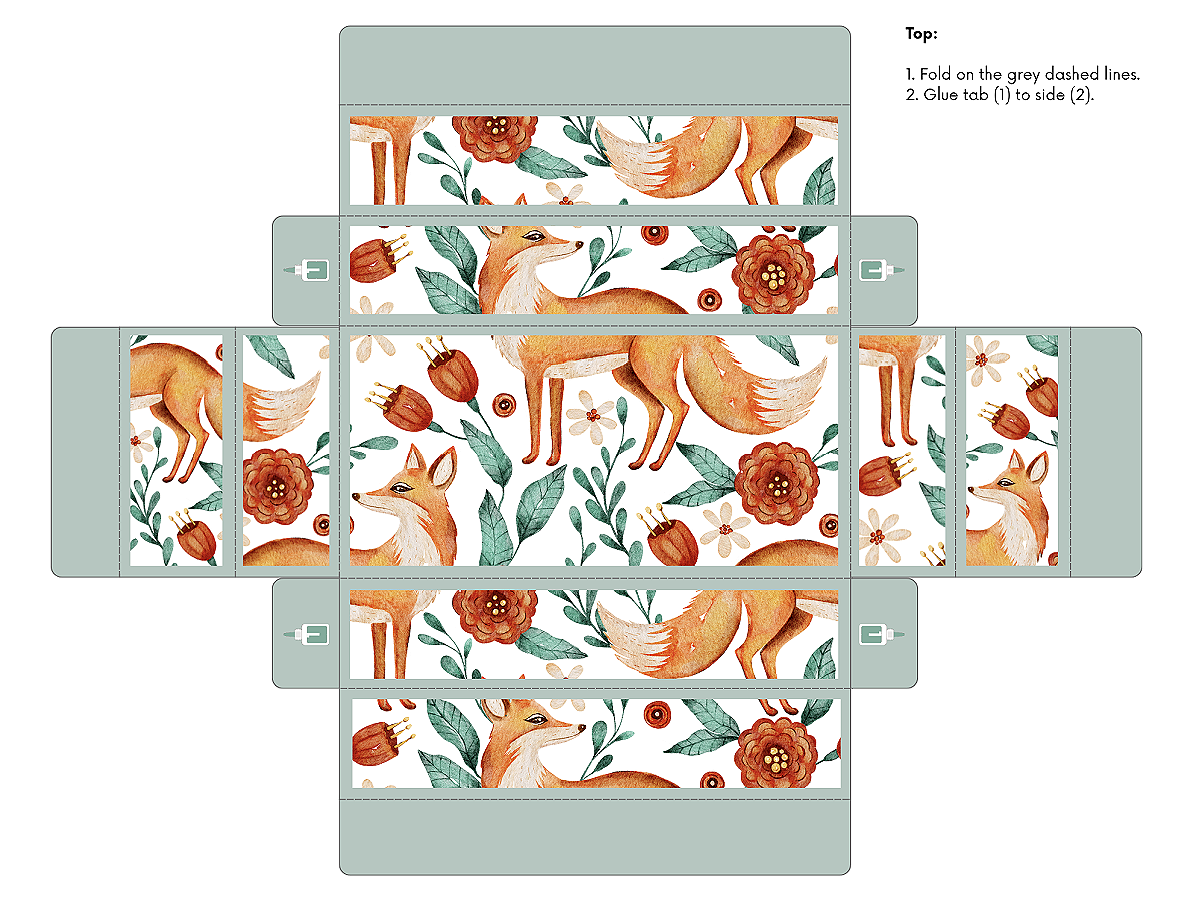
Top-Step 6
Do the same for the bottom top of the gift box. Repeat steps 1-6.
Step 7
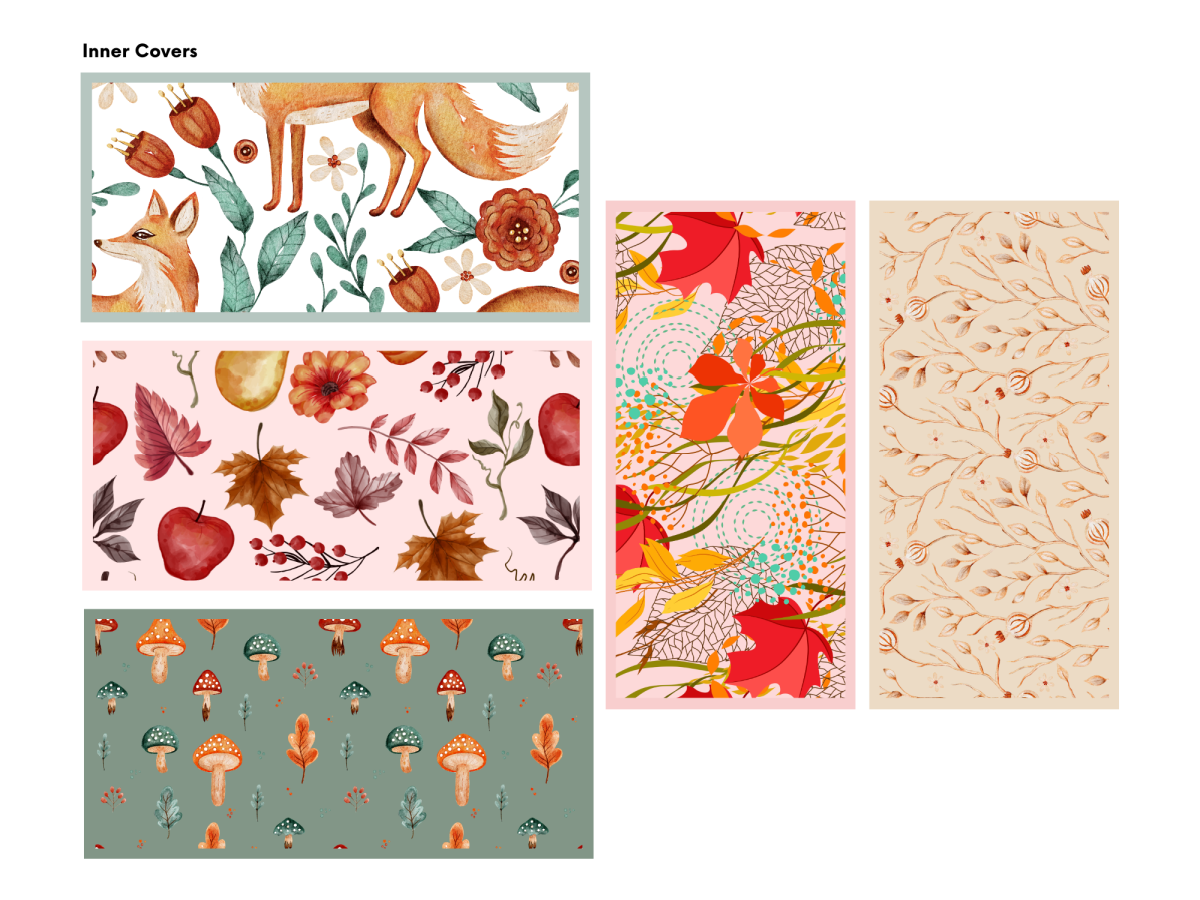
Cut out the inner top and bottom covers.
Craft Note
You’ll find that the bottom cover is slightly smaller than the top cover, so you may want to mark the back just to keep them from getting mixed up.
Step 8
Now glue or tape the covers to the lid and bottom of your gift box.
Craft Note
If you want the box to be opened easier, you can cut a half circle notch on both sides of the lid.
You’re done!
Our Experience Making These Fall Gift Boxes
We had a birthday coming up, and had decided to get some little things my kid’s friend likes. Friendship necklace, bracelets, some barrettes, some earrings, all the good stuff. And while a gift bag would work, I wanted to use something more cute and something you could open.
And this worked out great! My kids were able to make different gift boxes and give her something unique in each. It was fun and simple to do.
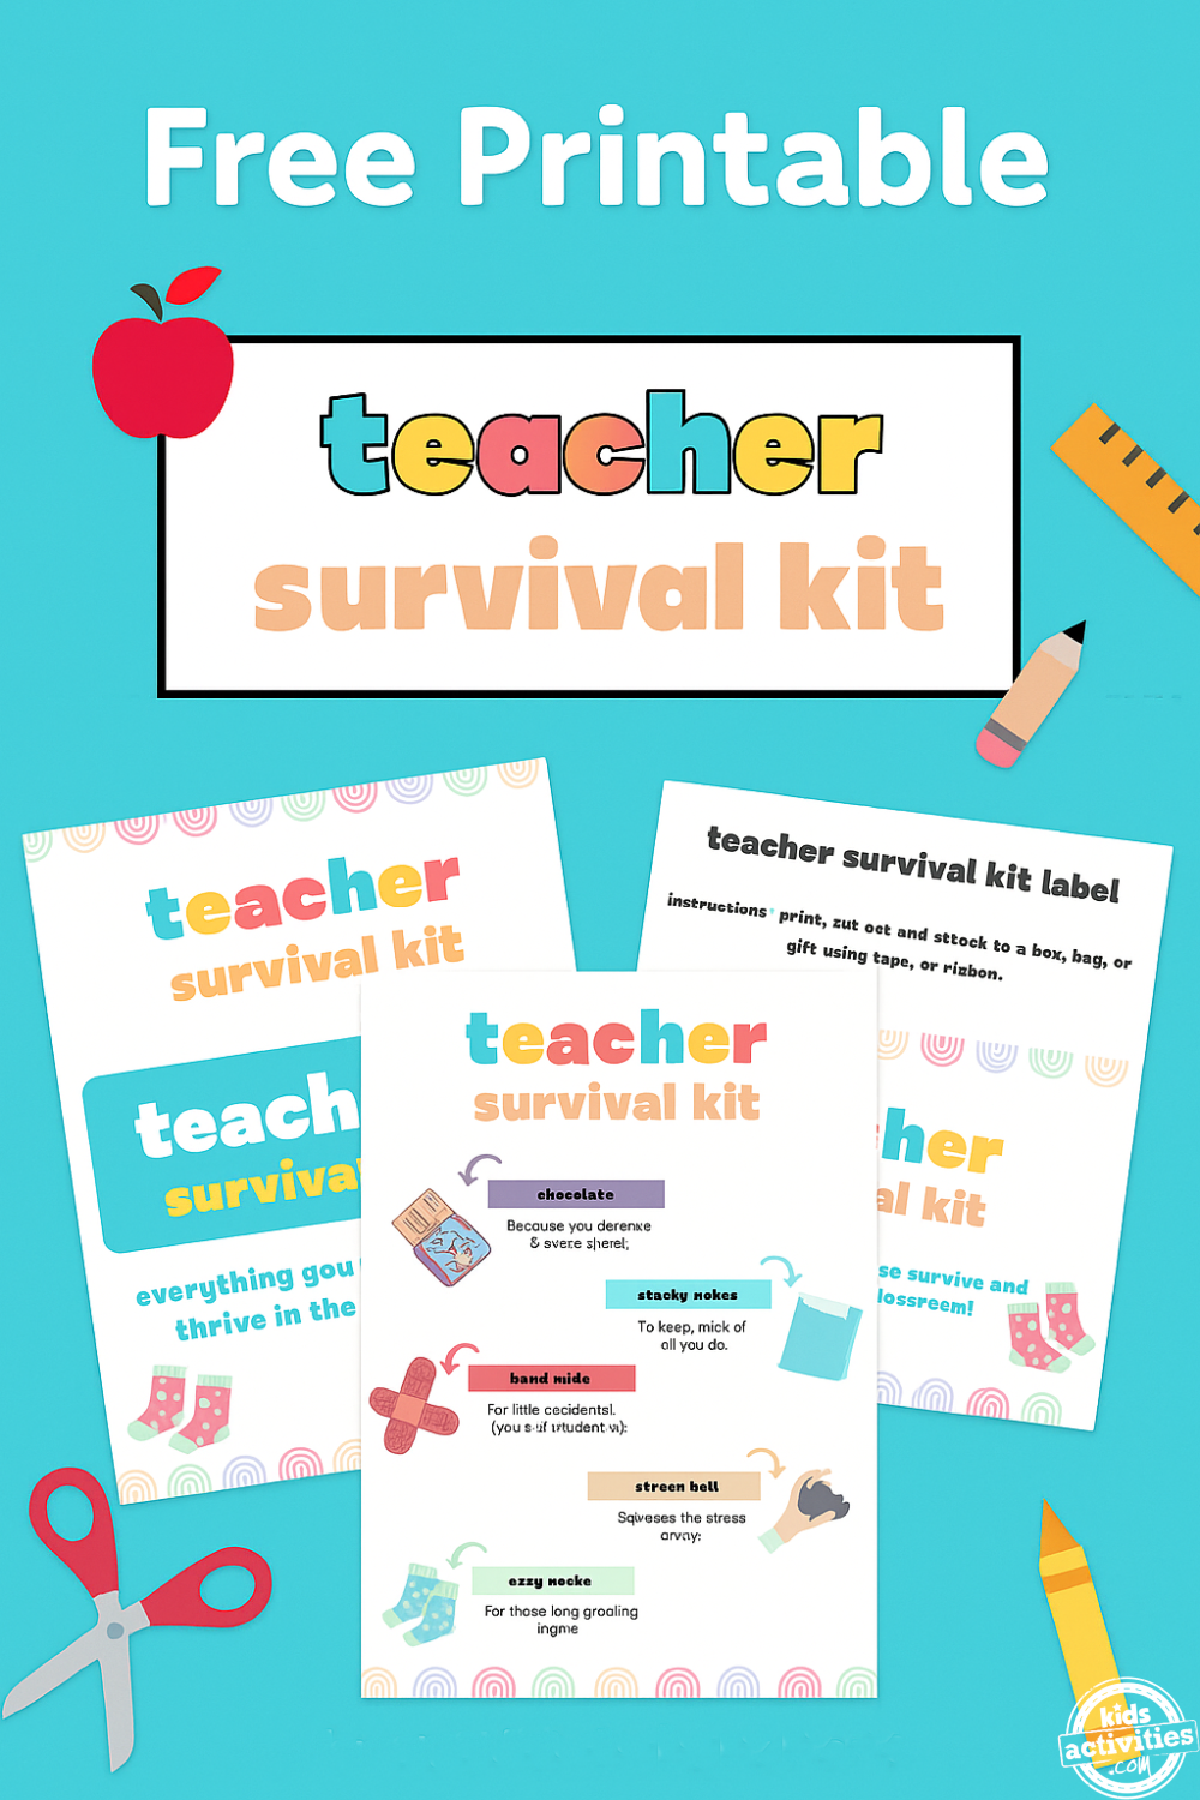
These would also be cute for birthday goodies, a gift for a teacher, grandparents day, etc. And there are so many different ones to choose from!
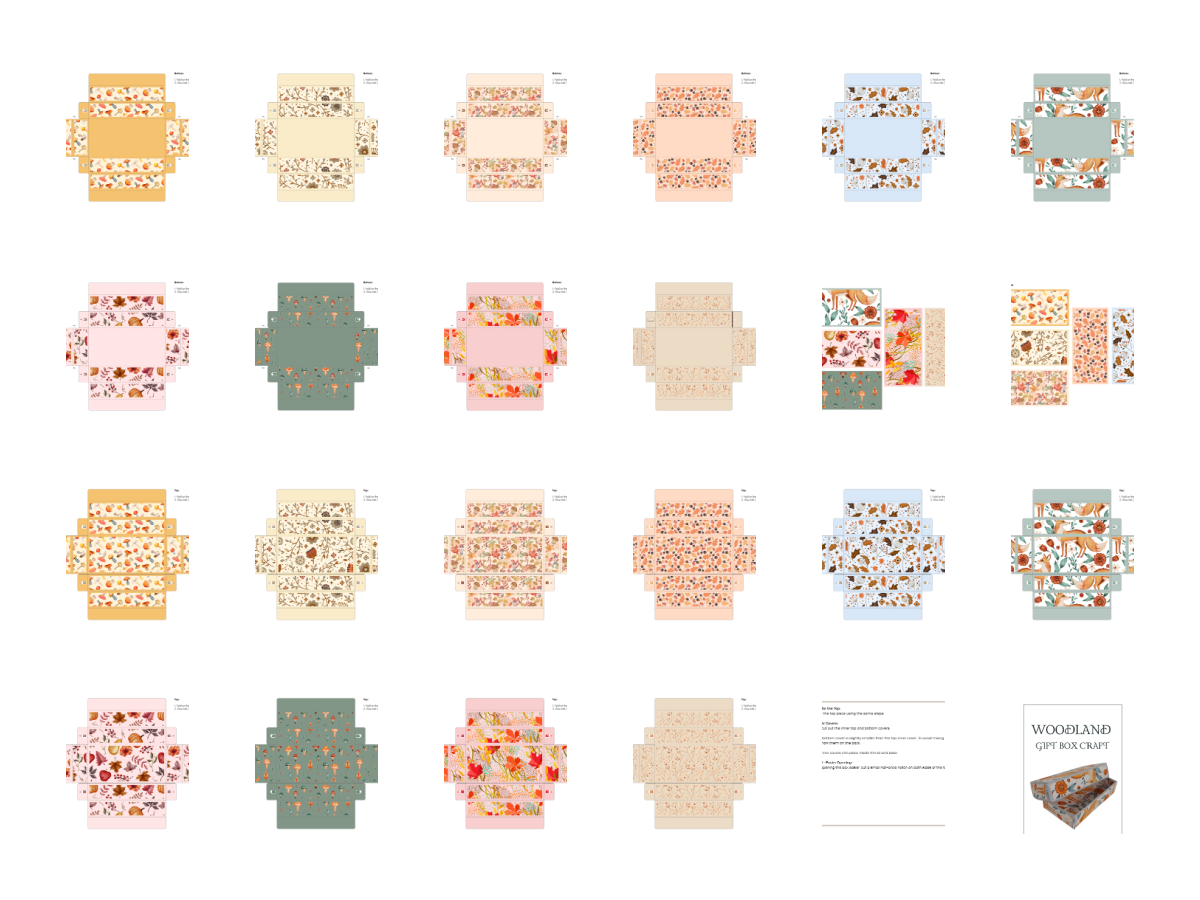
Download and Print Our Printable DIY Gift Box Template Printed PDF File
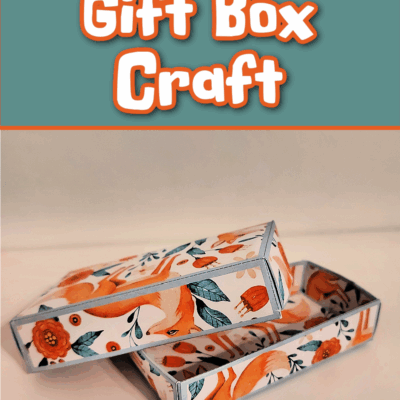
Cute Woodland Gift Box Craft
Download and print our gift box templates to put together the cutest themed gift boxes!
Materials
- Scissors
- Tape/Glue
- Our Printable Templates
Instructions
Bottom
- Choose a template of your choice. We had 10 to choose from and cut it out from the white paper along the black lines.
- Fold on the gray dashed lines.
- Glue tab 1 to side 2.
- Glue or use tape to secure the tabs marked 1 and attach them to the shorter side panels.
- Add glue to the outer tabs and fold the longer panels on the side to the inward side to secure them.
Top
- Do the same for the bottom top of the gift box. Repeat steps 1-6.
- Cut out the inner top and bottom covers.
- Now glue or tape the covers to the lid and bottom of your gift box.
Notes
- You’ll find that the bottom cover is slightly smaller than the top cover, so you may want to mark the back just to keep them from getting mixed up.
- If you want the box to be opened easier, you can cut a half circle notch on both sides of the lid.
More Fun Fall Crafts and Activties From Kids Activities Blog
- We have 180+ gorgeous fall crafts!
- Make these fun fall clay pie crafts!
- These fall popsicle stick crafts are so much fun.
- Check out this printable fall sketchbook with fall drawing prompts!
- I love these free printable fun fall writing prompts for kids.
- Have you tried making these fall themed necklaces?
- How fun is this DIY fall tic tac toe board?
- This fall picture frame craft is so fun and sweet!
- You have to make these fall magnets!
How did you like these fall gift boxes?


0