
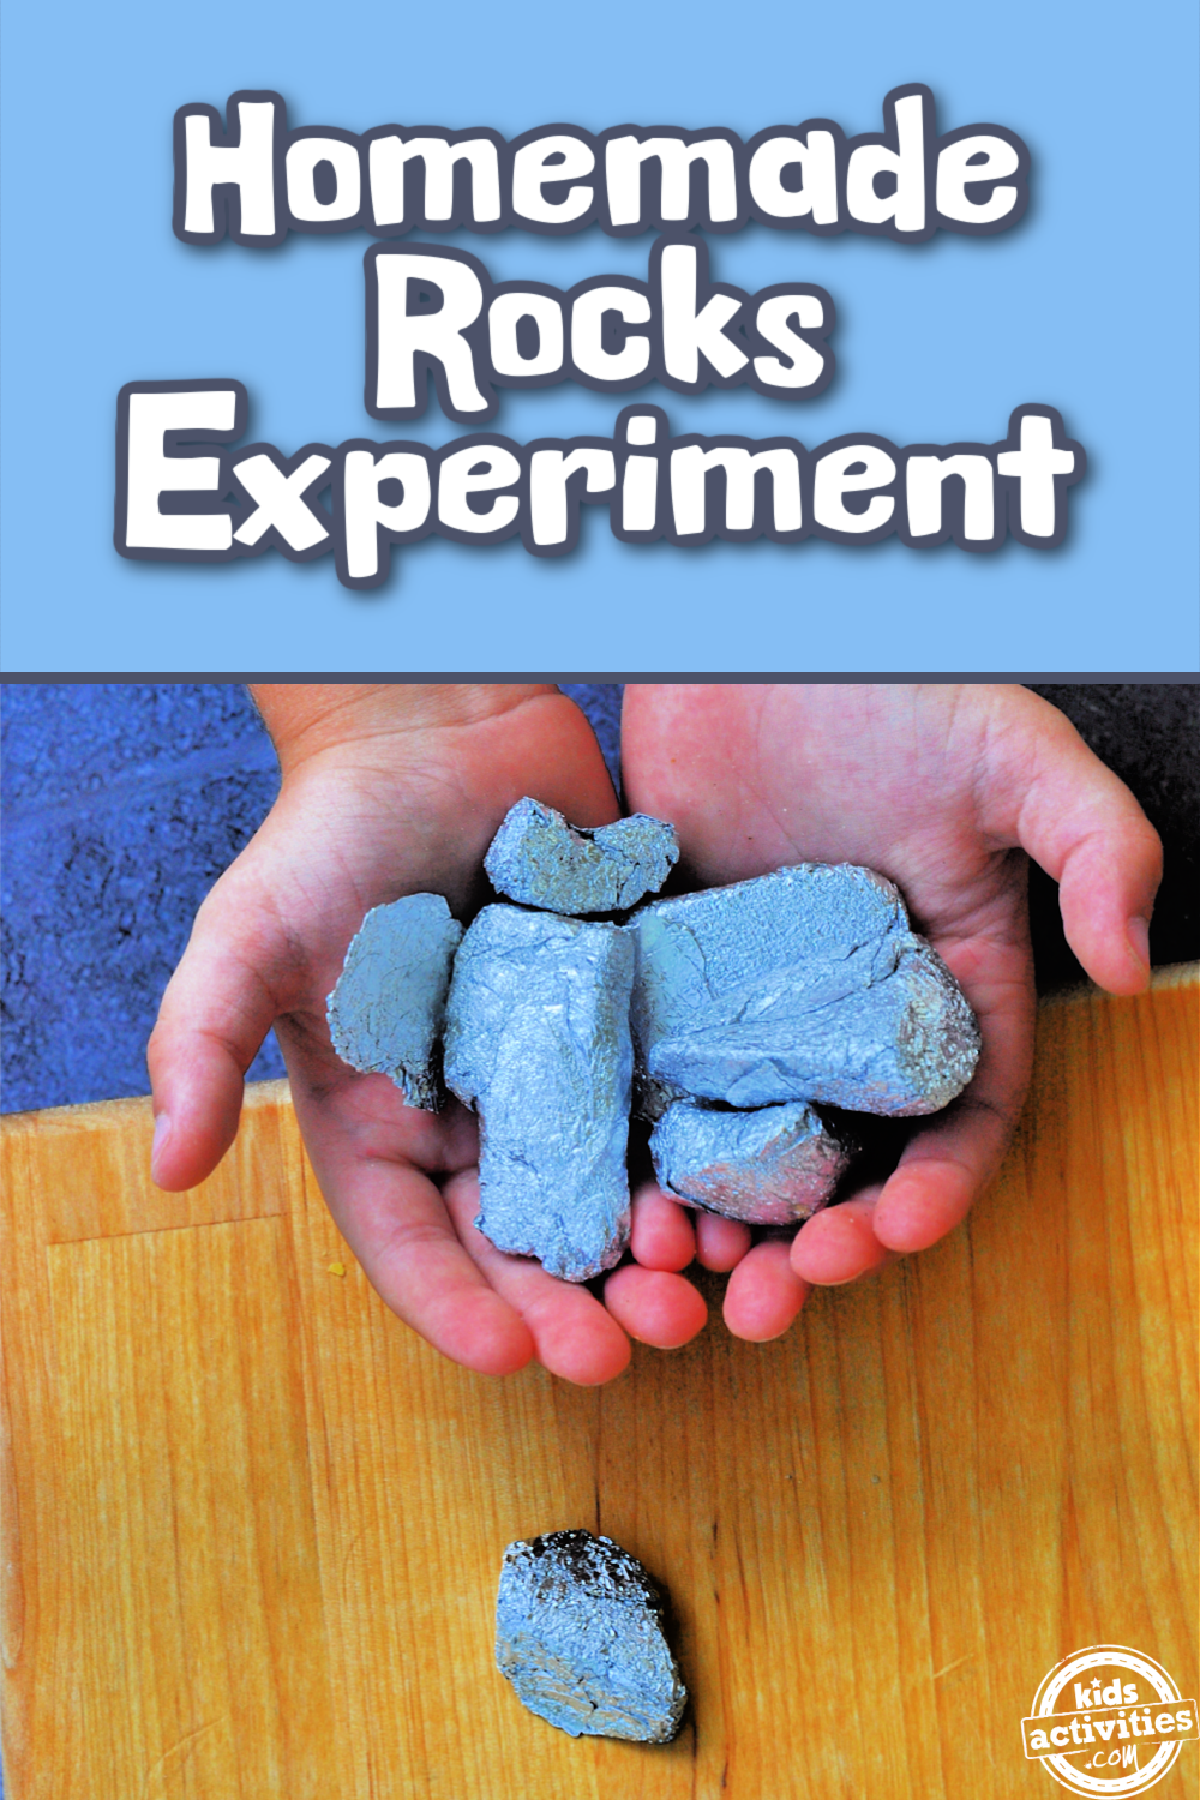
Today we are making DIY rocks! You heard me! We are making rocks today with this fun science activity. Kids of all ages will have fun turning simple aluminum foil into shiny rocks. It’s fun, it’s easy, it’s educational and can help kids dip their toes into the world of geology. You can do this fun DIY rock science experiment at home or in the classroom.
DIY Rocks Science Experiment
Kids will be able to explore geology and understand how rocks are made with this science activity. Plus, they can work on fine motor skills as well as hand-eye coordination as well.
A rock is a solid. And there are different types of rocks, and each one is made differently. Metamorphic rocks are rocks that have undergone changes. These rocks are generally subjected to very high heat and lots of pressure underneath the Earth’s surface. Which is what we will be doing today, making metamorphic rocks… but without the heat!
Fun fact: Marble, slate, gneiss, and schist are all metamorphic rocks!
This post contains affiliate links.
Related: Let’s make some moon rocks!
Supplies Needed For This DIY Rocks Science Experiment
- Aluminum Foil (We uses pieces that were 12×12)
- Safety Goggles
- Gloves
- 1 Hammer
- Paper
- Pencil
- Magnifying Glass
How To Set Up Your DIY Rocks Science Activity
Step 1
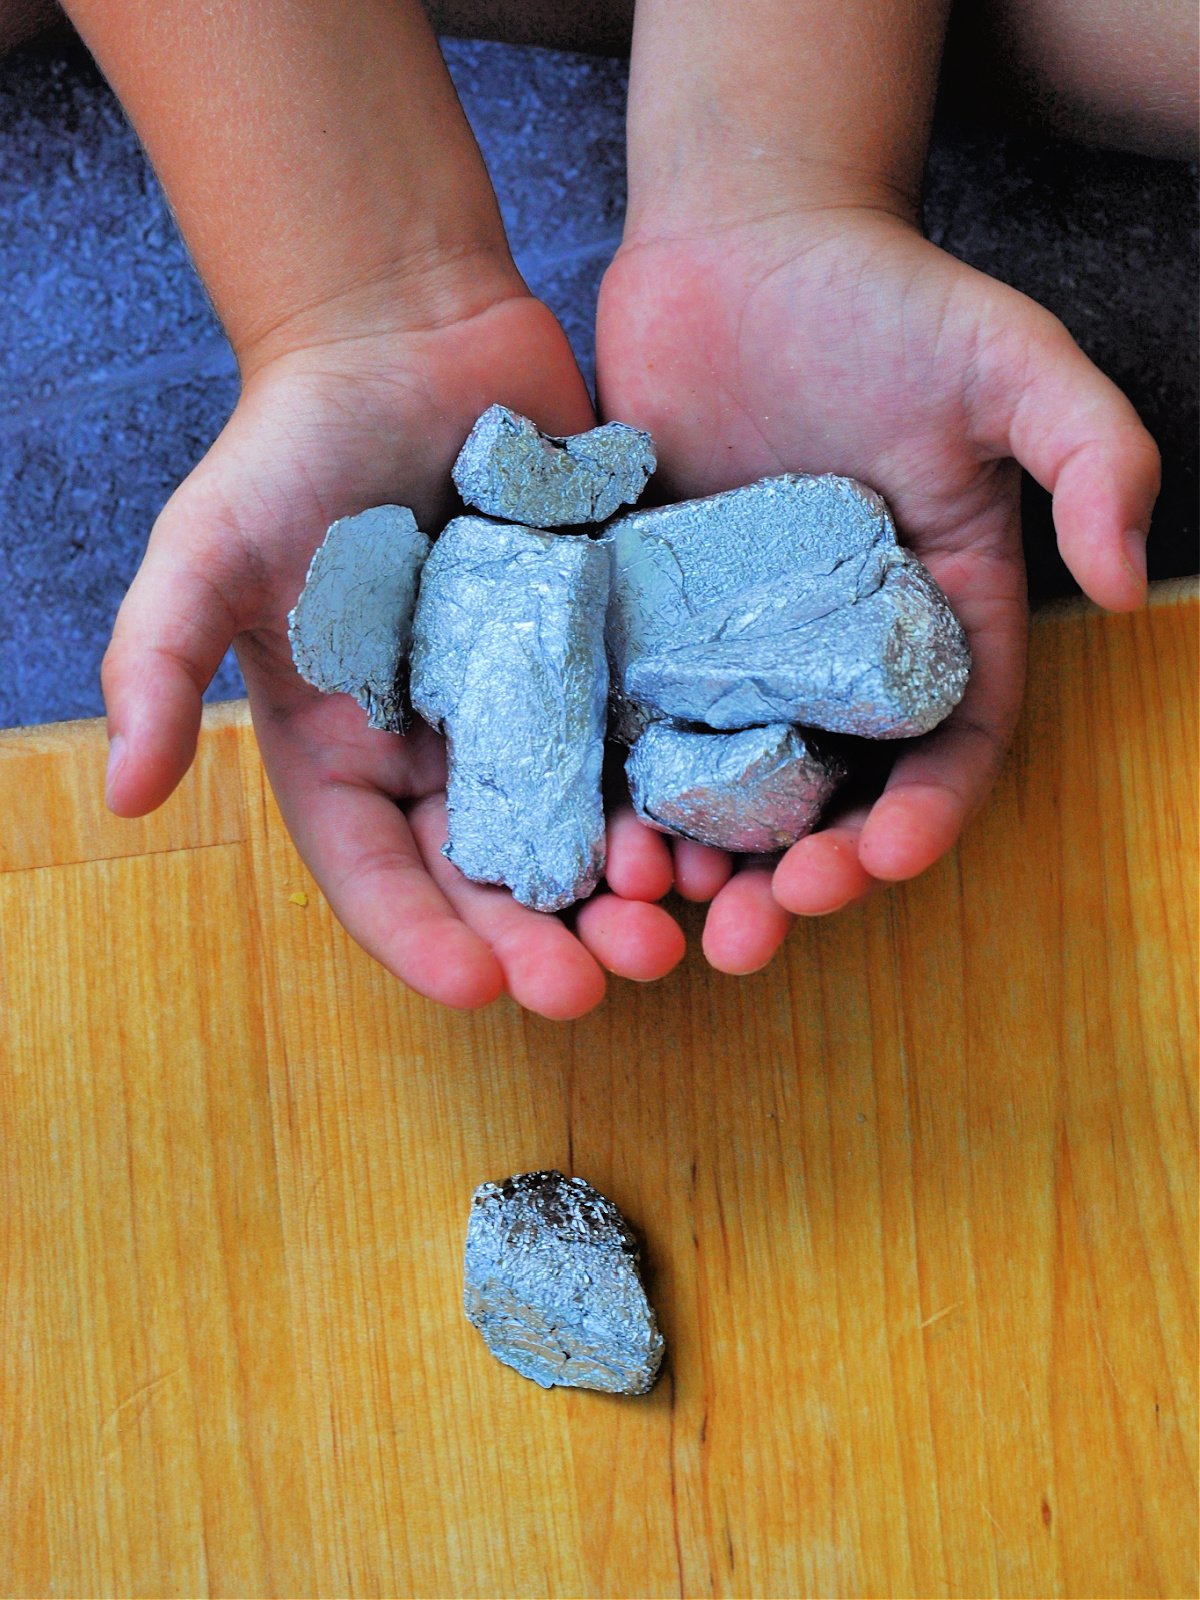
Wad up one piece of your aluminum foil into a ball. It can be a loose ball. Label this aluminum ball “Rock A”.
Step 2
Now, was up the second piece of aluminum foil, like the first one, and put it on the floor or a hard work surface. Using your hands, push down on it and squish it as hard as you can! After, label it “Rock B”.
Step 3
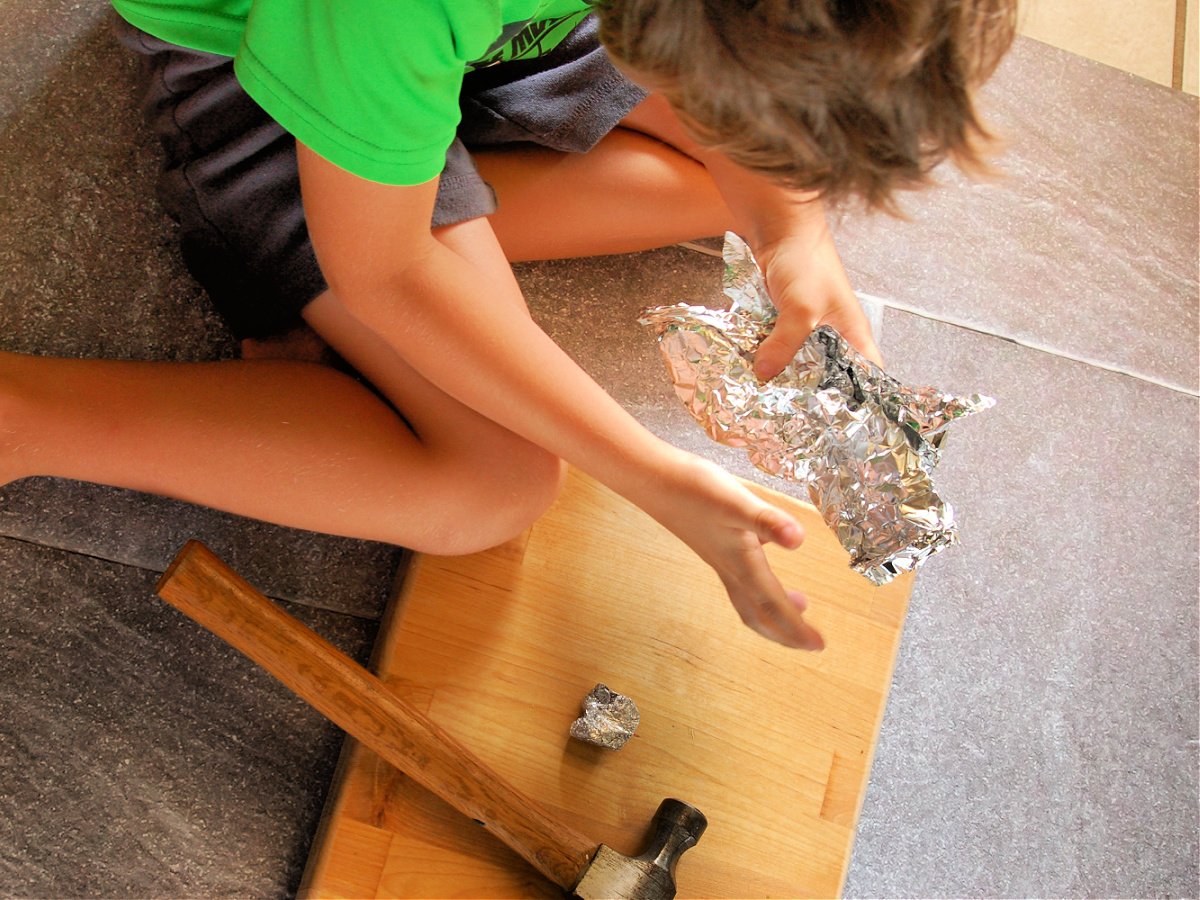
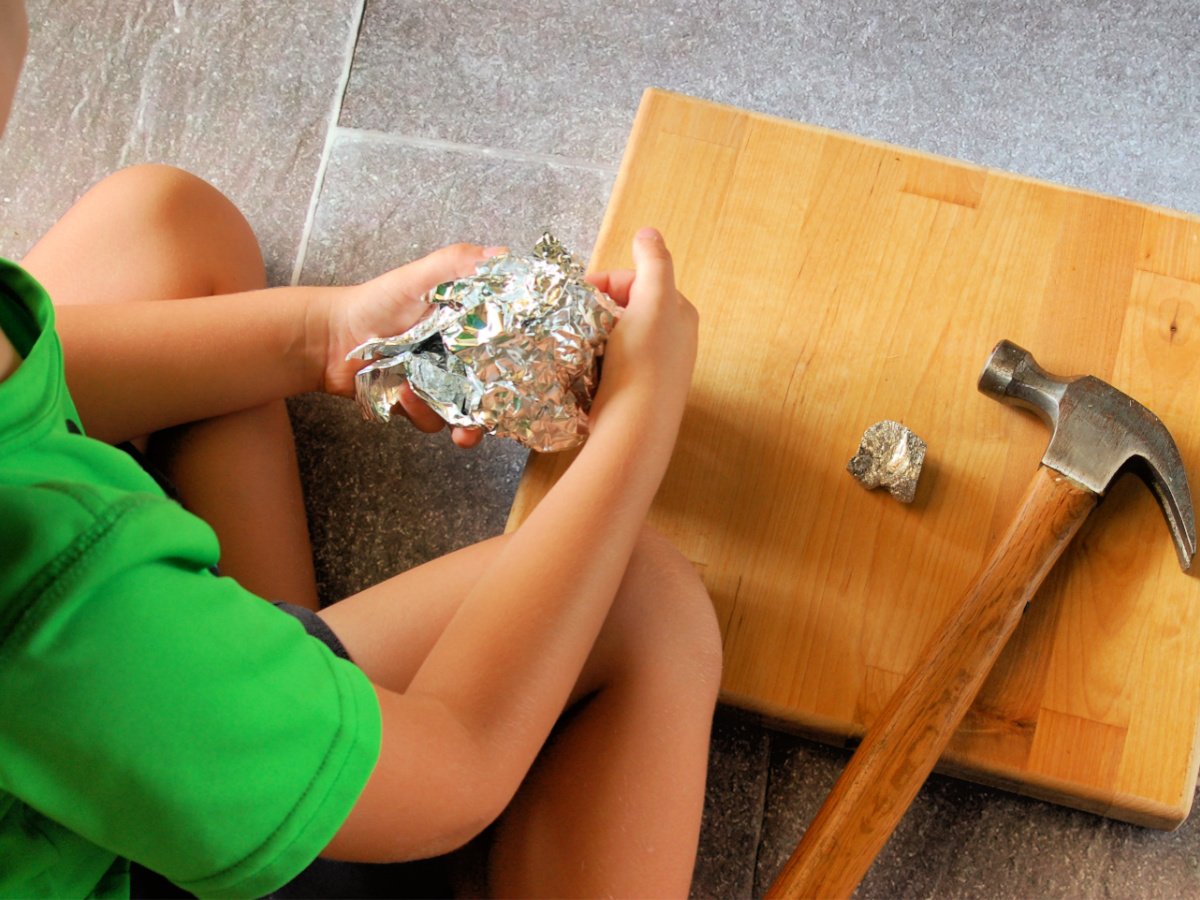
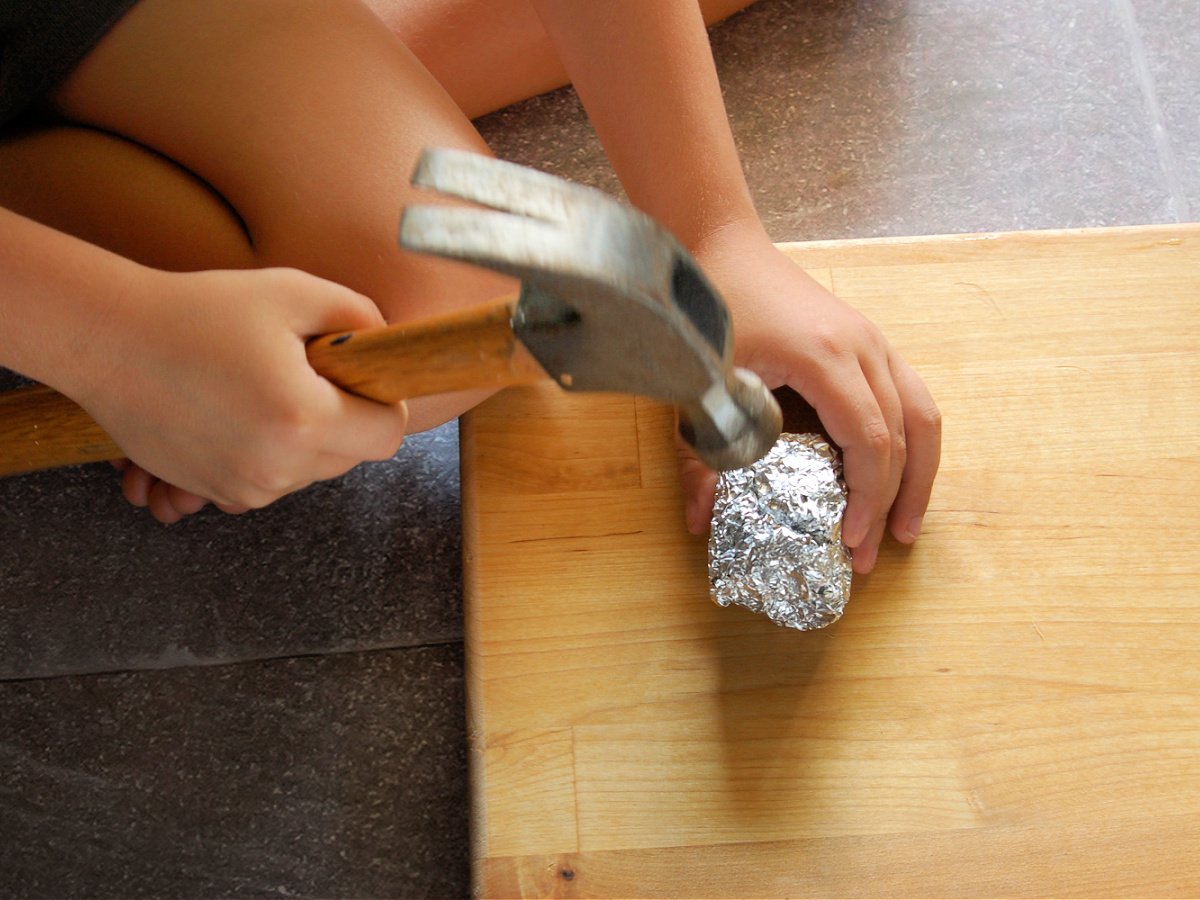
Take your third piece of aluminum foil and roll it into a ball. Then squish it with your hand as hard as you can. Now, put on your safety glasses and take your hammer and hammer the aluminum foil until it’s half as thick as it was. Then label it “Rock C”.
Step 4
Take your last piece of aluminum foil and roll it into a ball. Then squash it with your hands. Now, take your hammer and whack it! Keep doing it until you smash it completely flat. Label this one “Rock D”.
Craft Notes
If some pieces come off, that is okay. It happens when real rocks are forming too.
Looking At Your DIY Rocks
Look at your rocks. Look at them with just your eyes and then use the magnifying glass. What do you notice about these DIY rocks? How do they compare to real rocks?
You can probably see a different between your faux rocks. Though, they may have similarities to some real rocks.
Your DIY Rocks Explained
Rock A
You may notice that the aluminum foil has a lot of flat surfaces, but they face different directions. This is very similar to mudstone and clay. Their particles face different directions just like your aluminum foil rock.
Rock B
Take the magnifying glass and look at this DIY rock. The little flat surfaces are still facing different ways, but do you notice that some are starting to face the same way? Rock B is very similar to slate. Slate is clay that’s been under pressure and has become a rock and the particles within it are lined up along the same plane.
Rock C
This rock is most like phyllite. That means the surface of your crushed foil is pretty aligned with one another instead of jutting in many different directions like rock a and b.
Rock D
Did any pieces come off your rock? If so, then your rock was being sheared. If you look at this DIY rock under the magnifying glass then you’ll see that the surface should be mostly facing the same direction, unlike rocks a, b, and c. This DIY rock most resembles a rock that is called schist.
DIY Aluminum Foil Rocks

Let's explore rock formation with this geology science experiment that turns aluminum foil into different rocks!
Materials
- Aluminum Foil (We uses pieces that were 12×12)
- Safety Goggles
- Gloves
- 1 Hammer
- Paper
- Pencil
- Magnifying Glass
Instructions
Wad up one piece of your aluminum foil into a ball. It can be a loose ball. Label this aluminum ball “Rock A”.
Now, was up the second piece of aluminum foil, like the first one, and put it on the floor or a hard work surface. Using your hands, push down on it and squish it as hard as you can! After, label it “Rock B”.
Take your third piece of aluminum foil and roll it into a ball. Then squish it with your hand as hard as you can. Now, put on your safety glasses and take your hammer and hammer the aluminum foil until it’s half as thick as it was. Then label it “Rock C”.
Take your last piece of aluminum foil and roll it into a ball. Then squash it with your hands. Now, take your hammer and whack it! Keep doing it until you smash it completely flat. Label this one “Rock D”.
Notes
If some pieces come off, that is okay. It happens when real rocks are forming too.
More Science Fun From Kids Activities Blog
- Here are 50 fun and interactive science games!
- Learn more about atoms and grab atomic model worksheets here –> What is an atom?
- Learn about chromosomes and genes and grab free science worksheets for review.
- And here are tons of new science experiments for kids at home.
- Kids of all ages will love this ferrofluid science experiment.
- Printable periodic table science worksheets and lots of learning about the periodic table of elements.
- Why not try these gross science experiments too?
- Don’t miss our fun facts for kids!
- Learning the model of an atom – easy fun printables!
- We have a dancing raisin experiment for kids.
- Check out this science activity! You can make an atom.
- Learn how germs are spread.
- Download and print our scientific method steps for kids printable!
- Make your own copper train!
How did your DIY rocks turn out?


0