
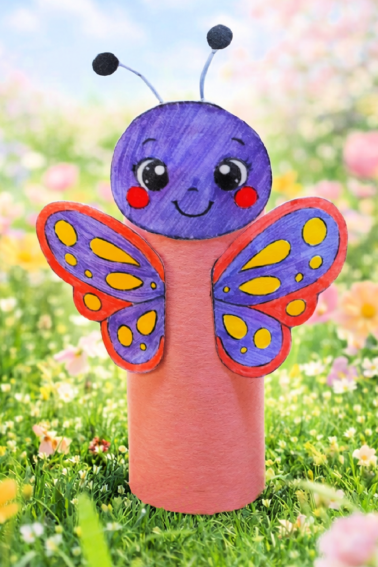
Today we have a fun ladybug craft for kids. Kids of all ages will love this simple, but fun spring craft. It can also double as a bug craft! Either way we will making a super cute ladybug that kids can color and decorate and then put together. Use this ladybug craft at home or in the classroom.
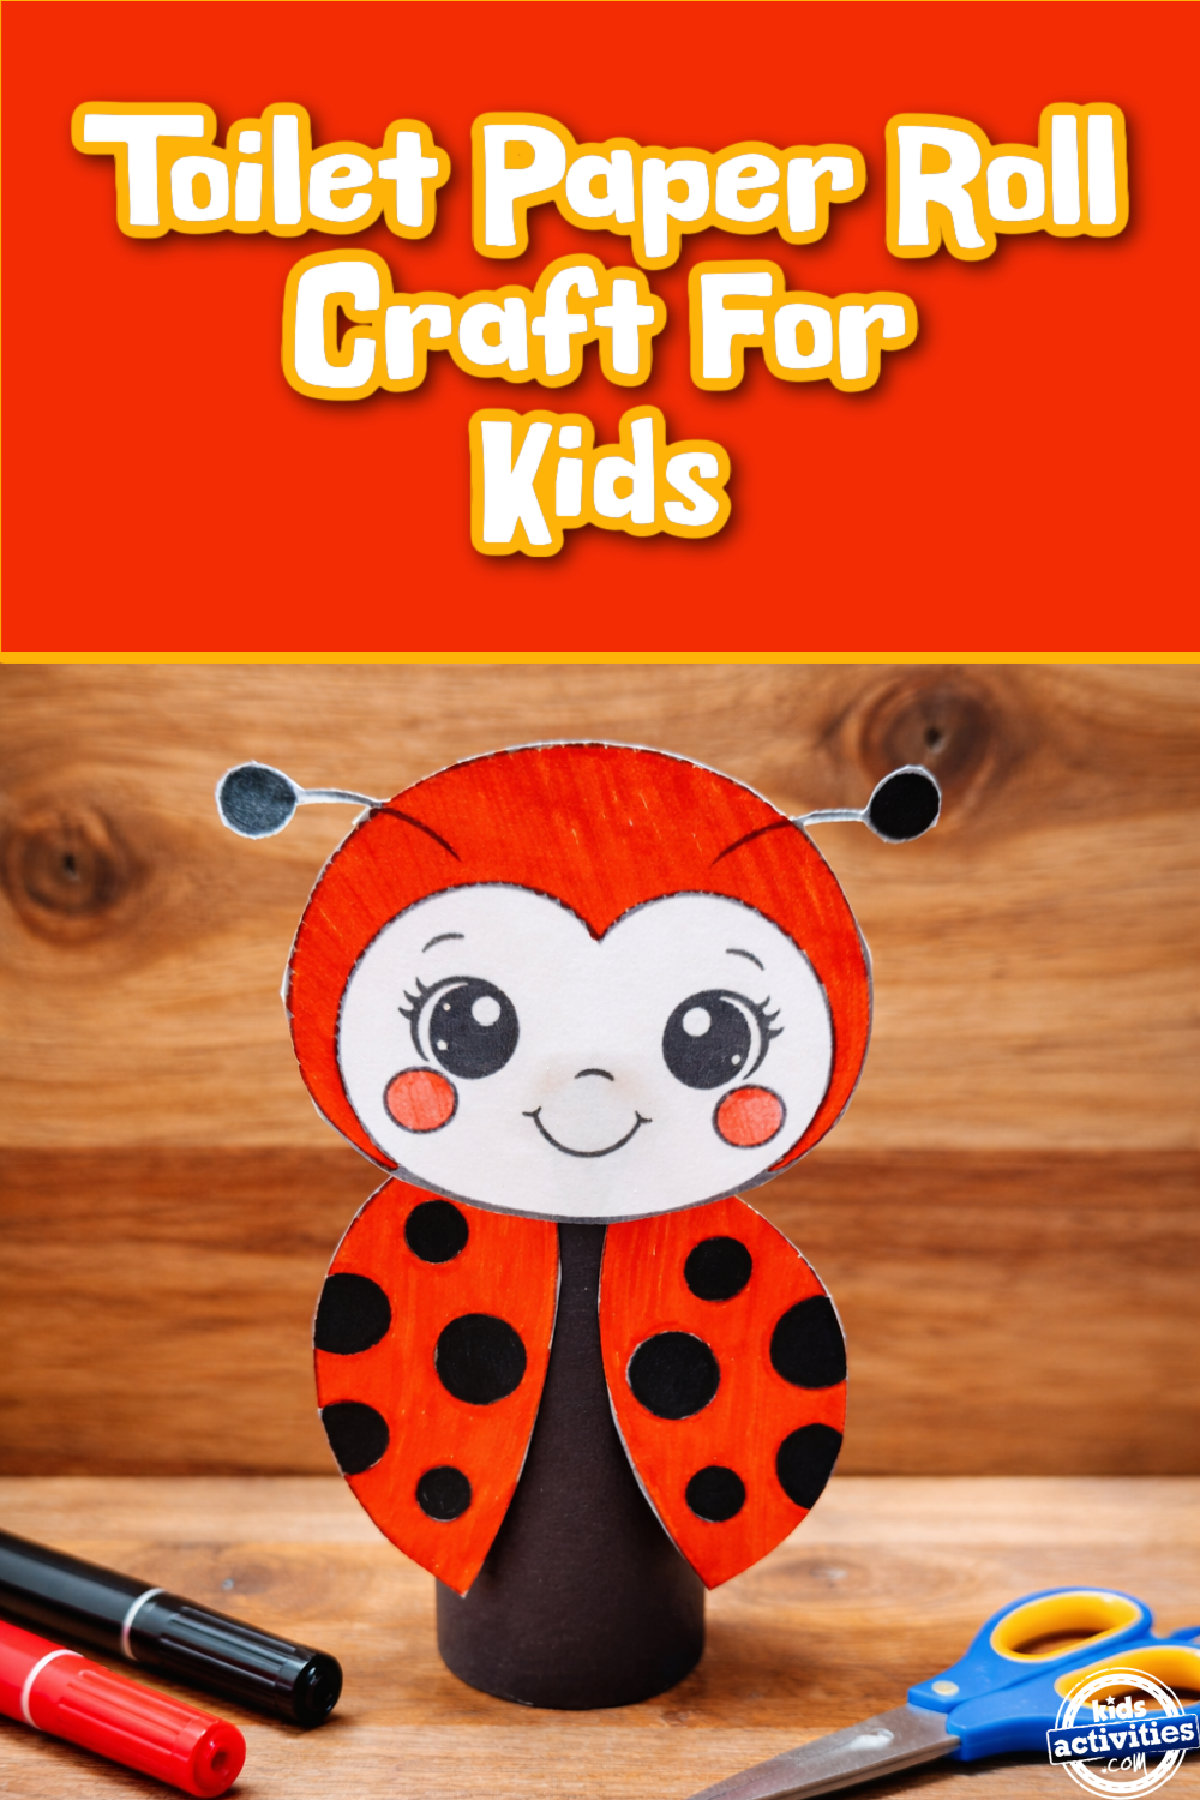
Free Printable Ladybug Craft
We love ladybugs. They’re so adorable! And now you can make your own with this paper craft. Kids will be able to practice fine motor skills as they color, cut, measure, glue, a paper ladybug as well as explore colors as they design and decorate their little bug.
There is no wrong way to put together your ladybug. You can cut along the dotted lines or cut along the black lines. It’s made easy for bigger kids and younger kids alike. Download and print our ladybug template now:
This post contains affiliate links.
Related: Check out our free printable ladybug coloring pages.
Supplies Needed For This Ladybug Craft
- Toilet Paper Roll
- Scissors
- Markers, Crayons, Colored Pencils, or Paints (We used markers)
- Glue Stick
- Ladybug Template
- Construction Paper (We used Black)
How To Put Together This Lady Craft
Step 1
Download and print our ladybug template.
Step 2
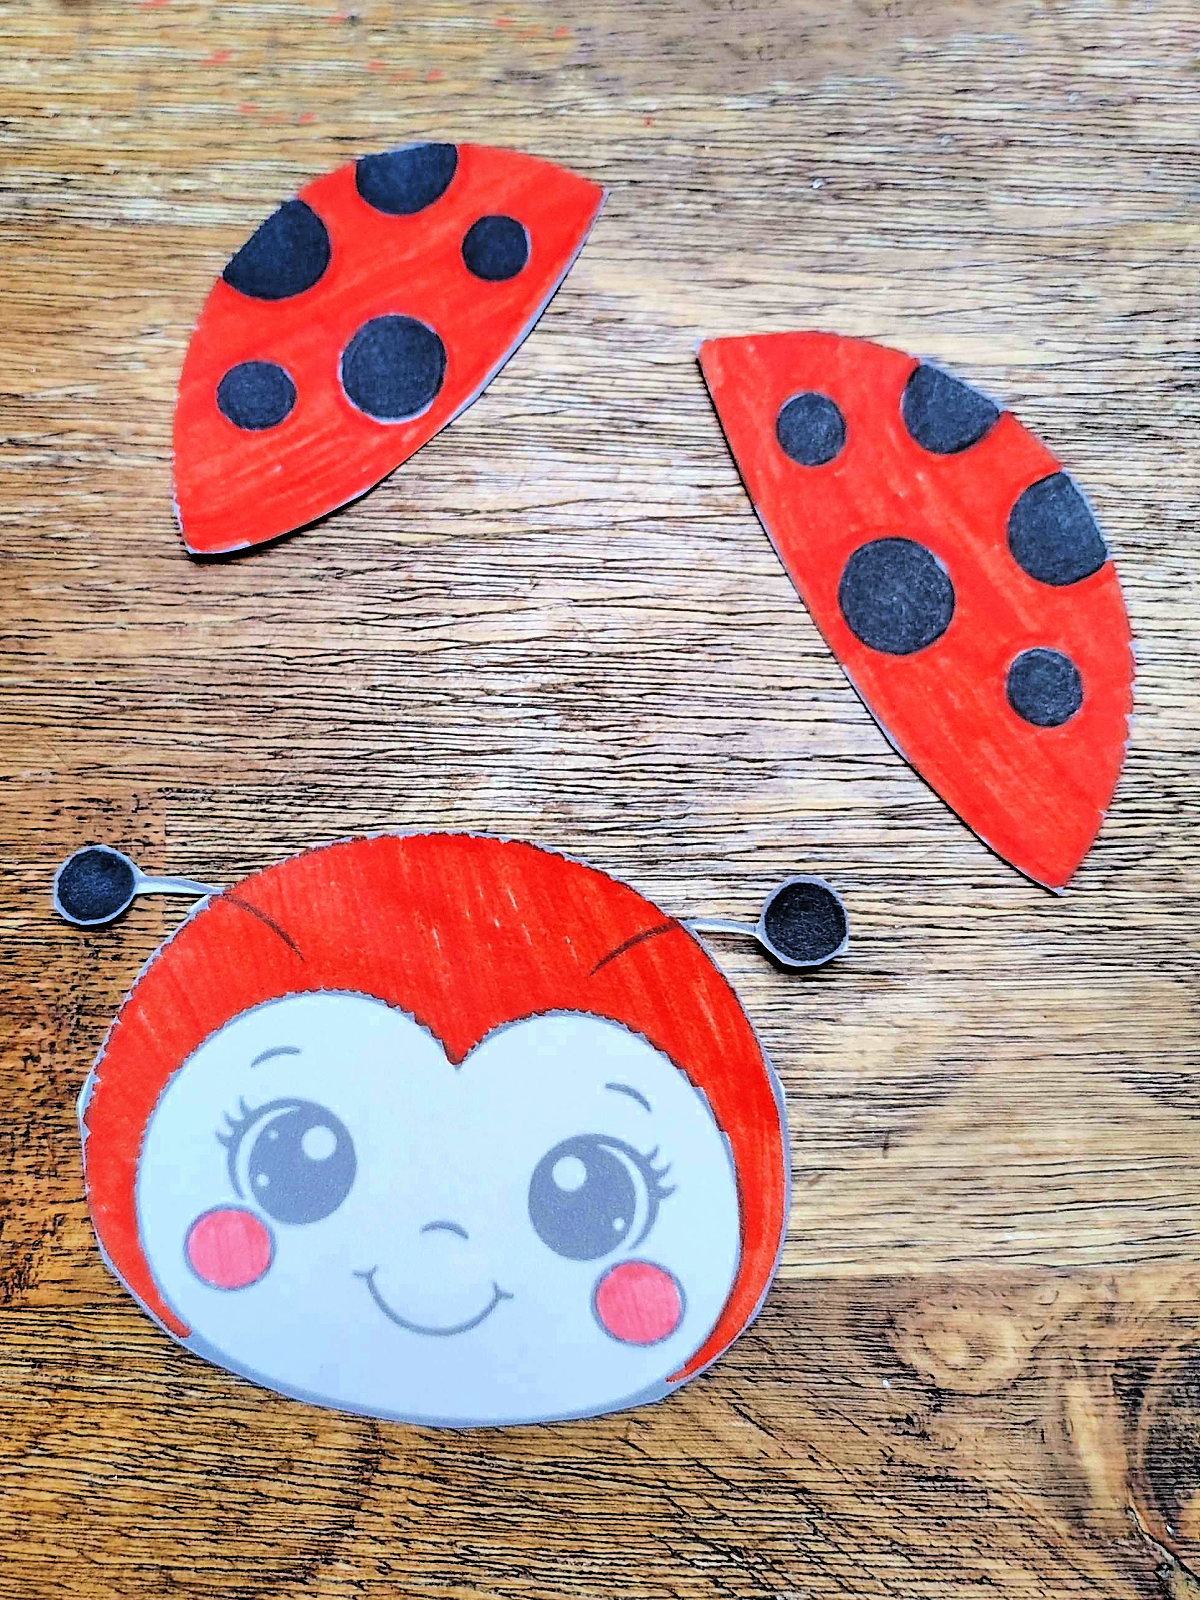
Color and cut out the ladybug printable.
Step 3
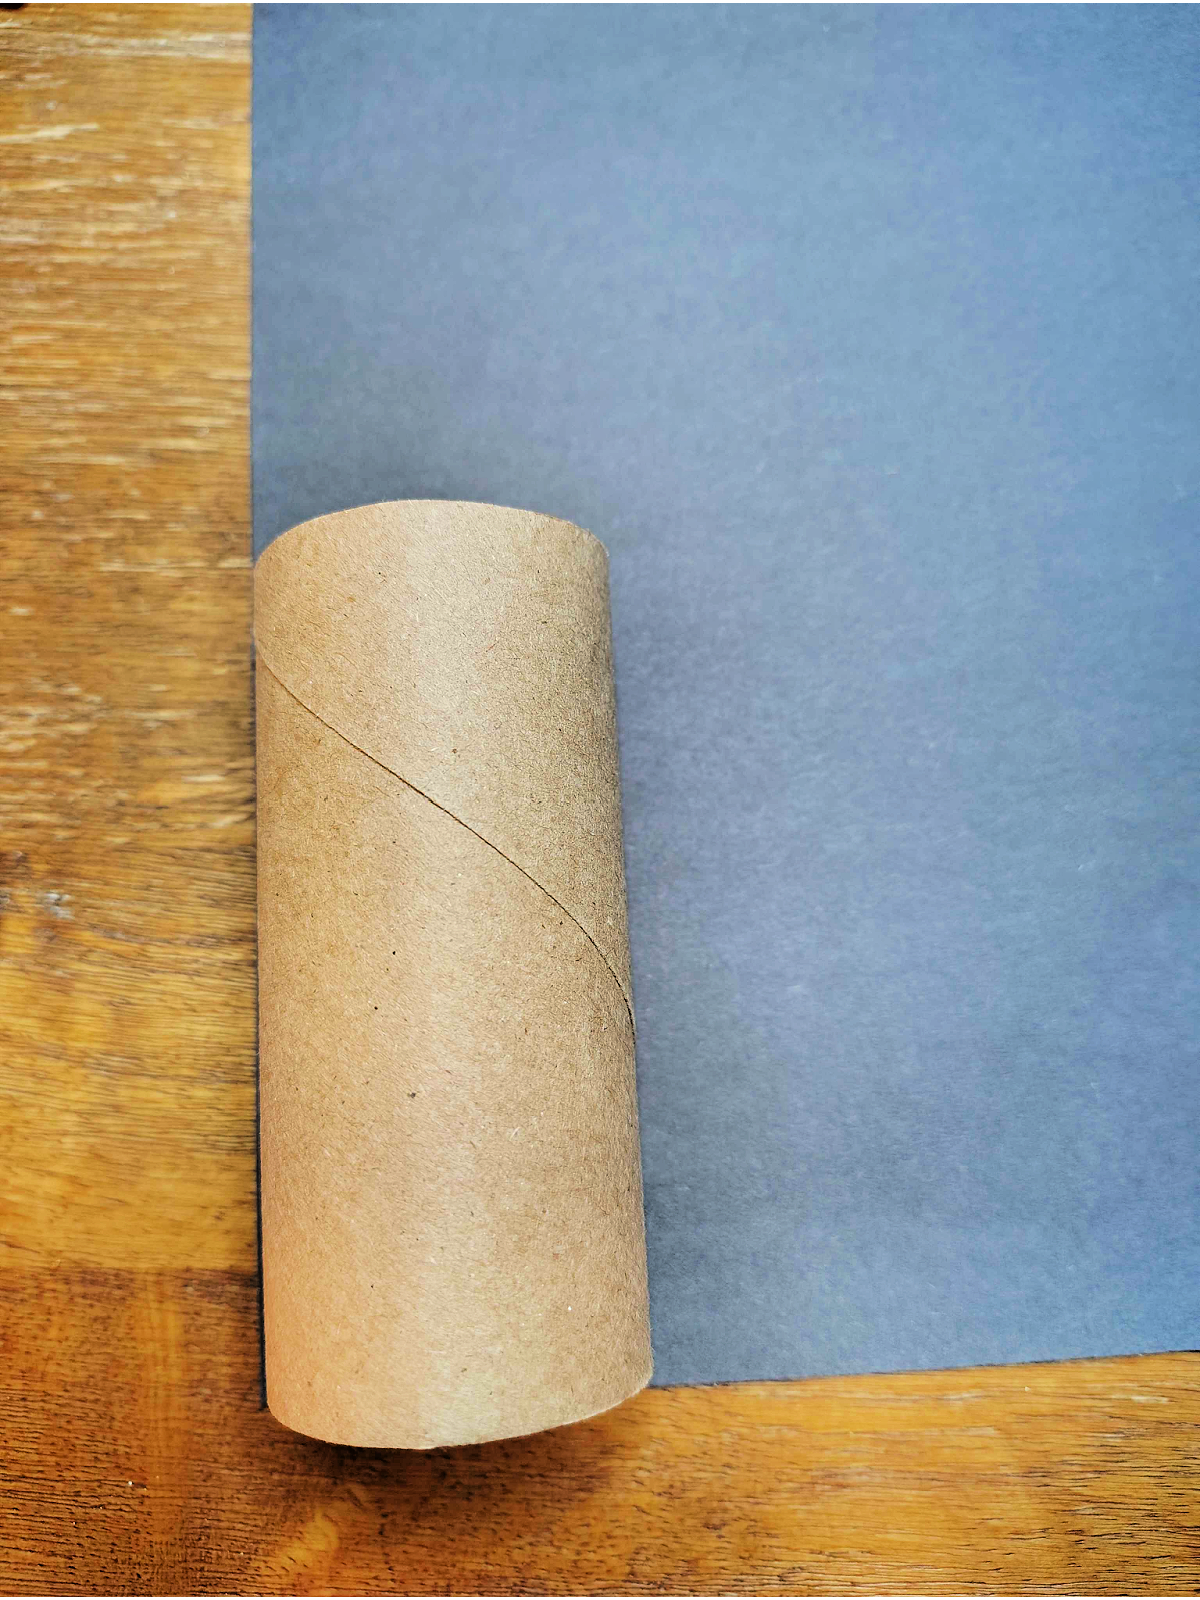
Measure the height of the toilet paper roll on the construction paper and mark it. Now measure out how much length you need to cover it, and mark it. Cut it out.
Step 4
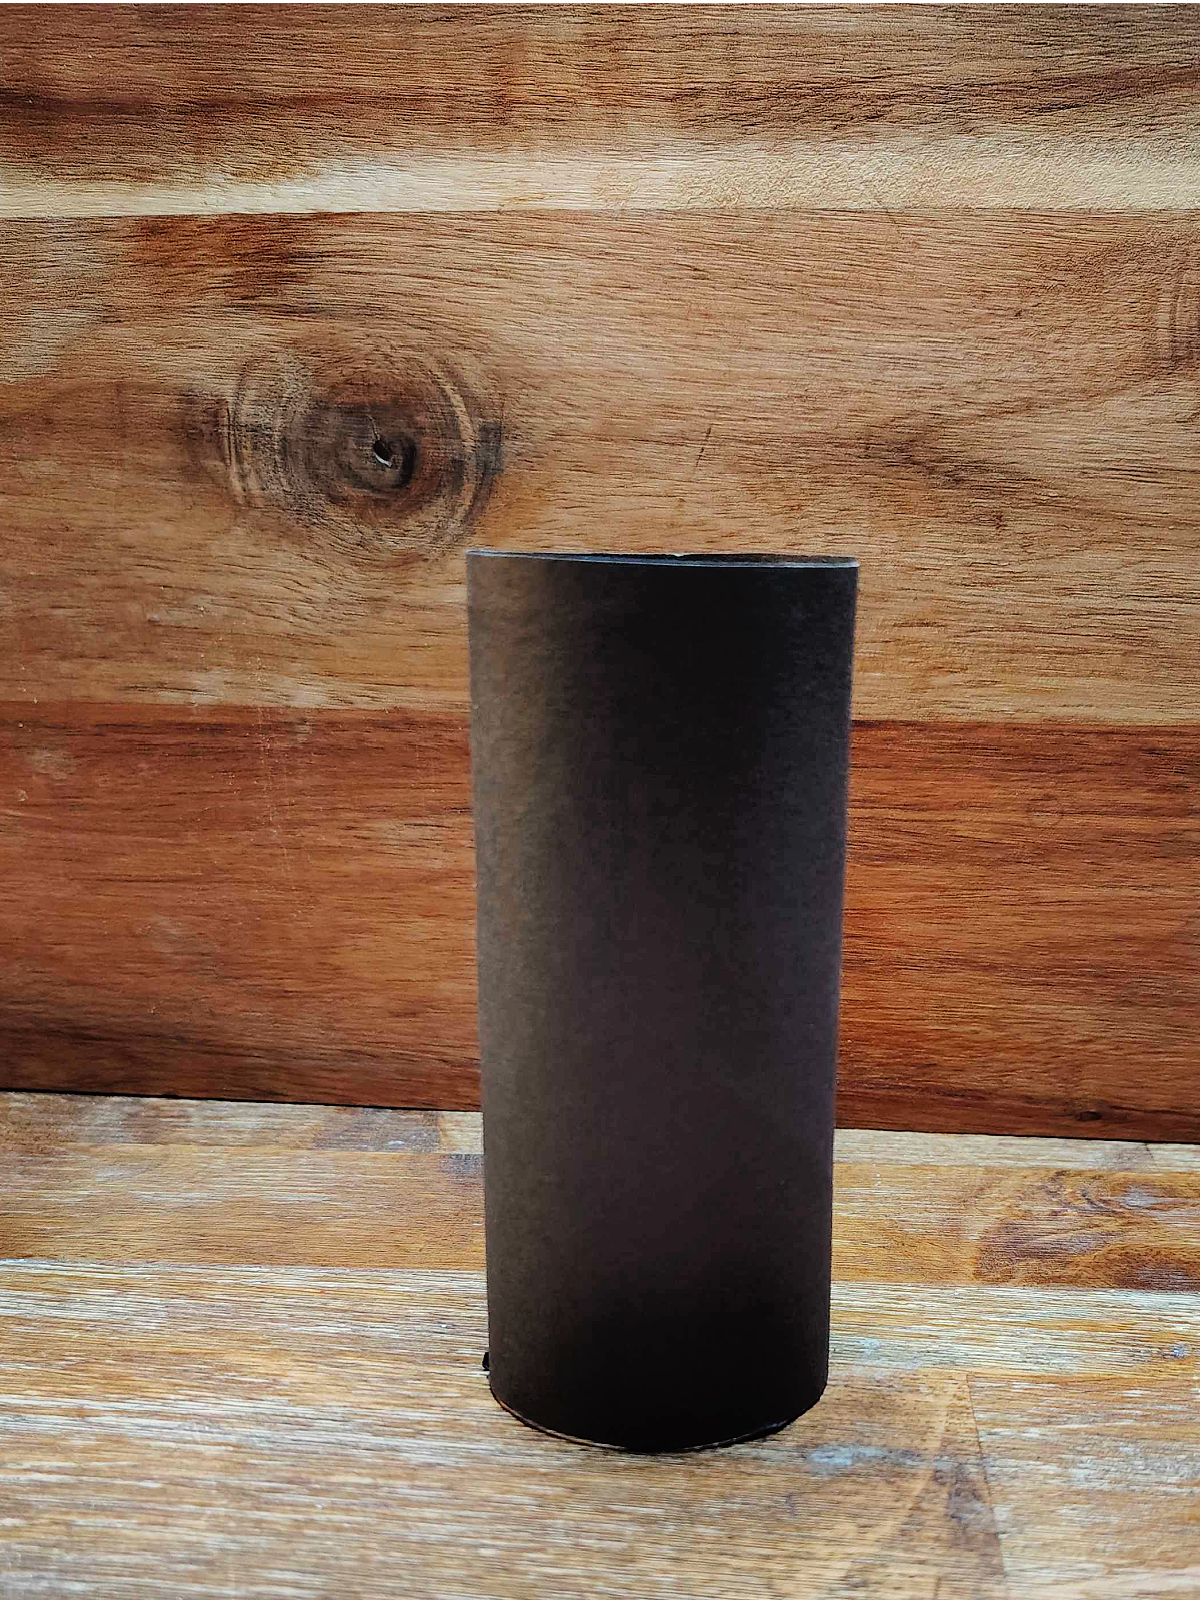
Glue the paper around the toilet paper roll.
Step 5
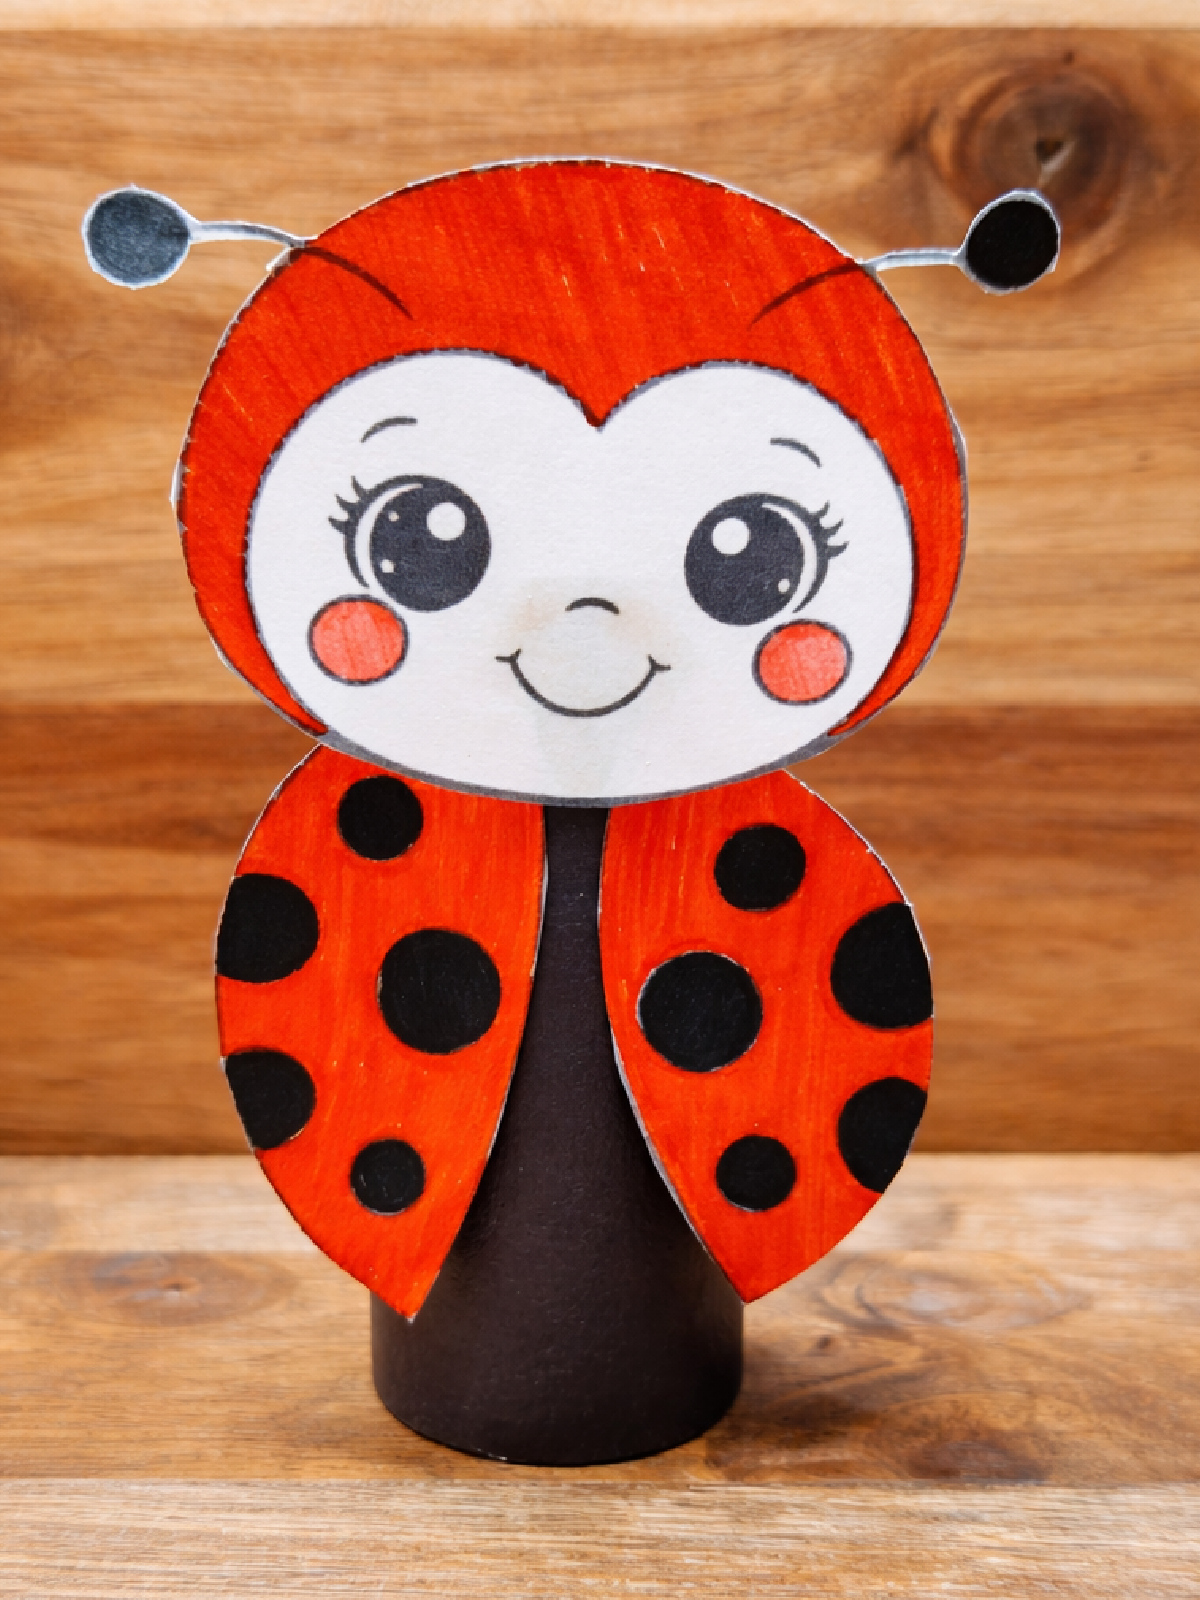
Glue on your ladybug’s face and wings to the toilet paper roll.
How To Make This Ladybug Craft Your Own
Just like all our other crafts you can do things to make this ladybug craft your own. You can do stuff like:
- Cut out small tabs and glue the wings to the side.
- Decorate with any coloring supplies you like.
- Add glitter!
- Use googly eyes or sticker eyes to cover up the eyes and add color to them.
- Use different colors.
Our Experience With This Ladybug Craft
This is another way we were able to use up some of our hoarded toilet paper rolls. We like (most) bugs in our house. Ladybugs are among them. They’re pretty, cute, and a sure sign of spring and summer.
My kids had fun putting together their ladybugs, and yes, their heads are typically black, but I figured it would cover the antenna’s so we used different colors on their heads.
But that’s the fun thing about crafts. You can do what you want. Make a pink, orange, blue, ladybug if you want!
Download and Print Our Ladybug Craft Printed PDF File
Adorable Cute Ladybug Craft
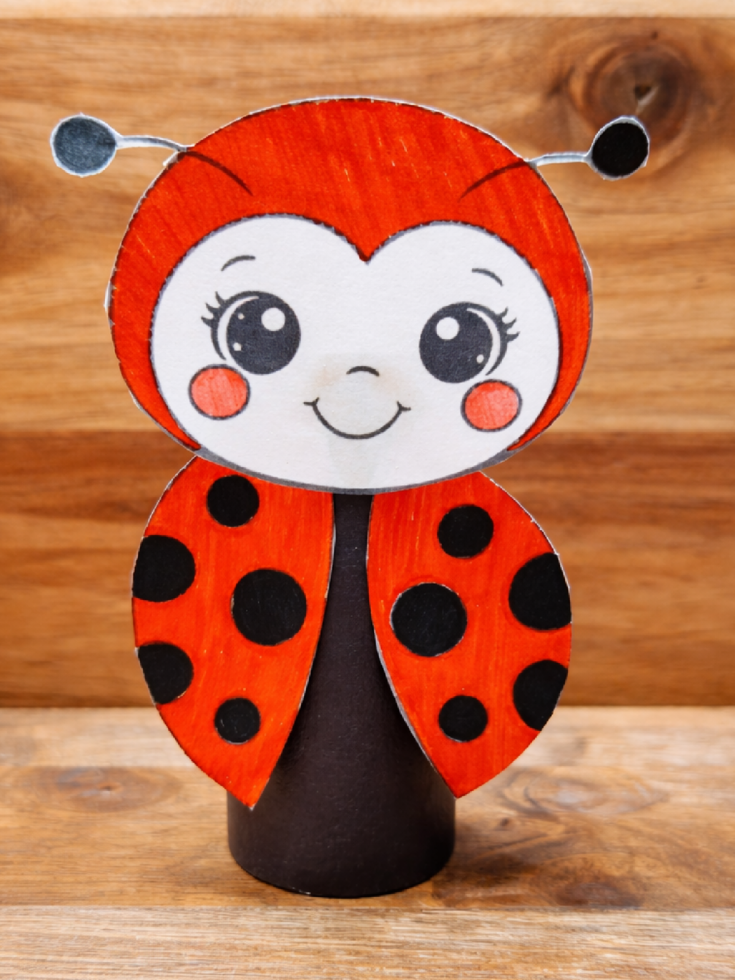
Grab your crayons, scissors, glue, and toilet paper rolls we are make a ladybug today using a simple printable template!
Materials
- Toilet Paper Roll
- Scissors
- Markers, Crayons, Colored Pencils, or Paints (We used markers)
- Glue Stick
- Ladybug Template
- Construction Paper (We used Black)
Instructions
- Download and print our ladybug template.
- Color and cut out the ladybug printable.
- Measure the height of the toilet paper roll on the construction paper and mark it.
- Now measure out how much length you need to cover it, and mark it.
- Cut it out.
- Glue the paper around the toilet paper roll.
- Glue on your ladybug’s face and wings to the toilet paper roll.
More Ladybug Posts From Kids Activities Blog
- How cute is the cupcake liner ladybug?
- We have 23 adorable preschool lady bug crafts!
- You’re going to love this zentangle ladybug pattern printable.
- Yum! Learn how to make these yummy apple ladybug treats.
How did your ladybug craft turn out?


0