
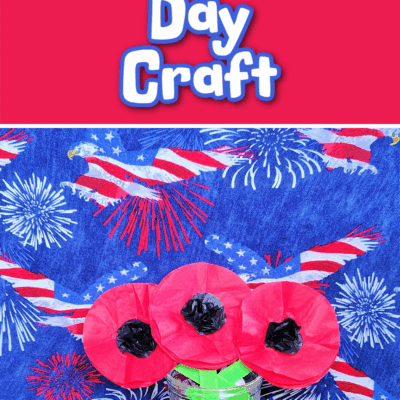
Today we are making a poppy craft for Veteran’s Day. Kids of all ages can make these flowers and hand them out to our beloved veterans who have given so much! It’s an easy, budget-friendly craft, that can be made by older kids and younger kids. You can make this poppy craft at home or in the classroom.
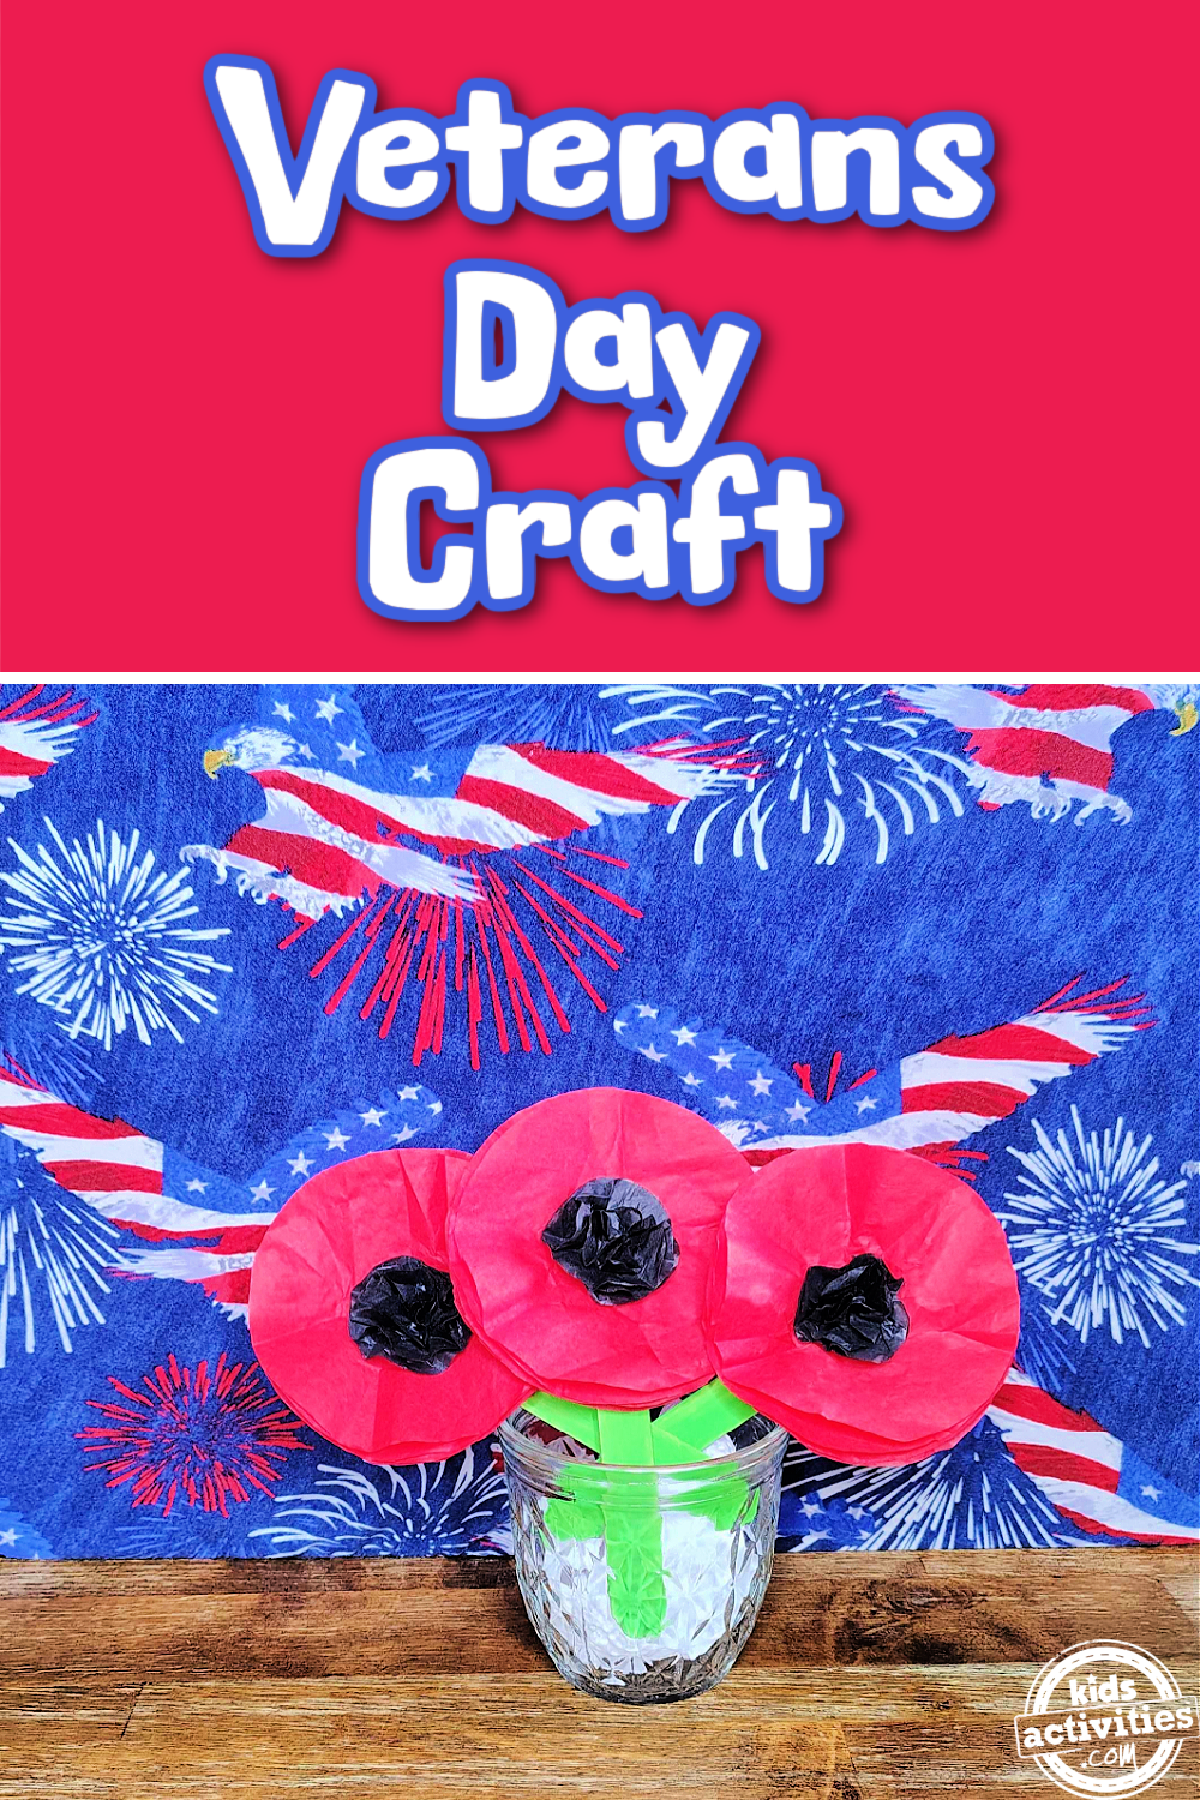
Poppy Craft
You may be wondering why poppies are a big deal on Veteran’s Day. That is because they grew very well in areas that were battle-scarred like France and Flanders, Belgium during World War 1. The poppy represents the cycle of death and rebirth as well as the sacrifice of those who died and the new life that came from that sacrifice.
Lieutenant Colonel John McCrae wrote a poem that talked about poppies on the battlefield. But these flowers became the adopted flower of the VFW in the united states in 1922.
So, today we are making this poppy craft to honor our veterans this Veteran’s day!
This post contains affiliate links.
Related: Check out these free printable patriotic Veteran’s Day coloring pages.
Supplies Needed For This Poppy Craft
- Red Tissue Paper
- Black Tissue Paper
- 2 Rounds Plastic Lids of Varying Sizes (1 Large and 1 Small)
- Pencil
- Scissors
- Elmer’s Glue
- Popsicle Sticks
- Green Paint
- Paint Brush
How To Make A Poppy For Veteran’s Day
Step 1
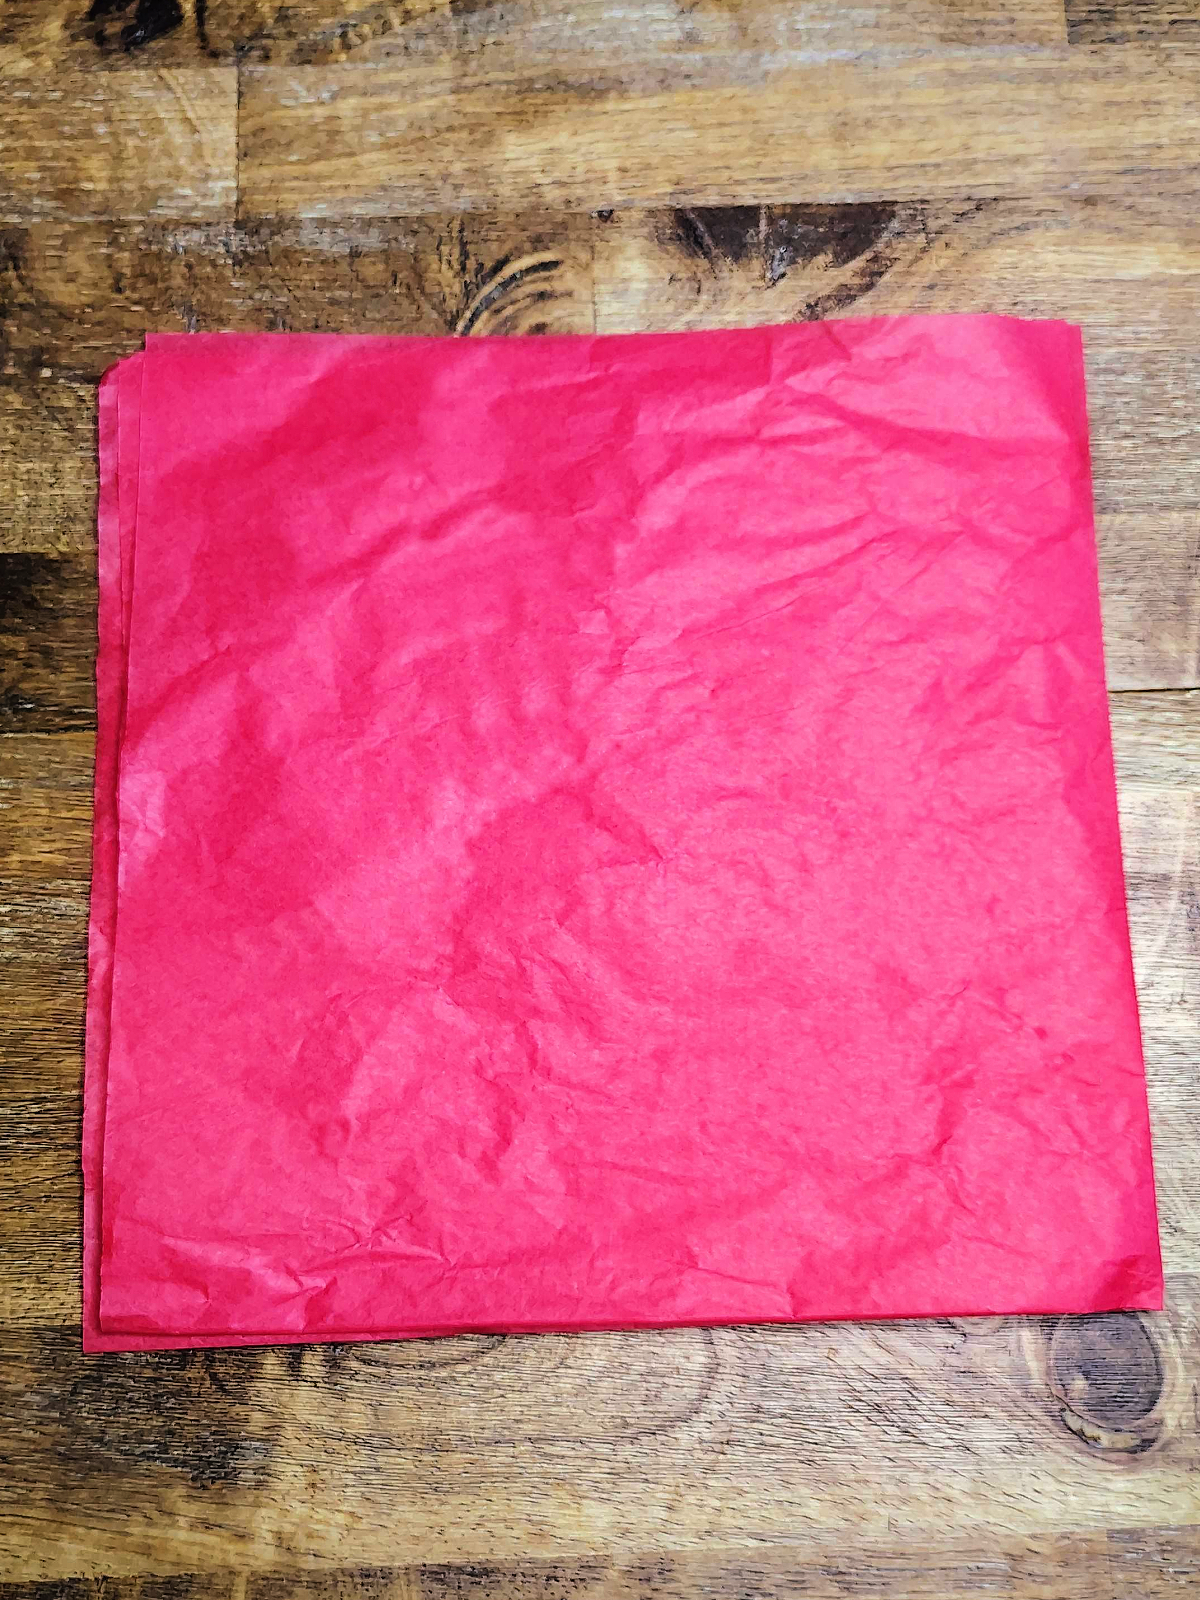
Fold your red tissue paper hot dog wise. And then again to form a square that has 4 layers.
Step 2

Trace around the large lid on the red tissue paper.
Step 3
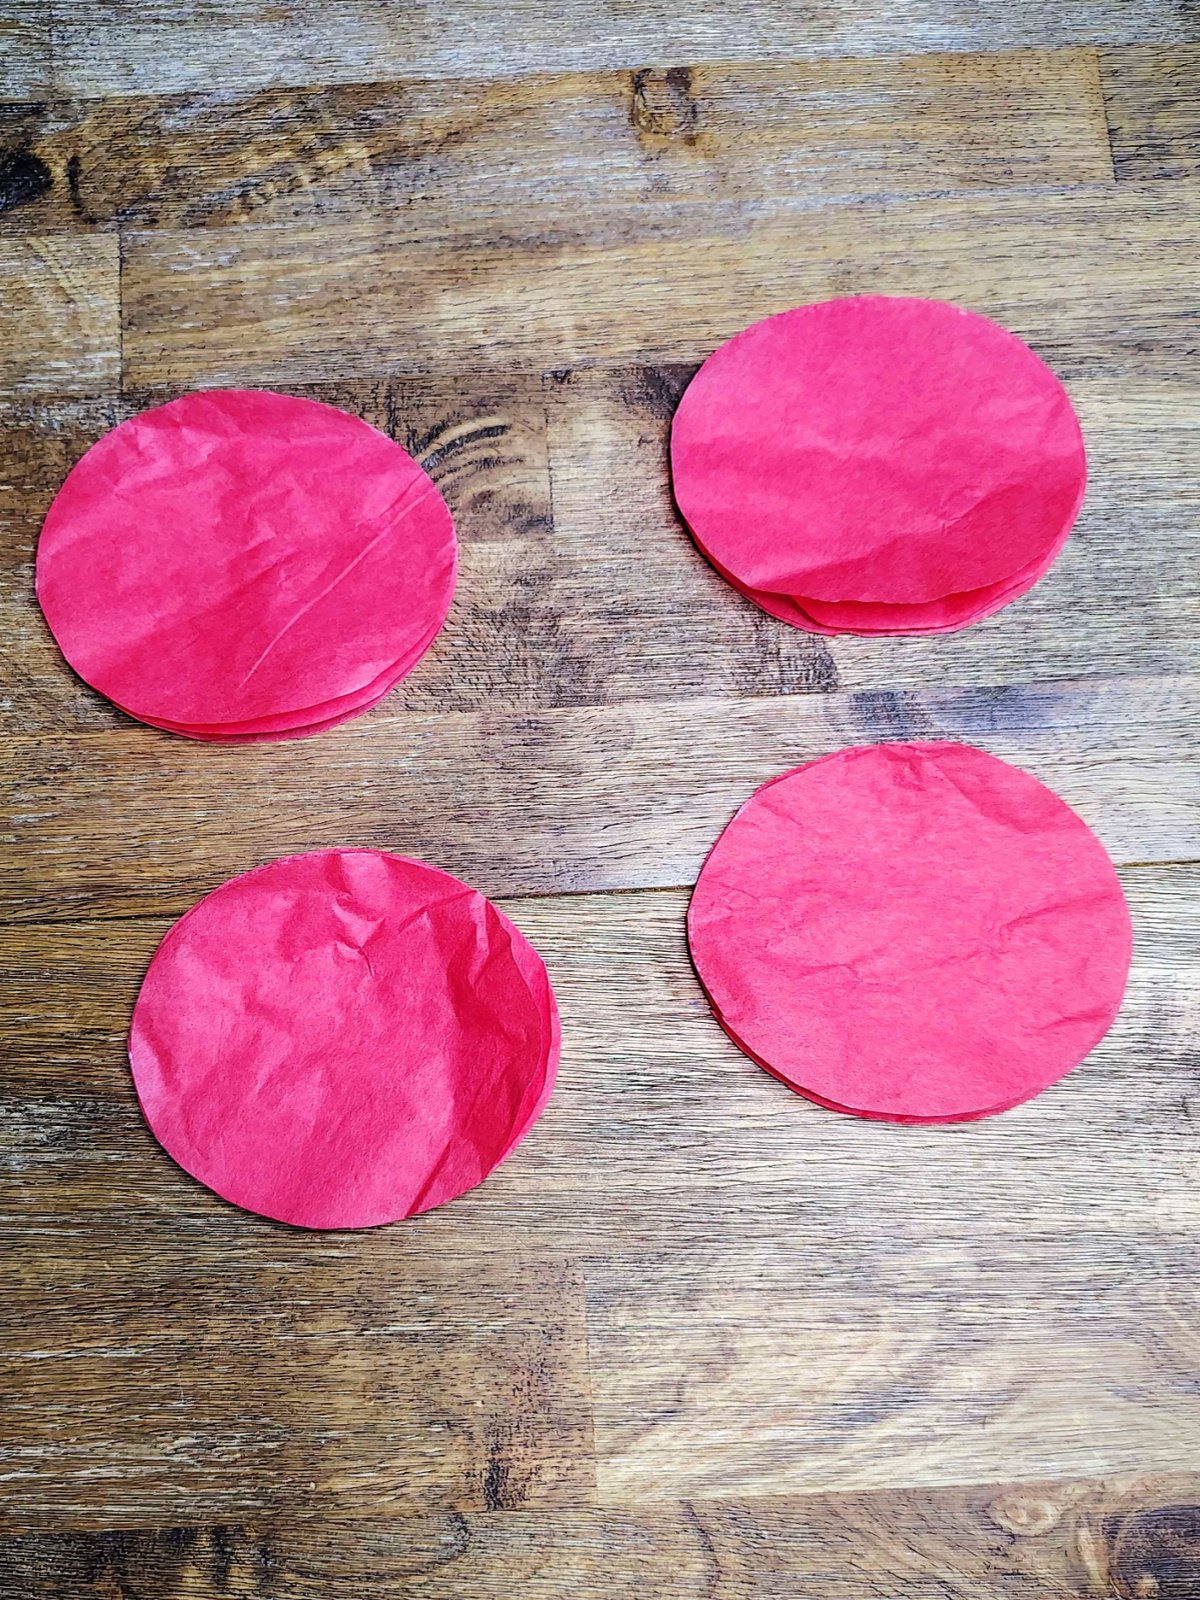
Cut out the circles, leaving the paper stacked.
Step 4
Fold the black tissue paper the same way.
Step 5
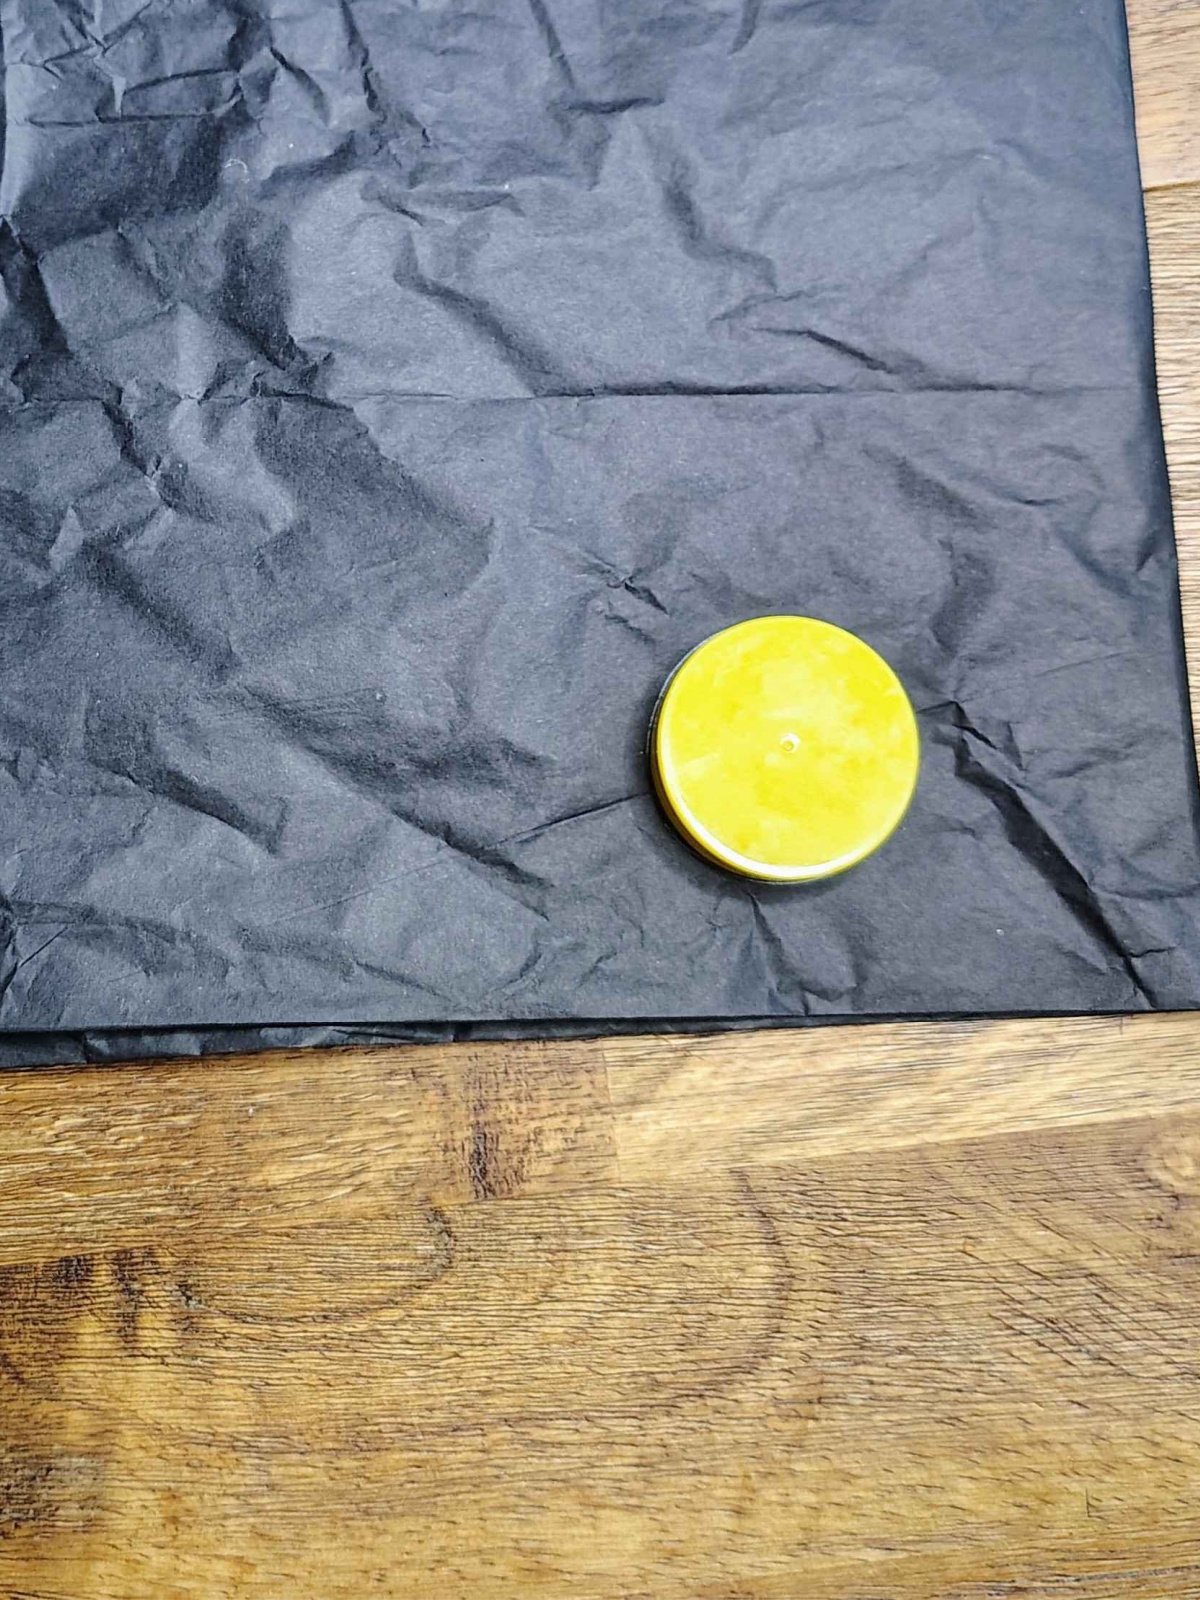
Trace around the small lid on the black tissue paper.
Step 6
Cut the circles out leaving them stacked.
Step 7
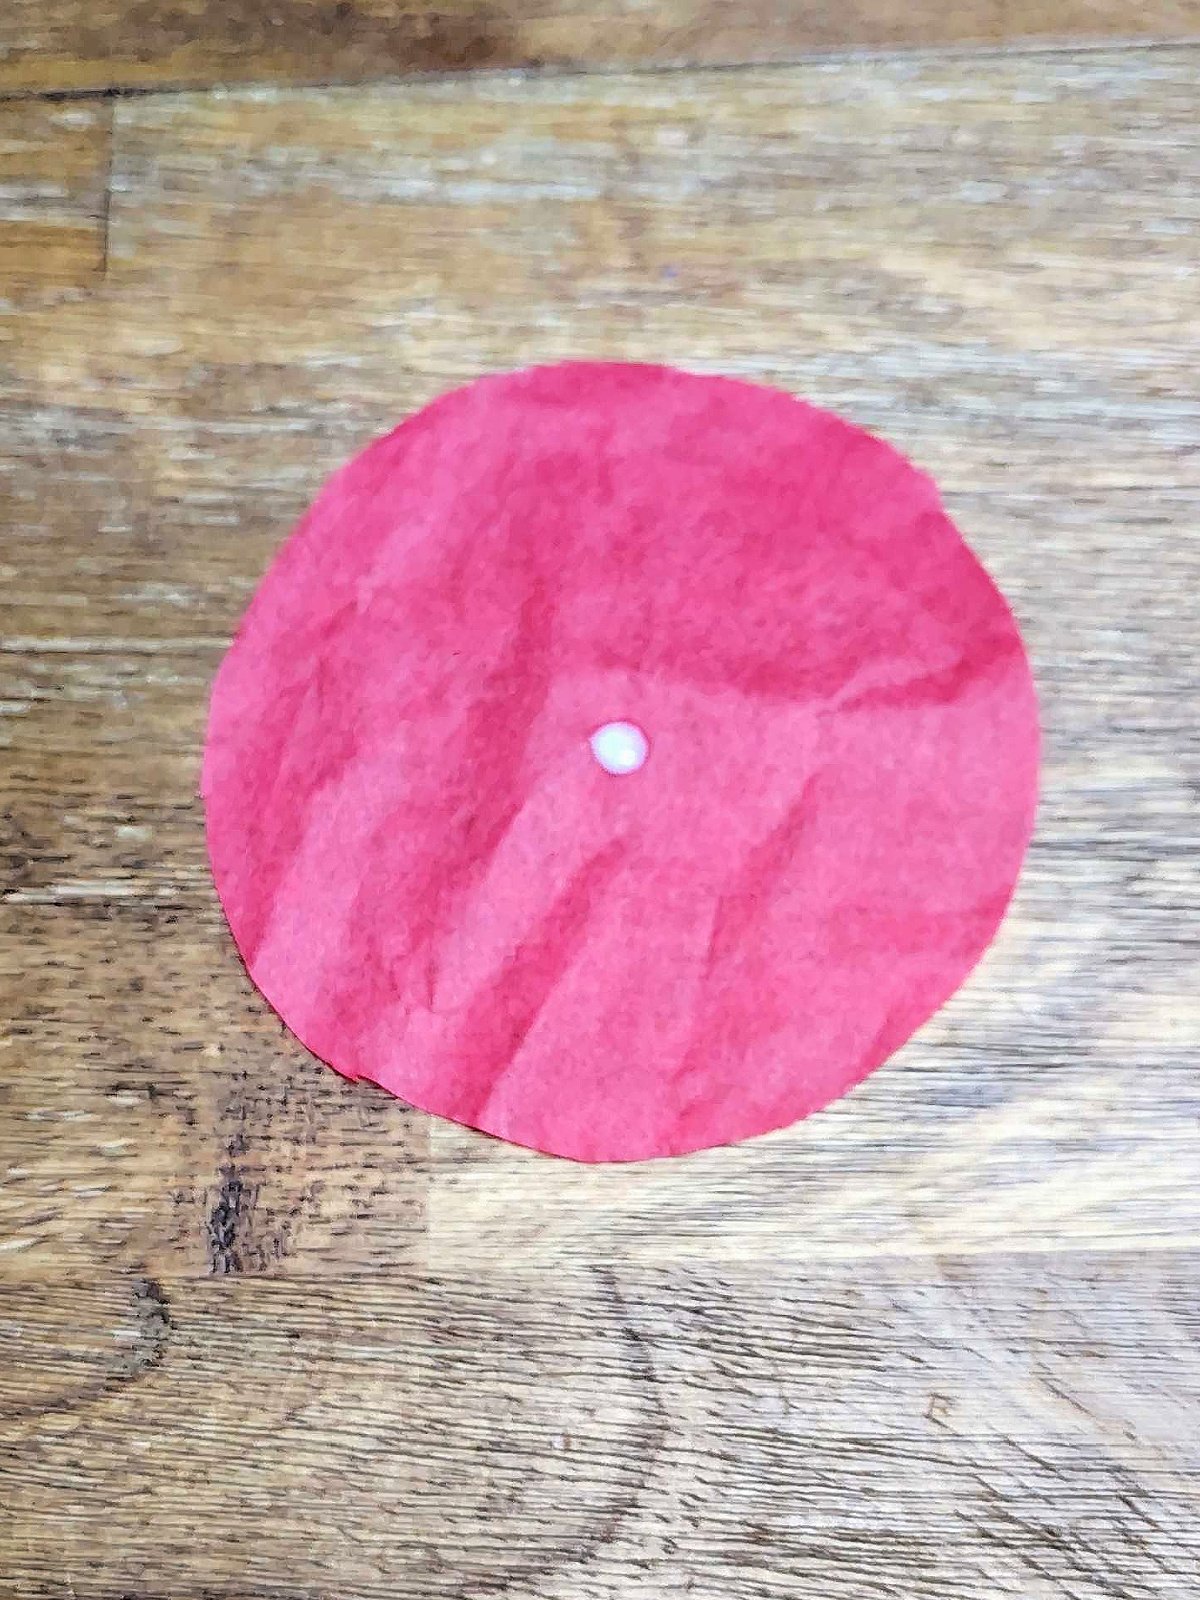
Unstack the red papers, add a dab of glue in the middle and put another red circle and repeat until you have all the red paper glued together in the middle.
Step 8
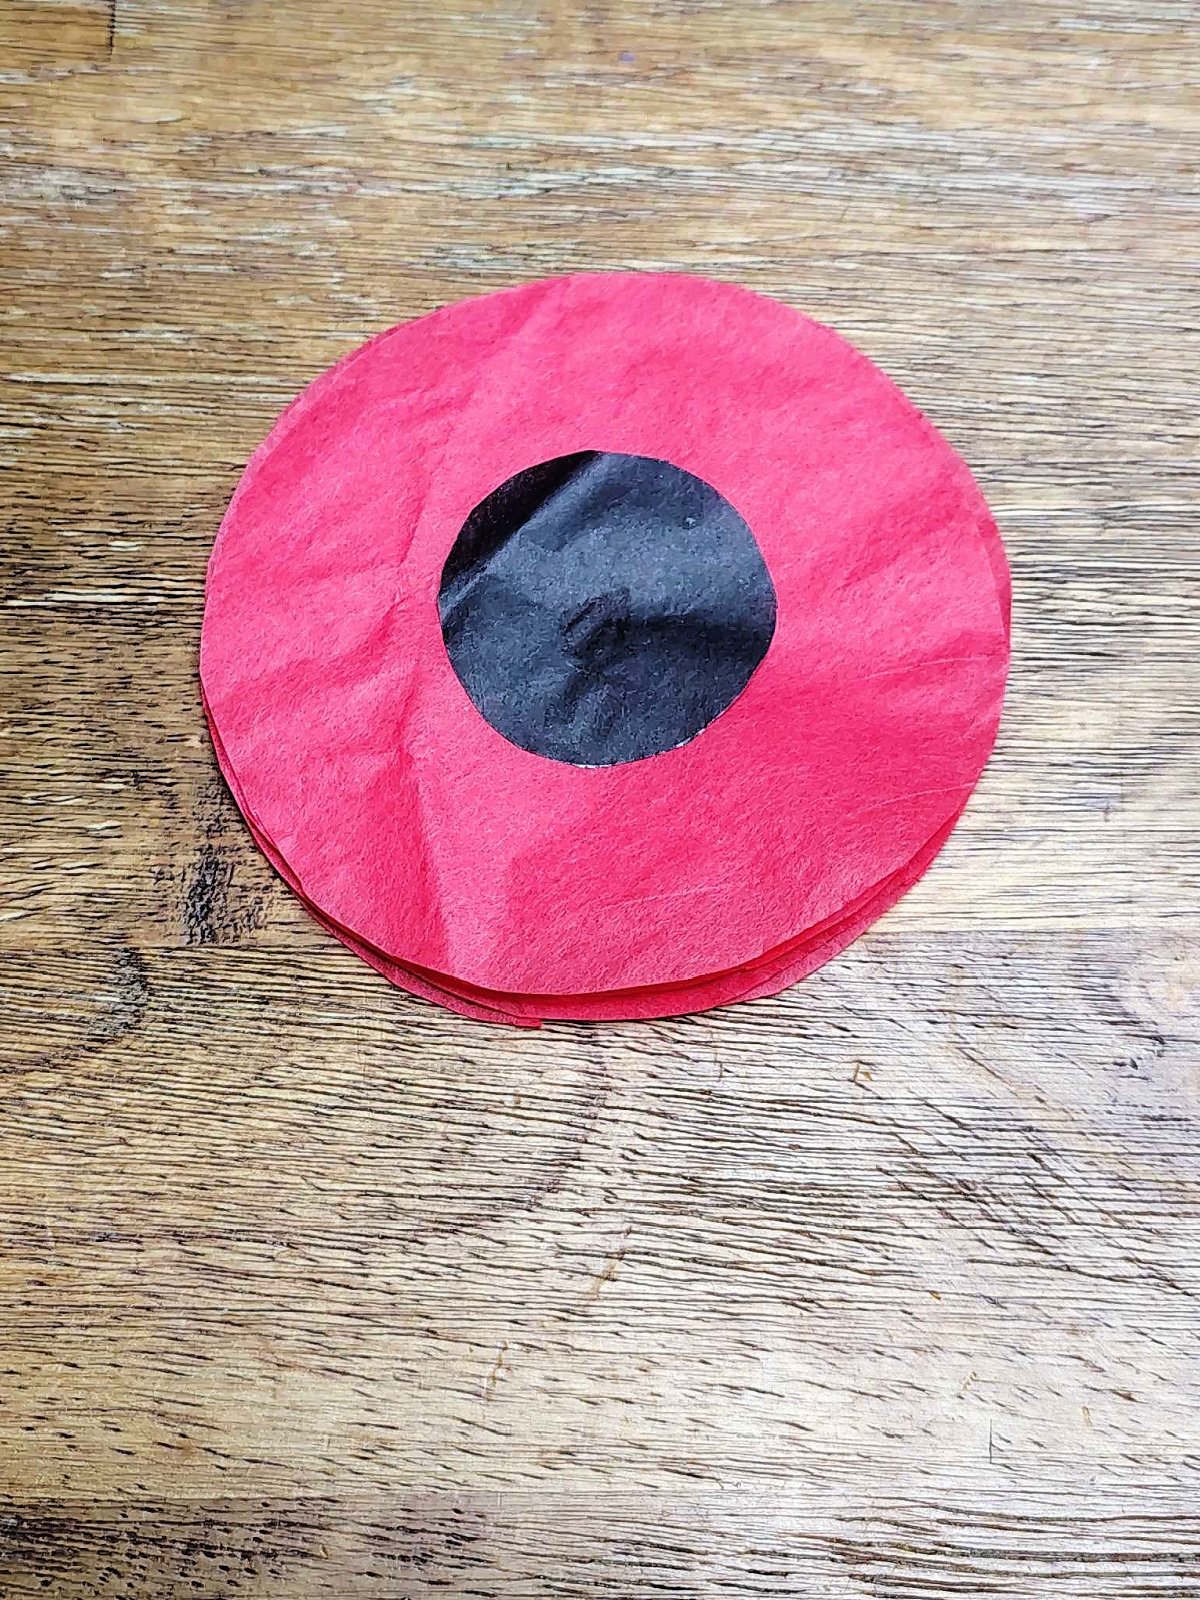
Add a dot of glue in the middle of the last red paper and add your black circle. Repeat step 7 but with the black circles until you have 4 layers of red paper and 4 layers of black paper glued in the center. Allow it to dry.
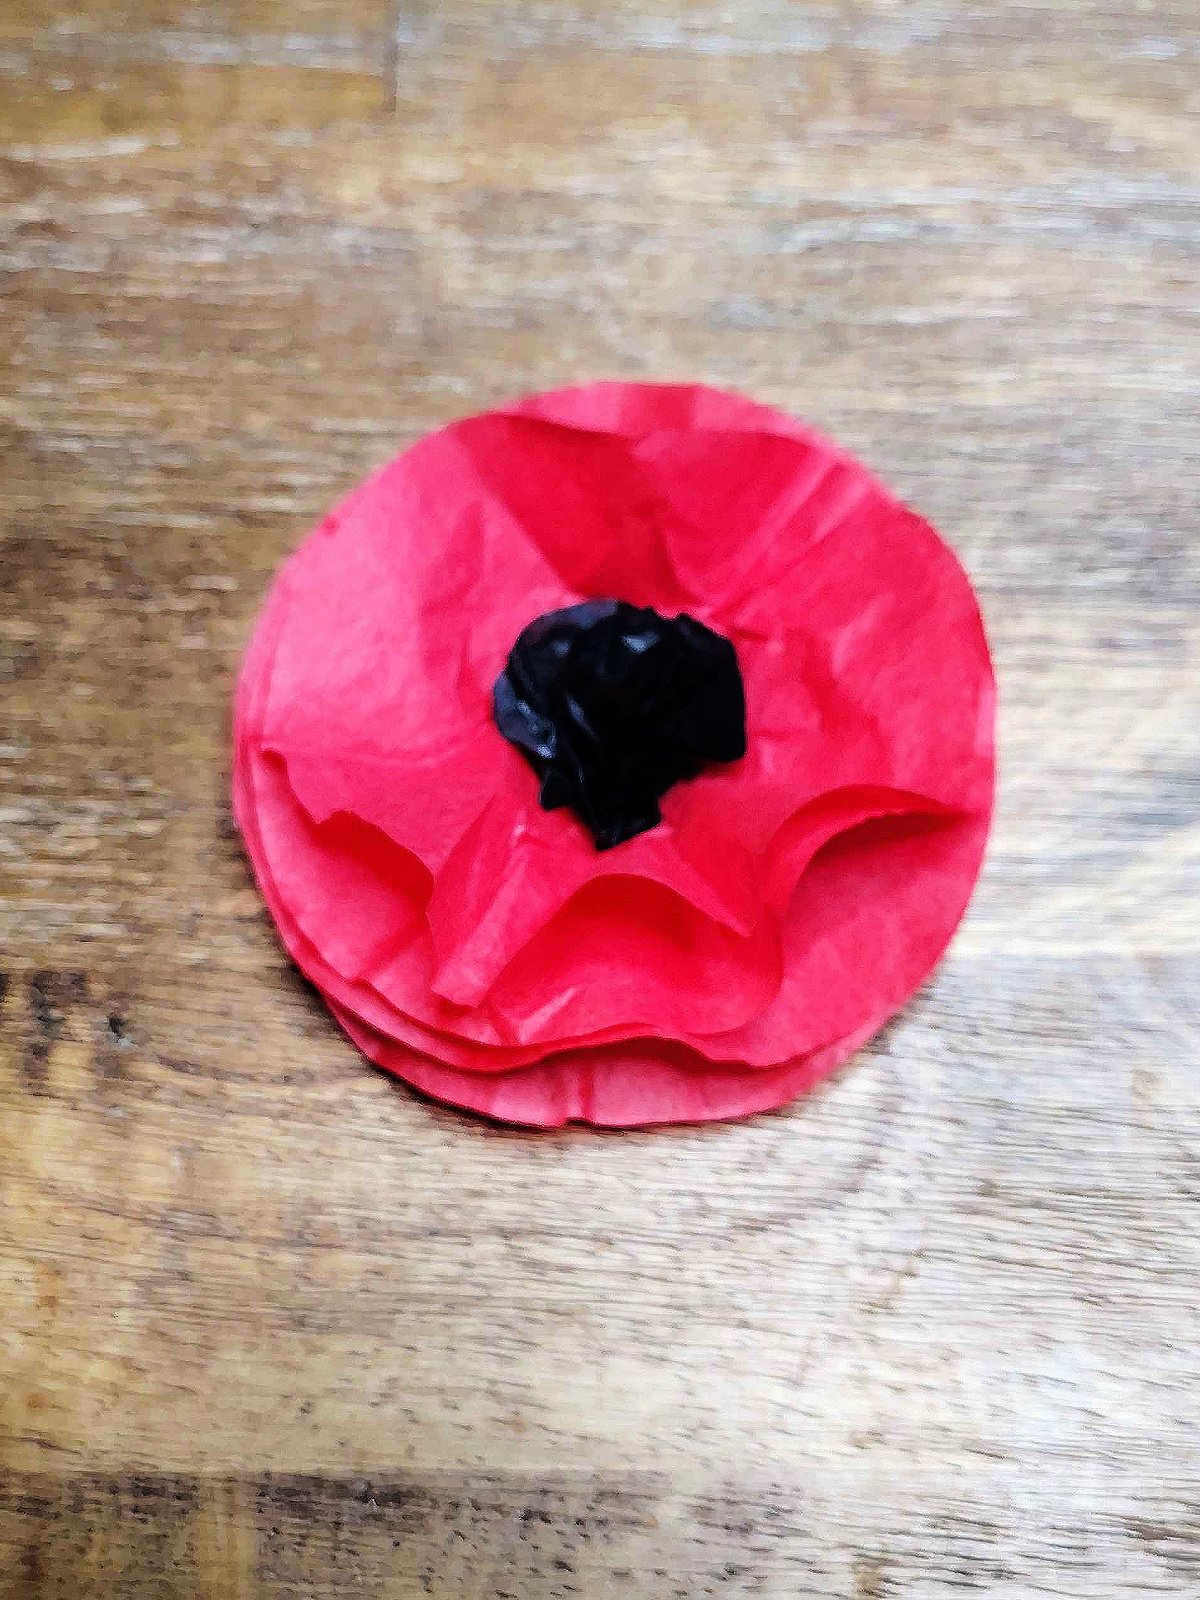
Step 9
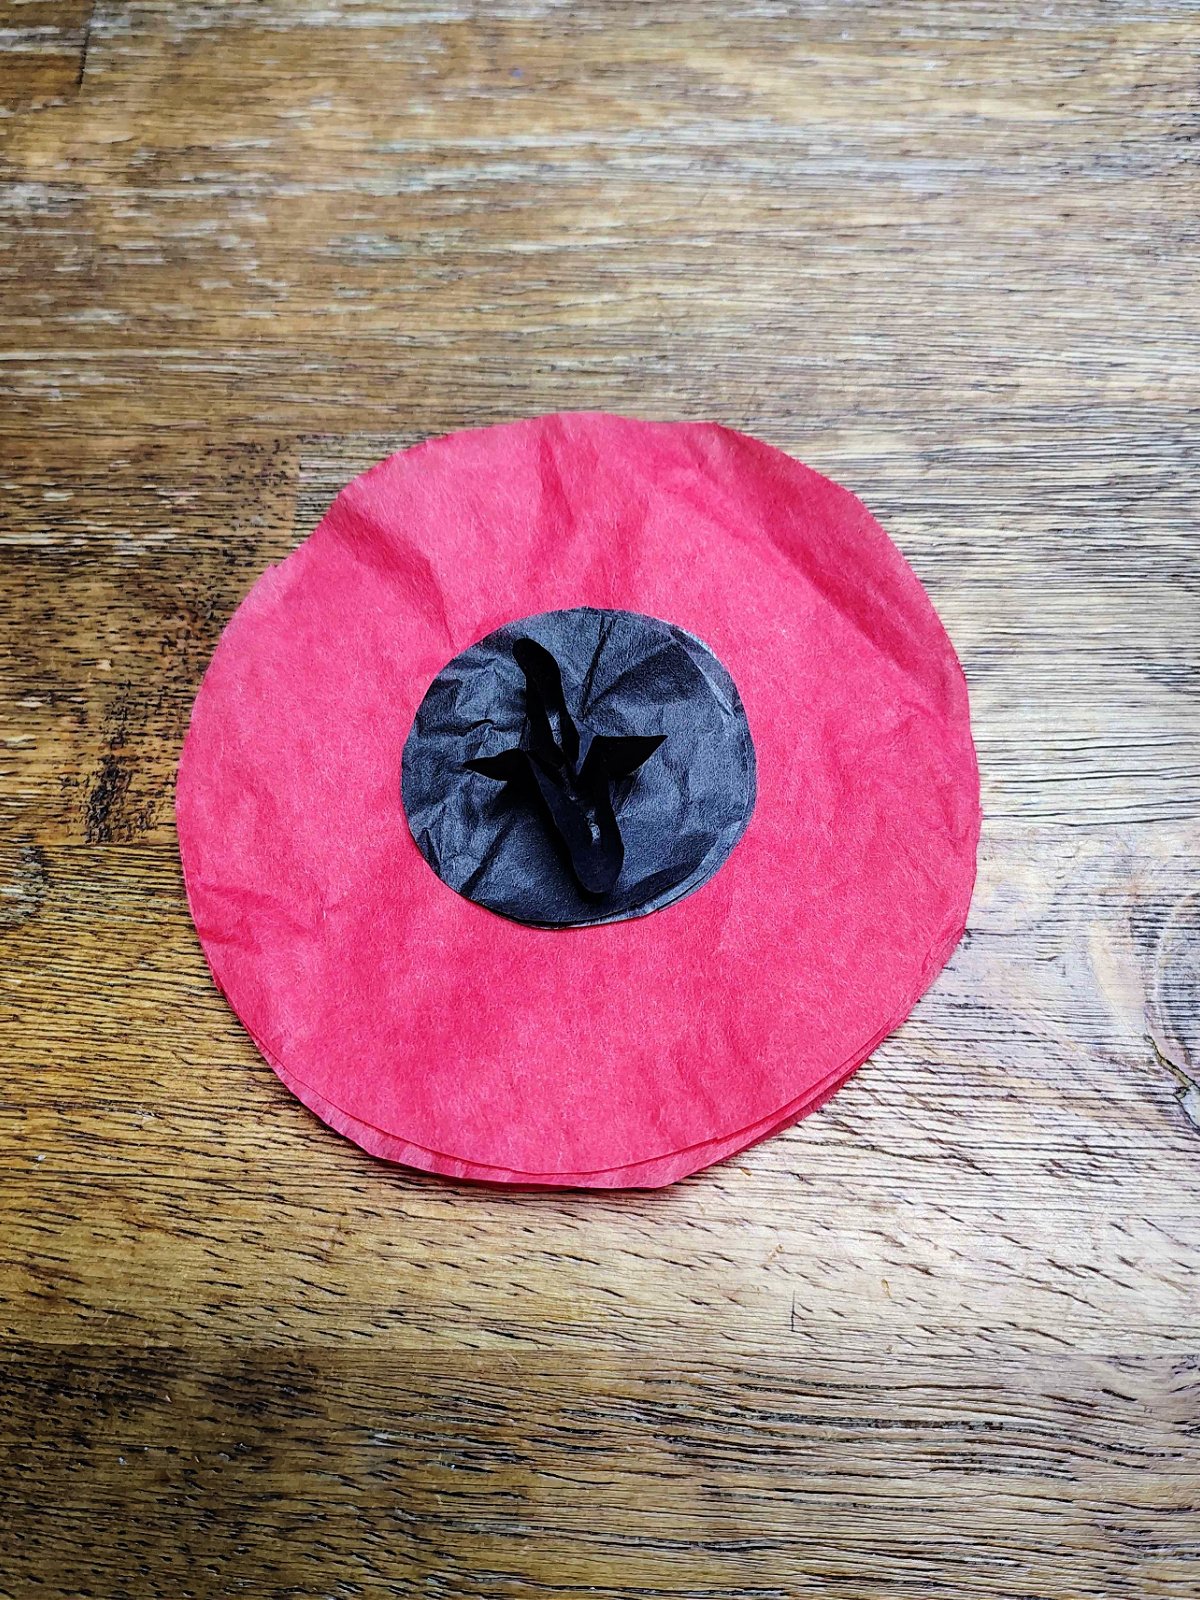
Crinkle each layer of paper together by pinching different parts of the circle together with your fingers.
Step 10

Paint your popsicle sticks green. Allow them to dry.
Step 11

Glue your poppies to the popsicle stick. Allow them to dry. Now hand them out!
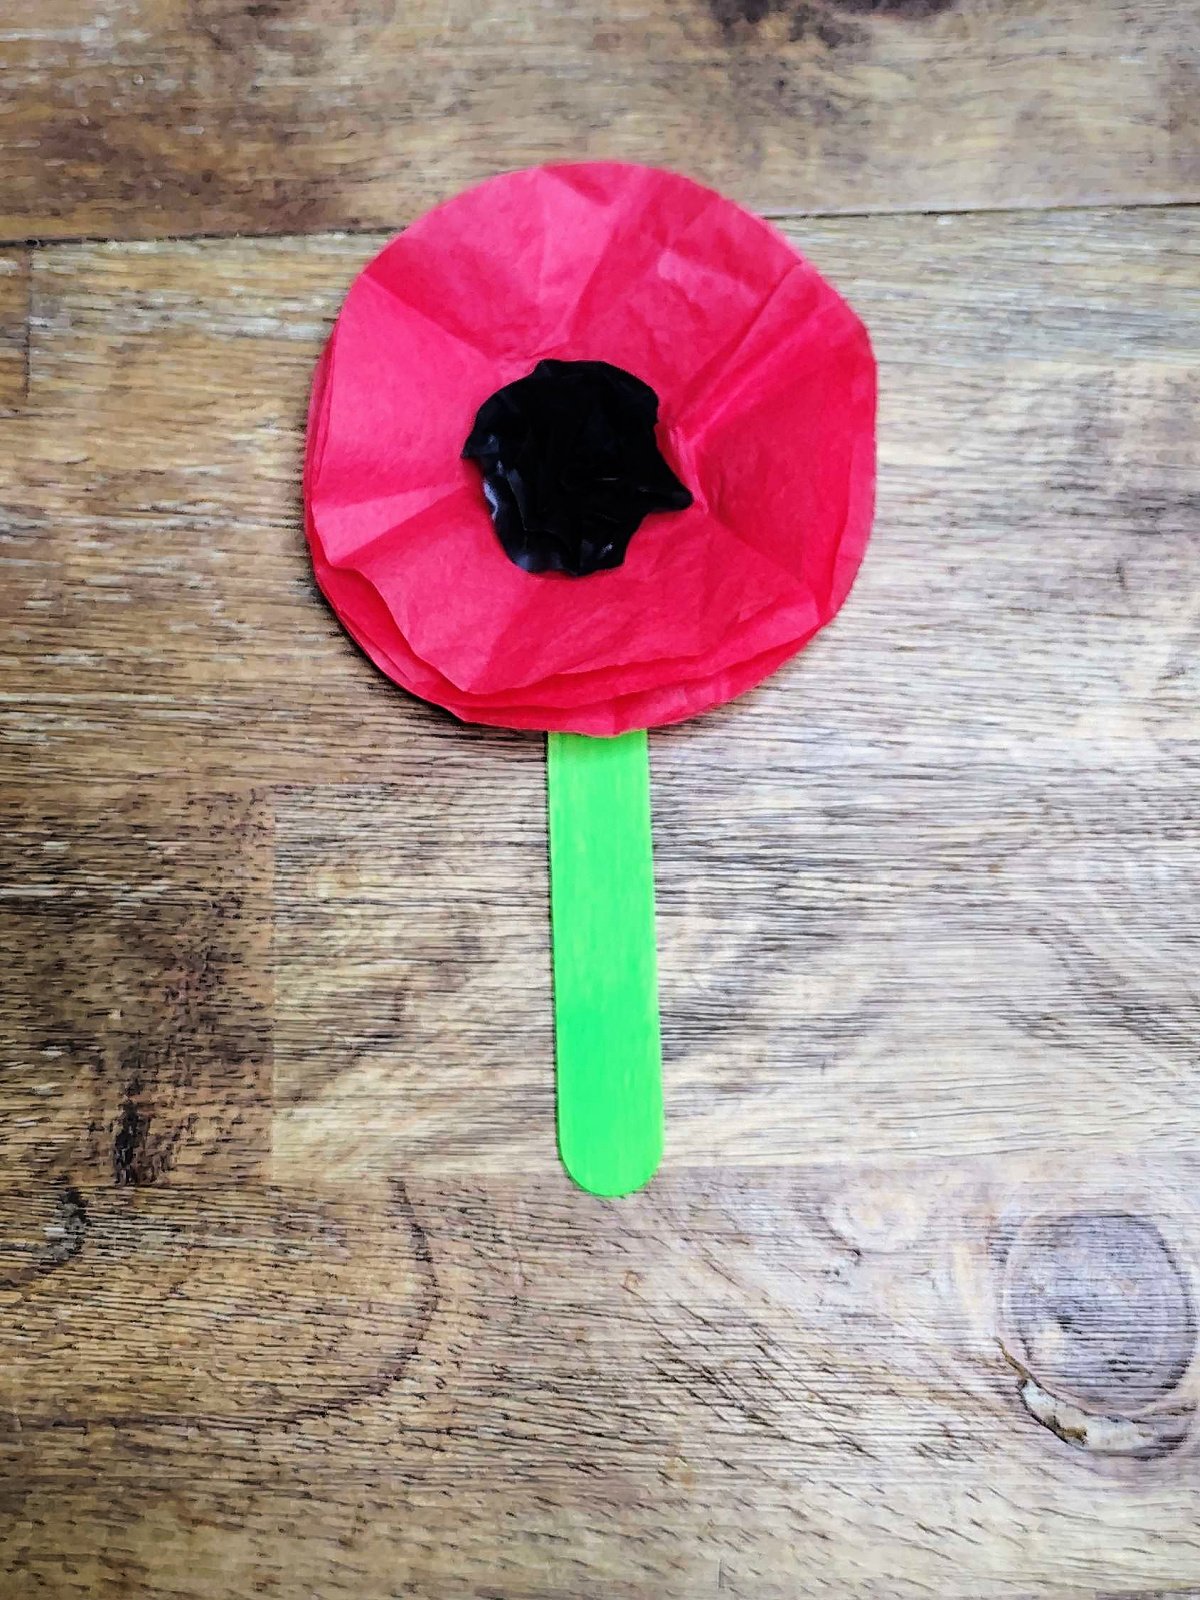
What To Do With Your DIY Poppies
You can hand these poppies out to veterans or you don’t have to glue them to popsicle sticks. Glue the flowers to cardstocks and make thank you cards for veterans. There are so many things you can do with these paper poppies!
Veteran's Day Craft: DIY Poppies
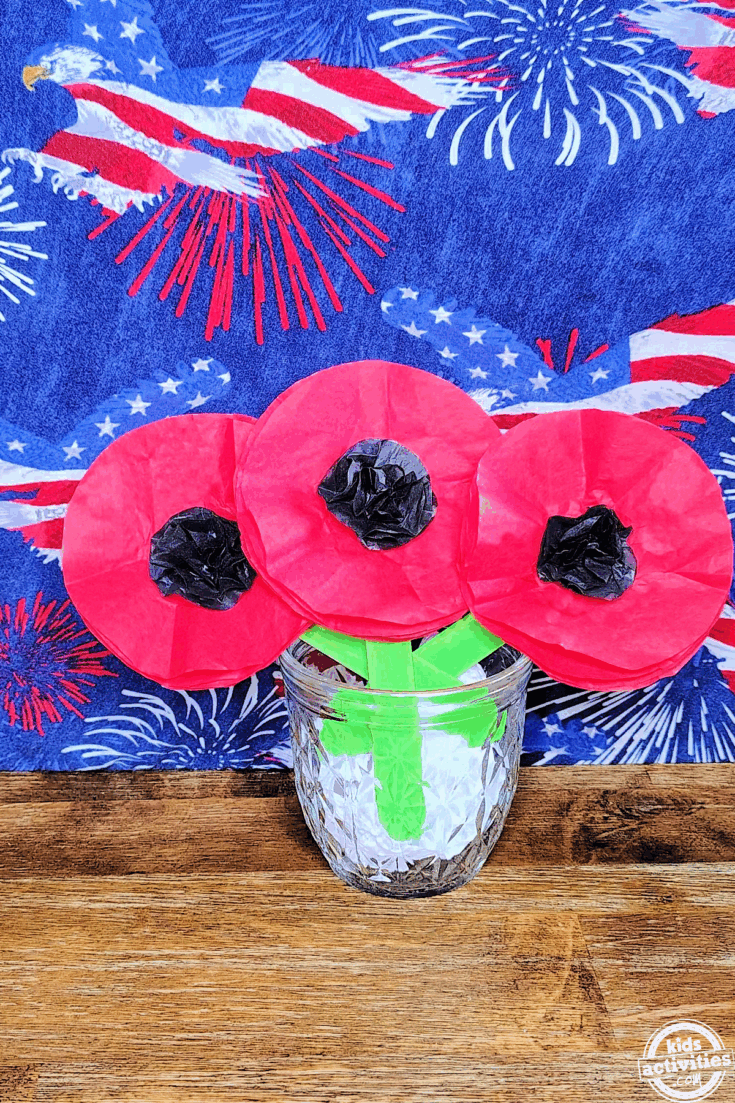
Today is Veteran's Day. Make our beloved veterans some poppies to show your respect and appreciation for all that they do and have done for us!
Materials
- Red Tissue Paper
- Black Tissue Paper
- 2 Rounds Plastic Lids of Varying Sizes (1 Large and 1 Small)
- Pencil
- Scissors
- Elmer’s Glue
- Popsicle Sticks
- Green Paint
- Paint Brush
Instructions
- Fold your red tissue paper hot dog wise.
- And then fold again to form a square that has 4 layers.
- Trace around the large lid on the red tissue paper.
- Cut out the circles, leaving the paper stacked.
- Fold the black tissue paper the same way.
- Trace around the small lid on the black tissue paper.
- Cut the circles out leaving them stacked.
- Unstack the red papers, add a dab of glue in the middle and put another red circle and repeat until you have all the red paper glued together in the middle.
- Add a dot of glue in the middle of the last red paper and add your black circle.
- Repeat step 7 but with the black circles until you have 4 layers of red paper and 4 layers of black paper glued in the center. Allow it to dry.
- Crinkle each layer of paper together by pinching different parts of the circle together with your fingers.
- Paint your popsicle sticks green. Allow them to dry.
- Glue your poppies to the popsicle stick. Allow them to dry. Now hand them out!
More Patriotic Posts From Kids Activities Blog
- We have awesome patriotic American flag coloring pages.
- Make this patriotic paper windsock craft.
- Take a look at these printable patriotic American flag coloring sheets.
- We have a big list of American flag crafts!
- Learn how to make a patriotic lantern.
How did your Veteran’s day craft turn out? Did your poppy craft turn out cute?


0