Being the mom of three boys has made me aware that the world of printed thank you notes falls into two categories – floral or business. My boys wouldn’t be caught dead writing inside a note they consider ‘girly’ and I just want to yawn at the generic ‘THANK YOU’ in Times Roman font.
Today we are making boy-approved thank you cards!

Homemade Thank You Notes
OK, so the jumping leopard was not what I had in mind.
In fact, I had a comic theme in mind with background dots and a conversation bubble in orange.

It all started when my friend, Amy from Mod Podge Rocks sent me her new adhesive dot stencil {a new product in the Mod Podge line} to try out.
I looked at it and saw a dotted background.
Rhett {age 8} looked at it and saw a cheetah.

Tomato…tomato?
So we went to work toward both visions.
Materials:
- Mod Podge Adhesive Stencil
- Mod Podge
- Glitter
- Foam brush
We started by applying the stencil to the cardstock. Because the stencil is adhesive, it would be fun to try a curved or irregular surface. For kids it is perfect because it stays in place while creating the pattern.

Rhett then used the foam brush to blot Mod Podge over the entire surface of the stencil.
He repeated for both cards.

Once the surface was covered, he peeled off the stencil. The stencil came off easily even on paper.
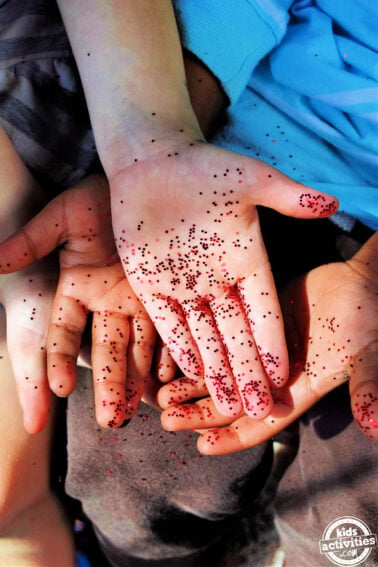
Rhett then added glitter to each card – gold/silver to mine and purple to his.

While we waited for it to dry, we created images to help create each vision.
We found a cheetah outline for Rhett:

I created a chat bubble:

If you would like to use either image like we did, simply click on it to make it larger and then print.
Once each project was dry, we used a brush to clear all the excess glitter.
For Rhett’s cheetah, I printed out the cheetah outline on regular paper and then stapled it on top of the glittered portion of the original paper which allowed him to cut around the cheetah without having to hold onto both papers and keep them positioned correctly.

I helped him with the leg areas and around the tail because those were a bit more challenging.
When it was all cut out, he had a dotted and glittery cheetah!
I added my “super thanks” conversation bubble to the front of my card and he added his cheetah to the front of some blue folded cardstock.
Homemade Thank You Cards
And that was the tale of handmade two thank you cards.

And after it was all said and done, I think Rhett was right. The dotted stencil was definitely made for creating purple glitter cheetahs!
Thanks so much to Amy and Plaid for sending us an adhesive stencil and some sparkly glitter! You can find more information about these kid-friendly crafting items by checking out the Mod Podge Rocks product line for Plaid. The adhesive stencil is reusable. I washed it with warm soapy water while on the backing and let it dry.
More Ways To Say Thanks From Kids Activities Blog
- We have these super awesome printable thank you cards for kids.
- We have very punny Thank You notes!


Hey! A purple glitter cheetah was exactly why we made these stencils! I love . . . so cute! (thank you!)
Cool indeed. It made me think that you could even adapt these cards we did as birthday invitations by adding a message like : “I was blown away that you could come to my party”….etc 🙂