
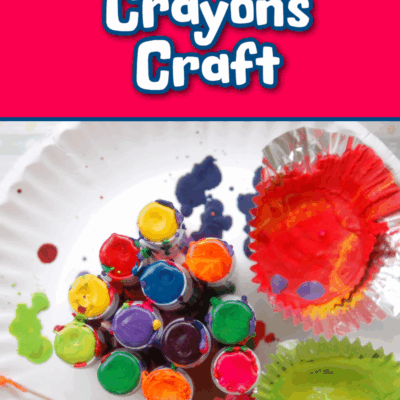
Today we are making our very own twistable crayons! Kids of all ages will have a blast, not only making, but coloring with these DIY twistable crayons. They’re easy to make, upcycle old craft supplies, and are easy to use. I love crafts that use up left over art supplies. Make these twistable crayons at home or in the classroom.
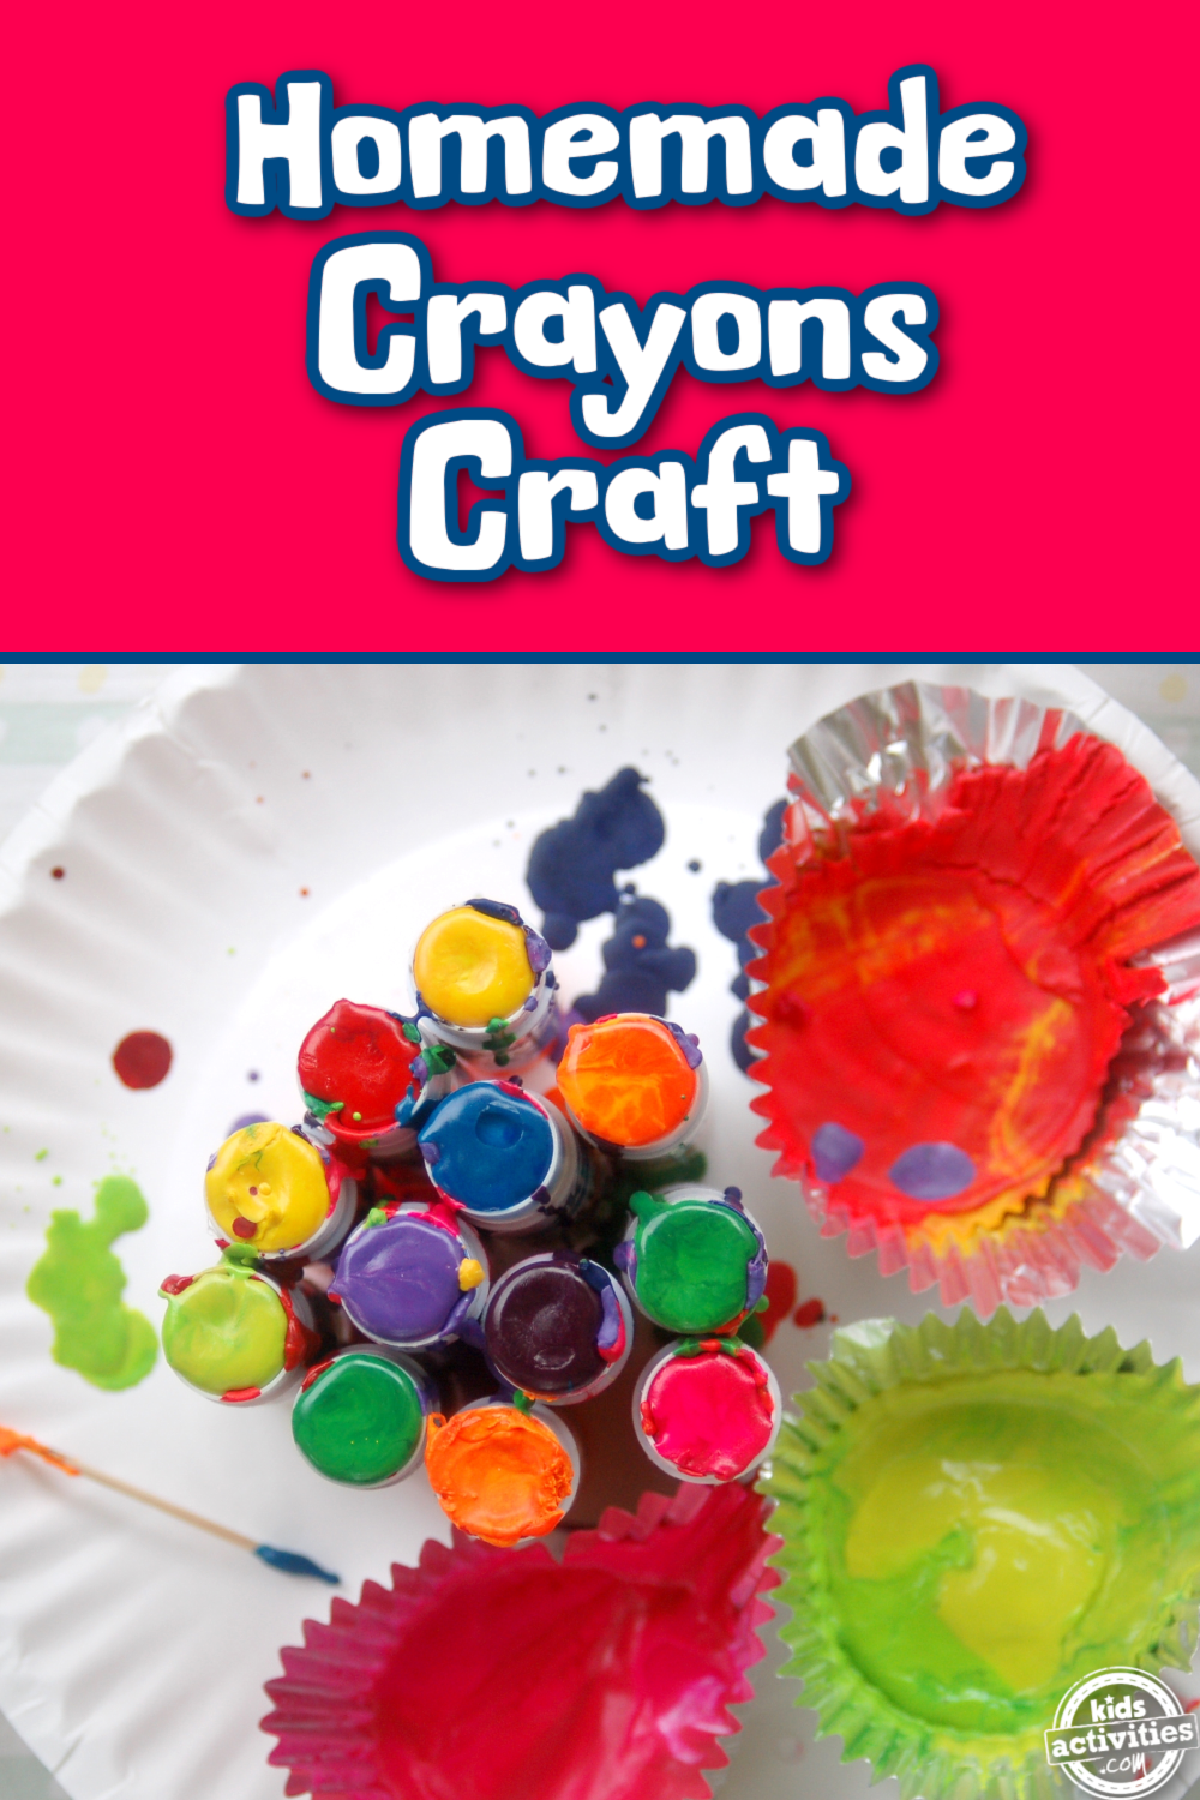
Homemade Twistable Crayons
I remember when Crayola first came out with twistable crayons in 2004. I wanted them so bad, I thought they were the coolest. And to be fair, they were cool. But now you can make your own using left over craft supplies that you have on hand! Cool, huh?
This craft not only upcycles old crayons, but uses up the containers of old glue sticks. See where this is going? It’s simple, easy to do, however, kids will need some adult supervision as you will be melting crayons. So without further ado, let’s make twistable crayons.
This post contains affiliate links.
Related: Make colorful crayon wands out of broken crayons.
Supplies Needed To Make Twistable Crayons
Optional:
How To Make Twistable Crayons
Step 1

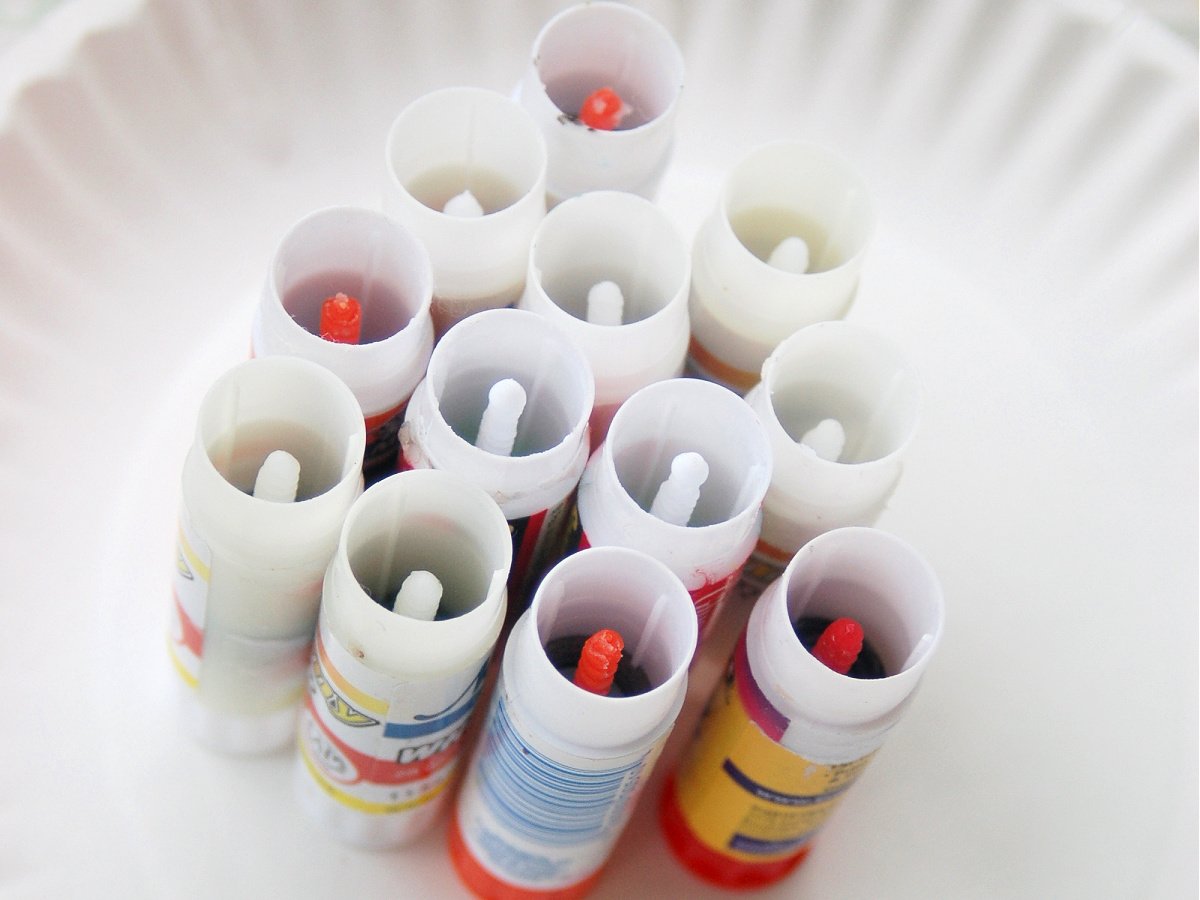
Clean out your old glue sticks and gather your crayons.
Craft Notes:
Scrape out the old glue an let the stick soak in hot water and dish soap for about 10 minutes. You can also add vinegar if it’s particularly sticky.
Step 2
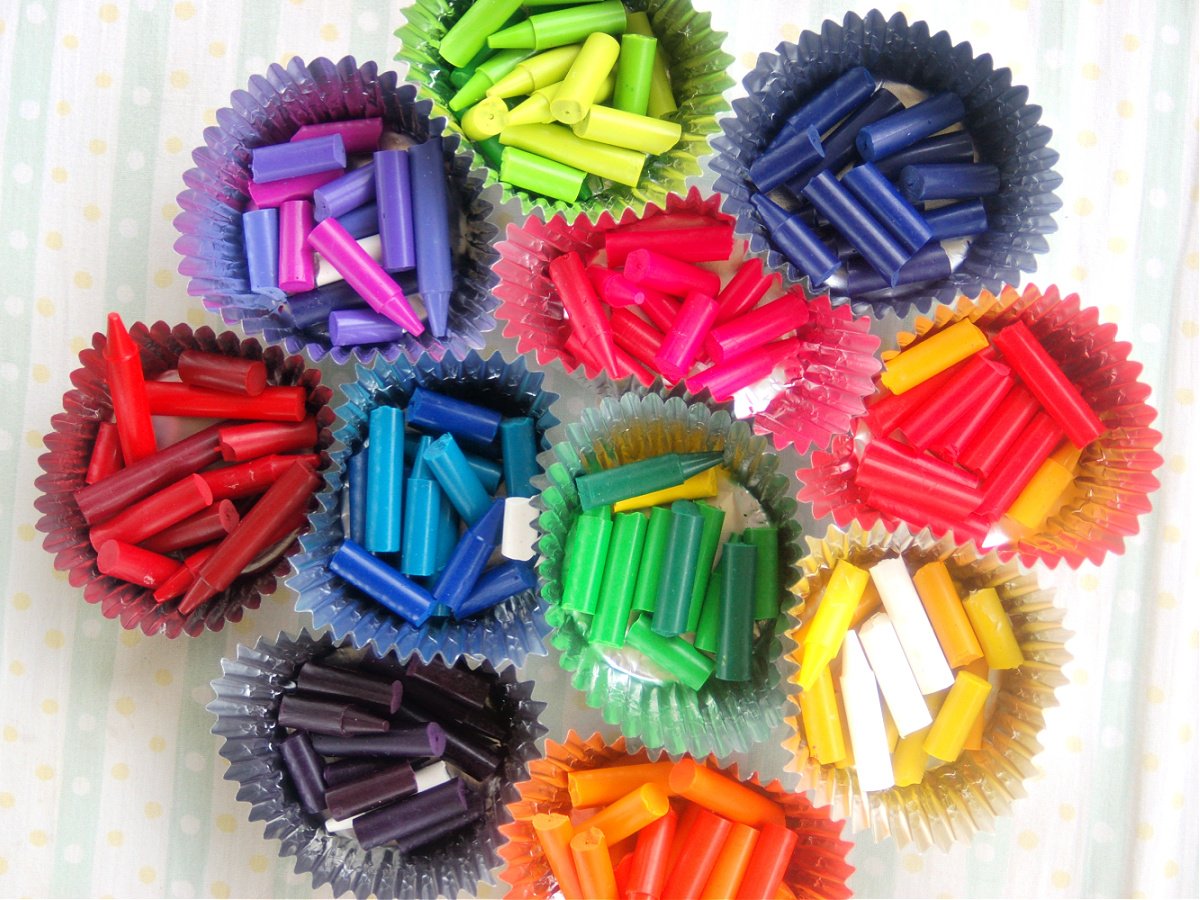
Sort out your old broken crayons into colored piles. All similar colors go into 1 cupcake liner. For example, pinks go into 1 liners, purples in another, and so on and so forth. Don’t overfill!
Step 3
Put your oven on 200 F and place your cupcake liners in a muffin tin.
Step 4
Put the muffin tin in the oven and let the crayons melt. It should only take 10-15 minutes, but watch closely so they don’t burn or separate.
Step 5
Put on some oven mitts or heat resistant gloves and take the pan out.
Step 6
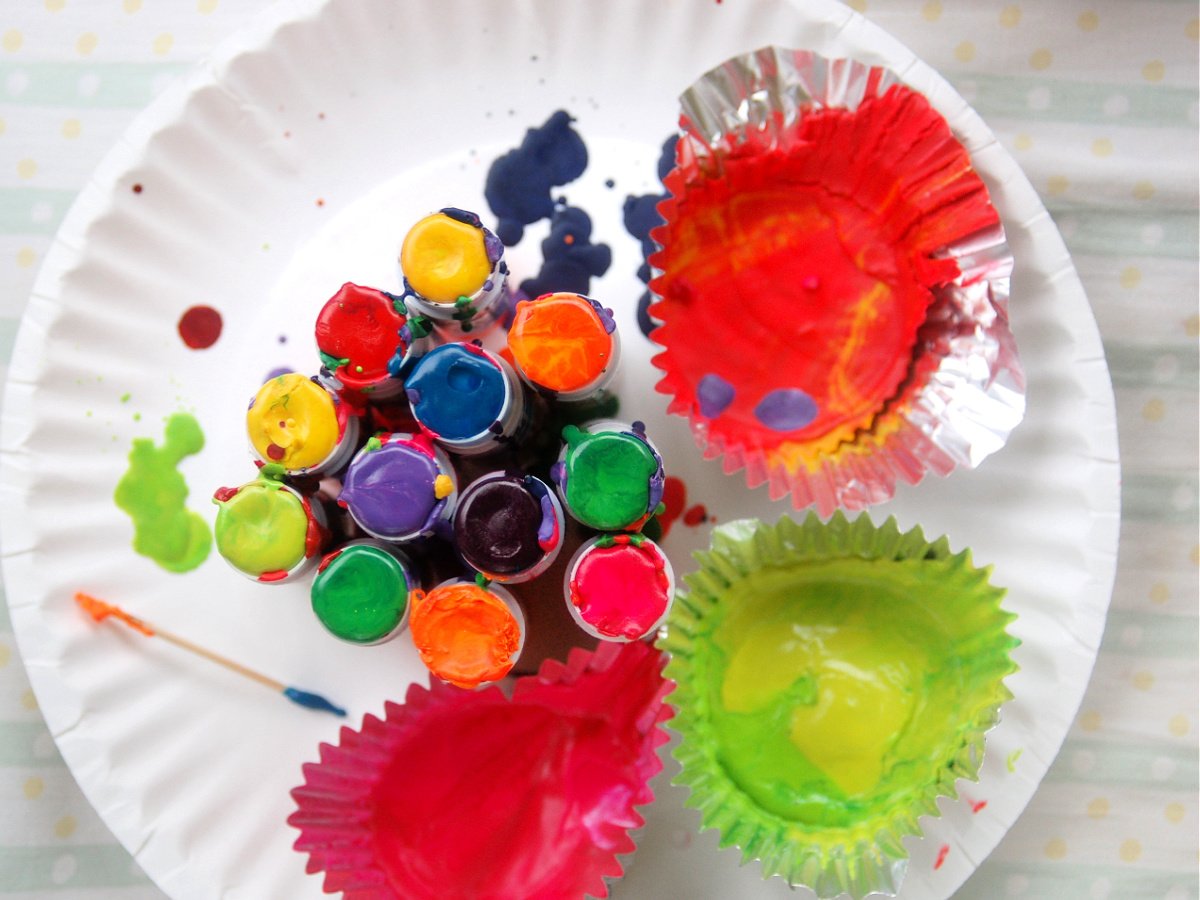
Carefully pull out a muffin liner and slowly pour it into an empty glue stick container. Repeat this process until you fill all the glue sticks.
Craft Note:
You can carefully wipe off excess or spills along the side if necessary with some paper towels.
Step 7
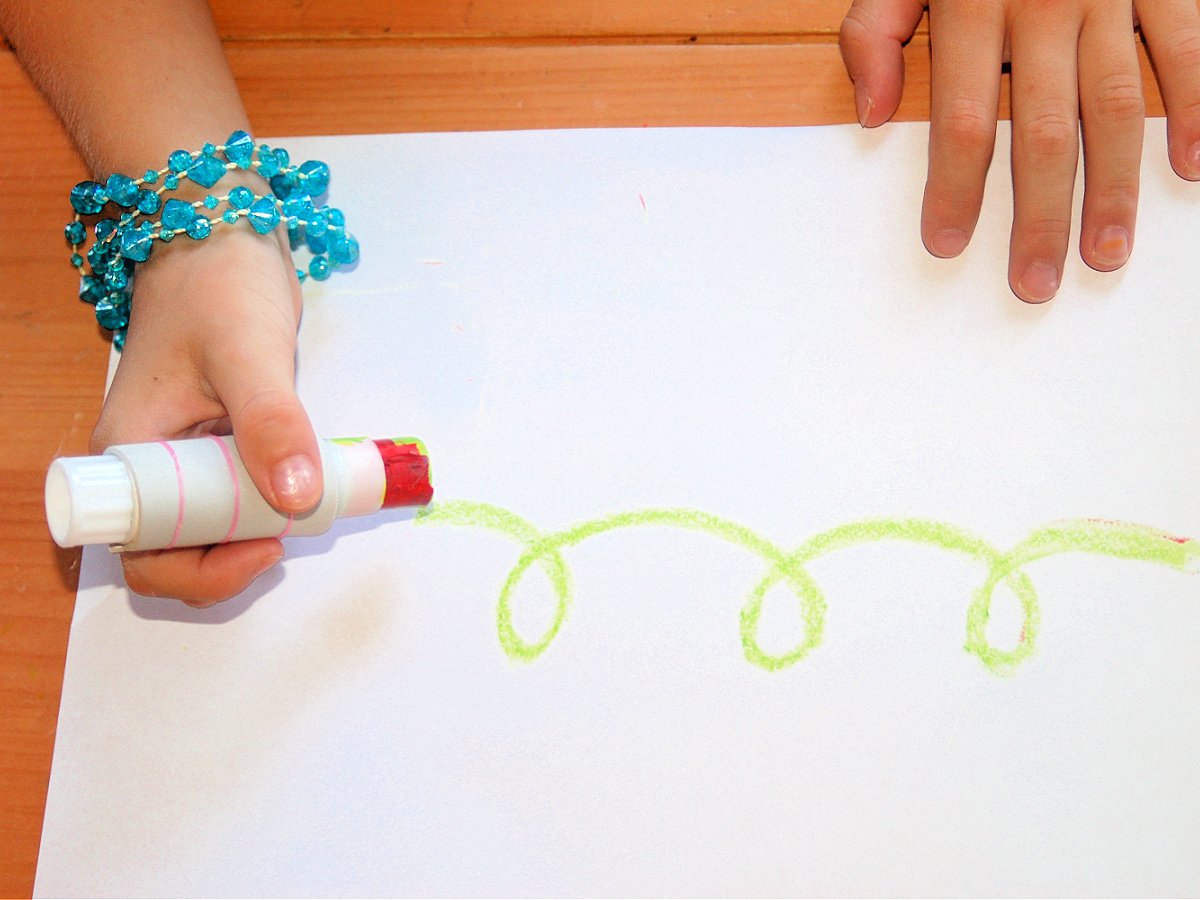
Let them cool off. Once they’re cooled then you can color with them!
Some Cool Ideas To Transform Your Crayons Even Further
Keeping the same colors and melting them together will keep your crayons pretty uniform. But if you want to make some crazy and unique crayons you can do things like:
- Add some glitter for glitter crayons.
- Add similar colors to your cupcake liners. You could do yellow and orange, pink and purple, blue and green.
- Go wild and mix all sorts of colors, just be sure not to stir them too much or you’ll end up with gray, black, or brown. But a blue color with pink and white streaks would be fun!
Homemade Twistable Crayons

Twistable crayons were the coolest thing when I was growing up, and now you can make your own by upcycling craft supplies like old crayons and empty glue stick containers!
Materials
- Crayons
- Cupcake Liners
- Glue Stick Containers
- Muffin Tin
Instructions
- Clean out your old glue sticks.
- Sort out your old broken crayons into colored piles. All similar colors go into 1 cupcake liner. For example, pinks go into 1 liners, purples in another, and so on and so forth. Don’t overfill!
- Put your oven on 200 F and place your cupcake liners in a muffin tin.
- Put the muffin tin in the oven and let the crayons melt. It should only take 10-15 minutes, but watch closely so they don’t burn or separate.
- Put on some oven mitts or heat resistant gloves and take the pan out.
- Carefully pull out a muffin liner and slowly pour it into an empty glue stick container. Repeat this process until you fill all the glue sticks.
- Let them cool off. Once they’re cooled then you can color with them!
Notes
- Scrape out the old glue an let the stick soak in hot water and dish soap for about 10 minutes. You can also add vinegar if it’s particularly sticky.
- You can carefully wipe off excess or spills along the side if necessary with some paper towels.
More Fun With Crayons From Kids Activities Blog
- Did you know you can make candles using crayons?
- Learn how to make lipstick with crayons!
- Make your own crayons using fun mold shapes!
- Learn how to make homemade stormtrooper bath soap crayons.
- Color rocks with melted crayons!
- You can make your own scratch art using crayons.
- Wow, how fun is this watercolor resist art using crayons?
How did your twistable crayons turn out?


0