
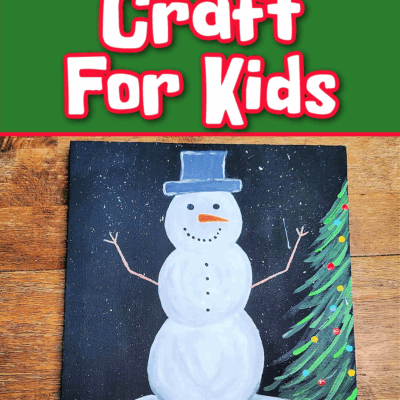
Today we’re making a snowman craft! Kids of all ages will have so much fun painting a snowman. It’s a budget-friendly craft that is also festive! Christmas is almost here and what better way to get into the Christmas spirit than a craft! Make this snowman craft at home or in the classroom.
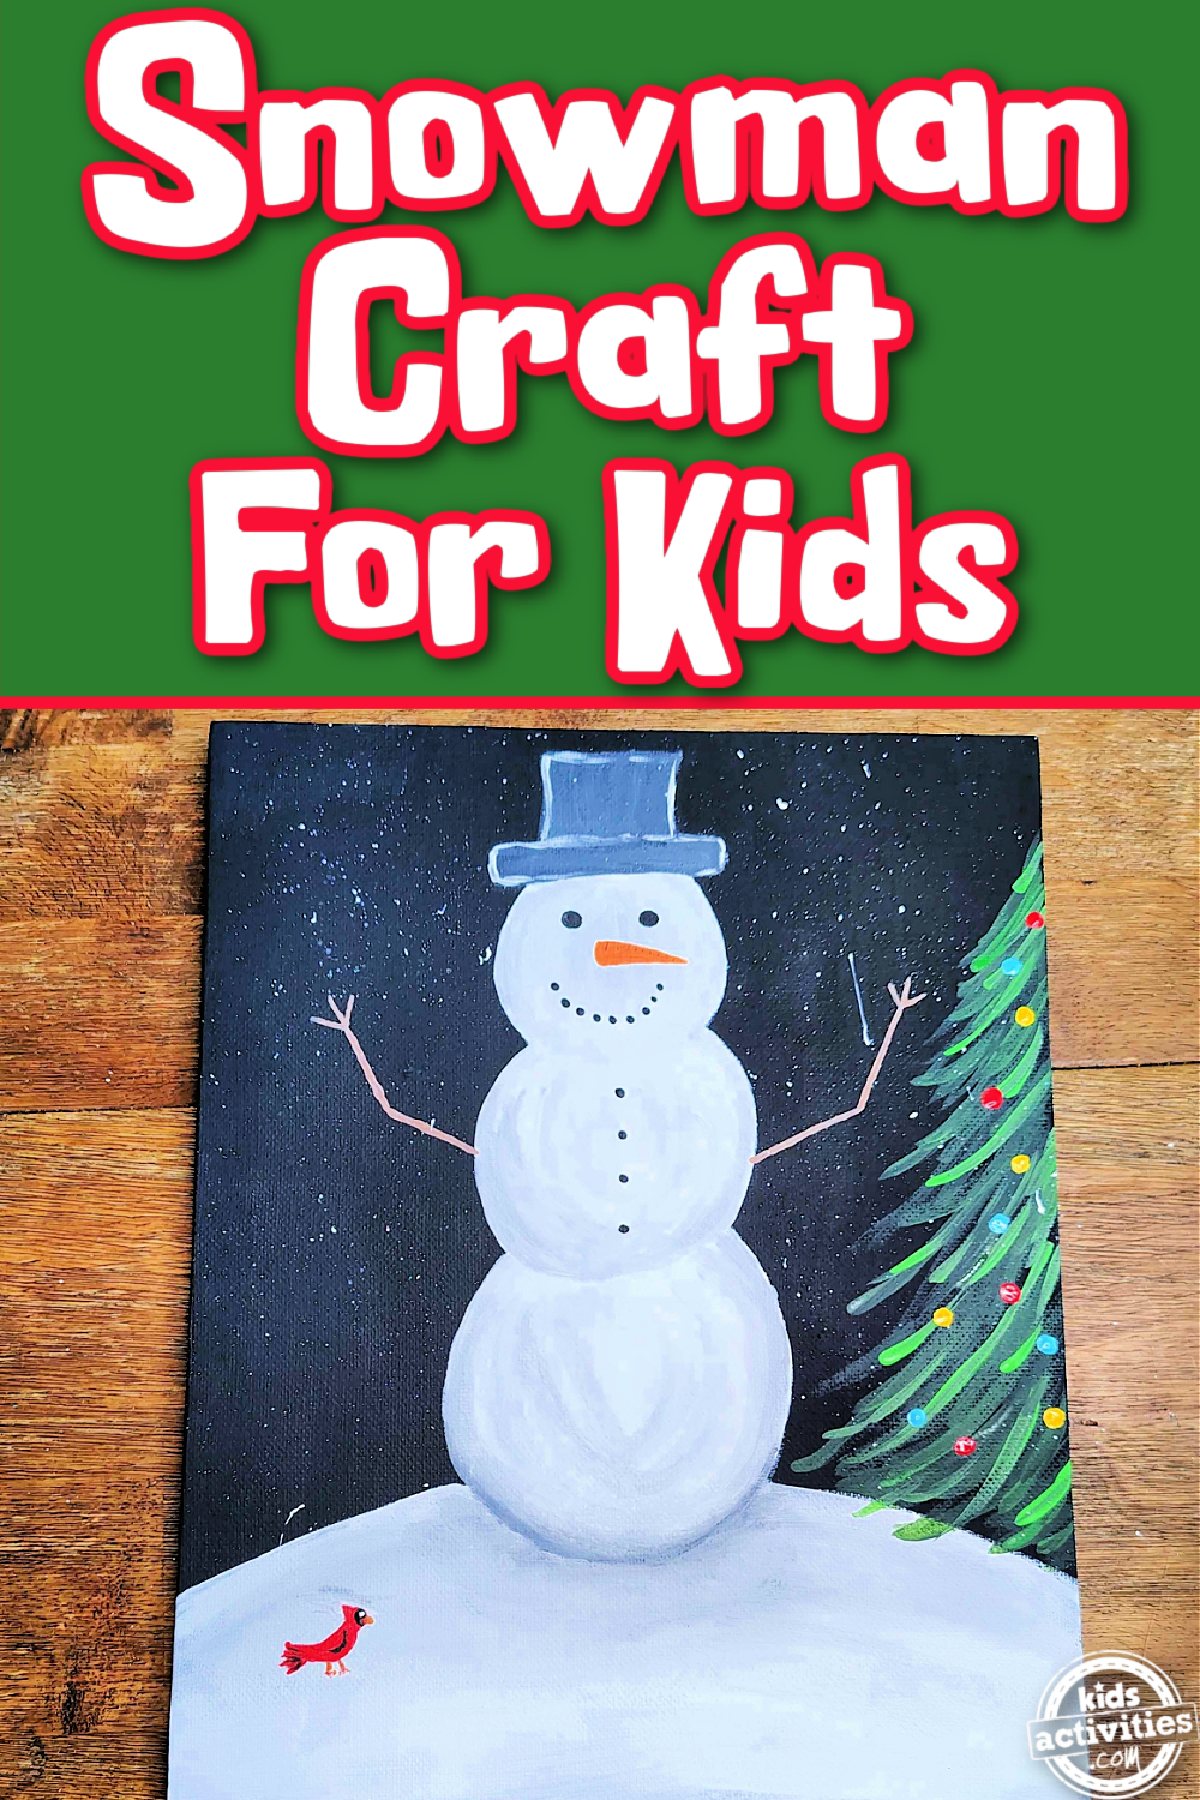
Snowman Craft
We all know and love Frosty the Snowman right? If you love snow, snowman, or the Frosty story then you will love this snowman craft. It’s a simple painting using simple colors, but it is loads of fun.
Your kids will be able to explore colors and practice fine motor skills with this Christmas craft. So, without further ado, let’s do this easy snowman craft!
This post contains affiliate links.
Related: Try this snowman sponge painting art project.
Supplies Needed To Make This Snowman Painting
How To Make This Snowman Craft
Step 1
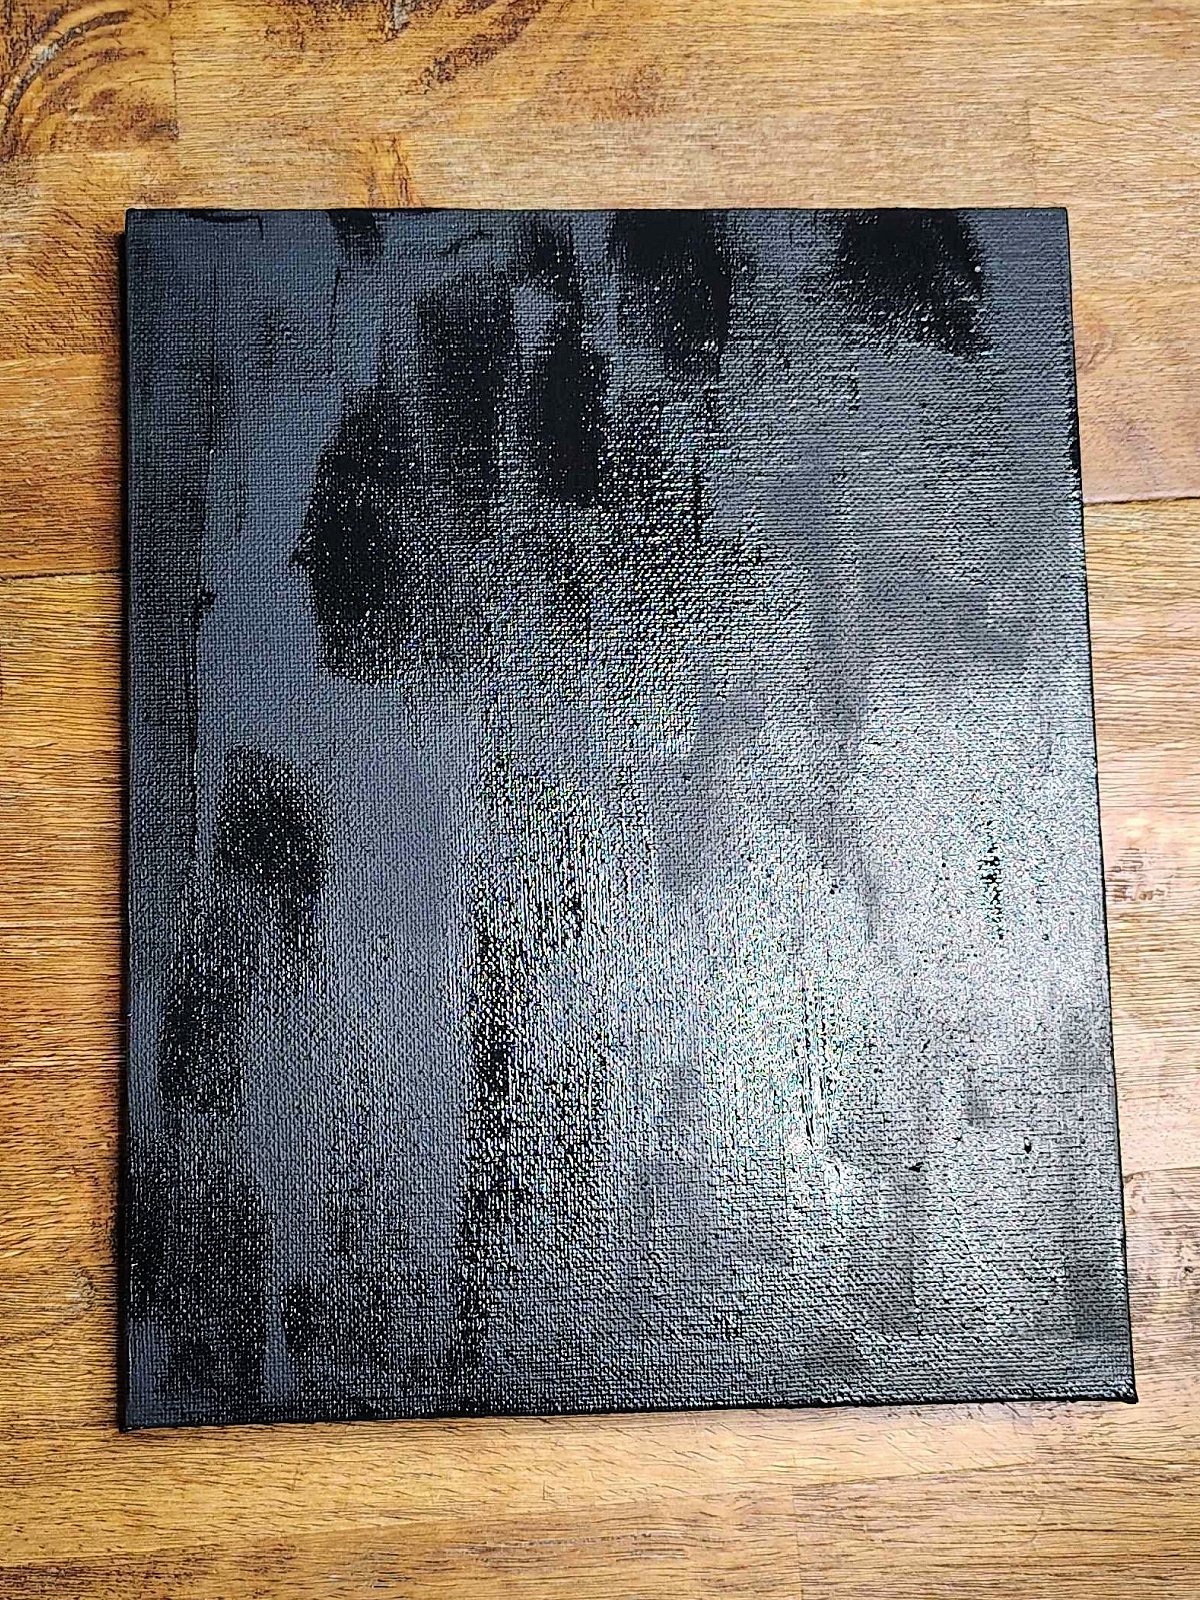
Paint your canvas black. Let it dry.
Step 2
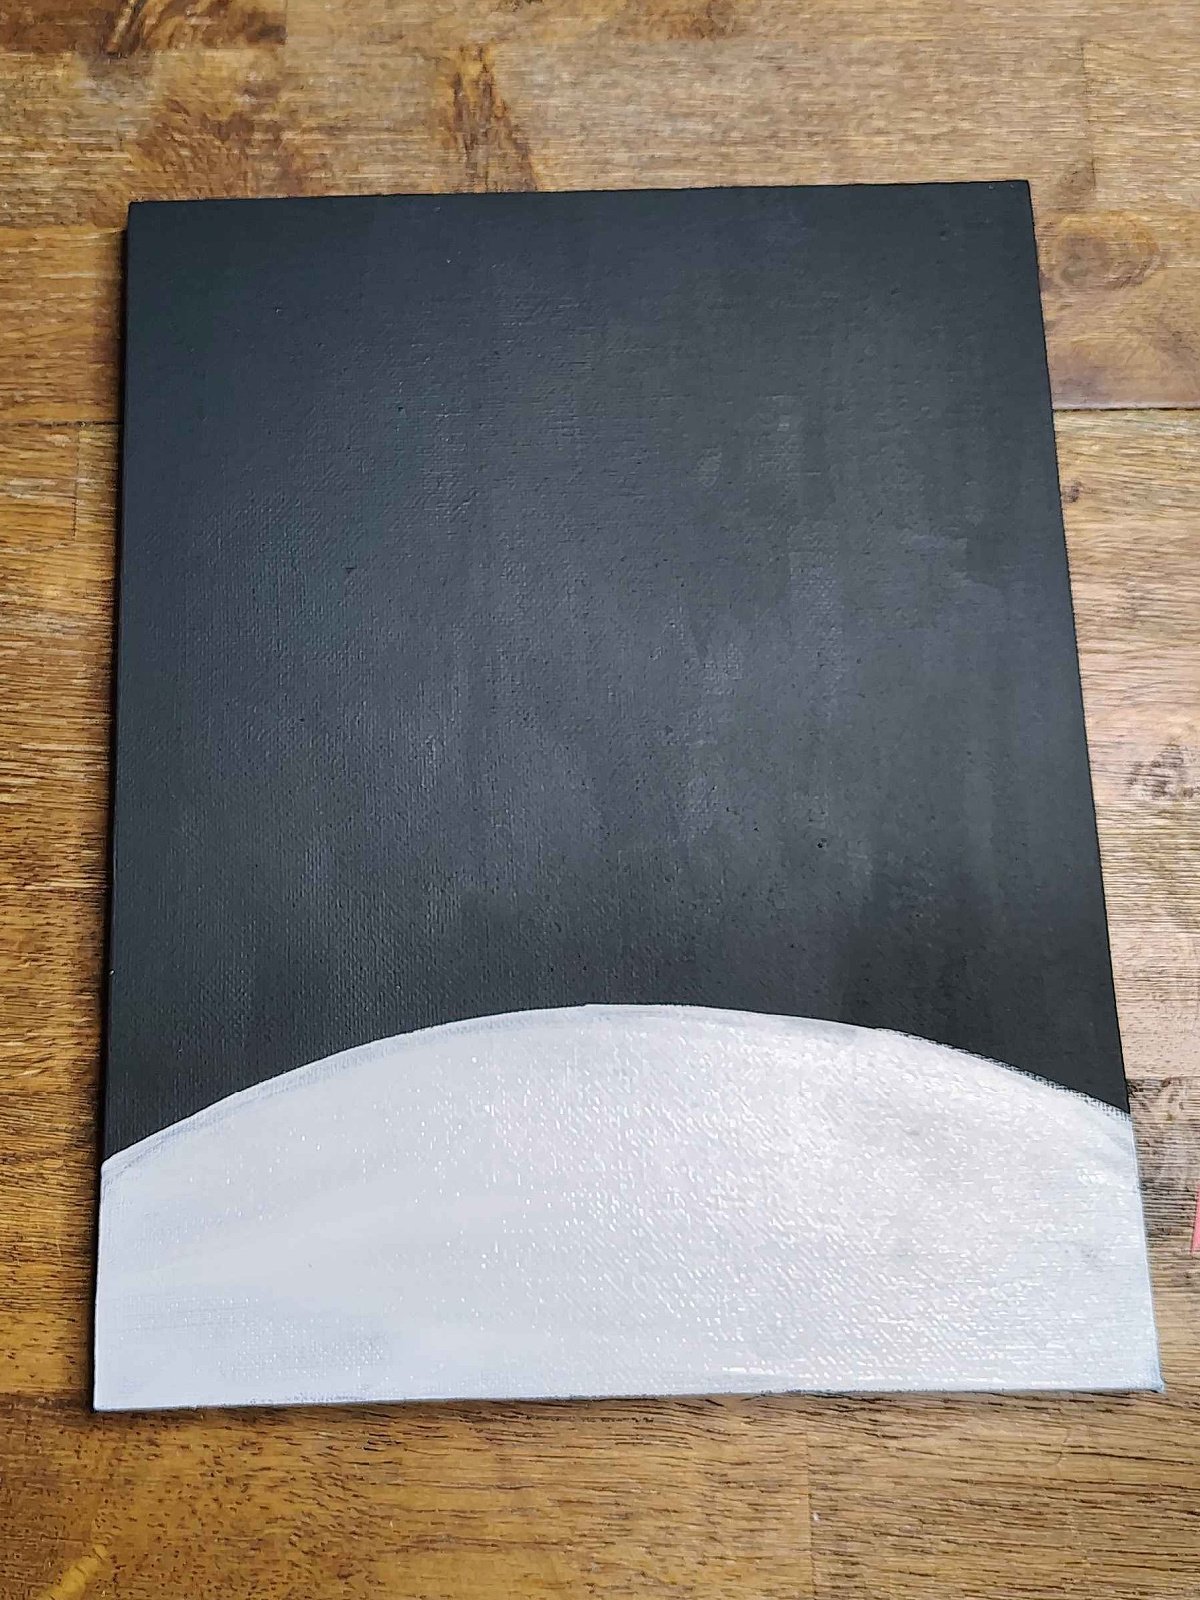
Paint the snow across the ground using white paint.
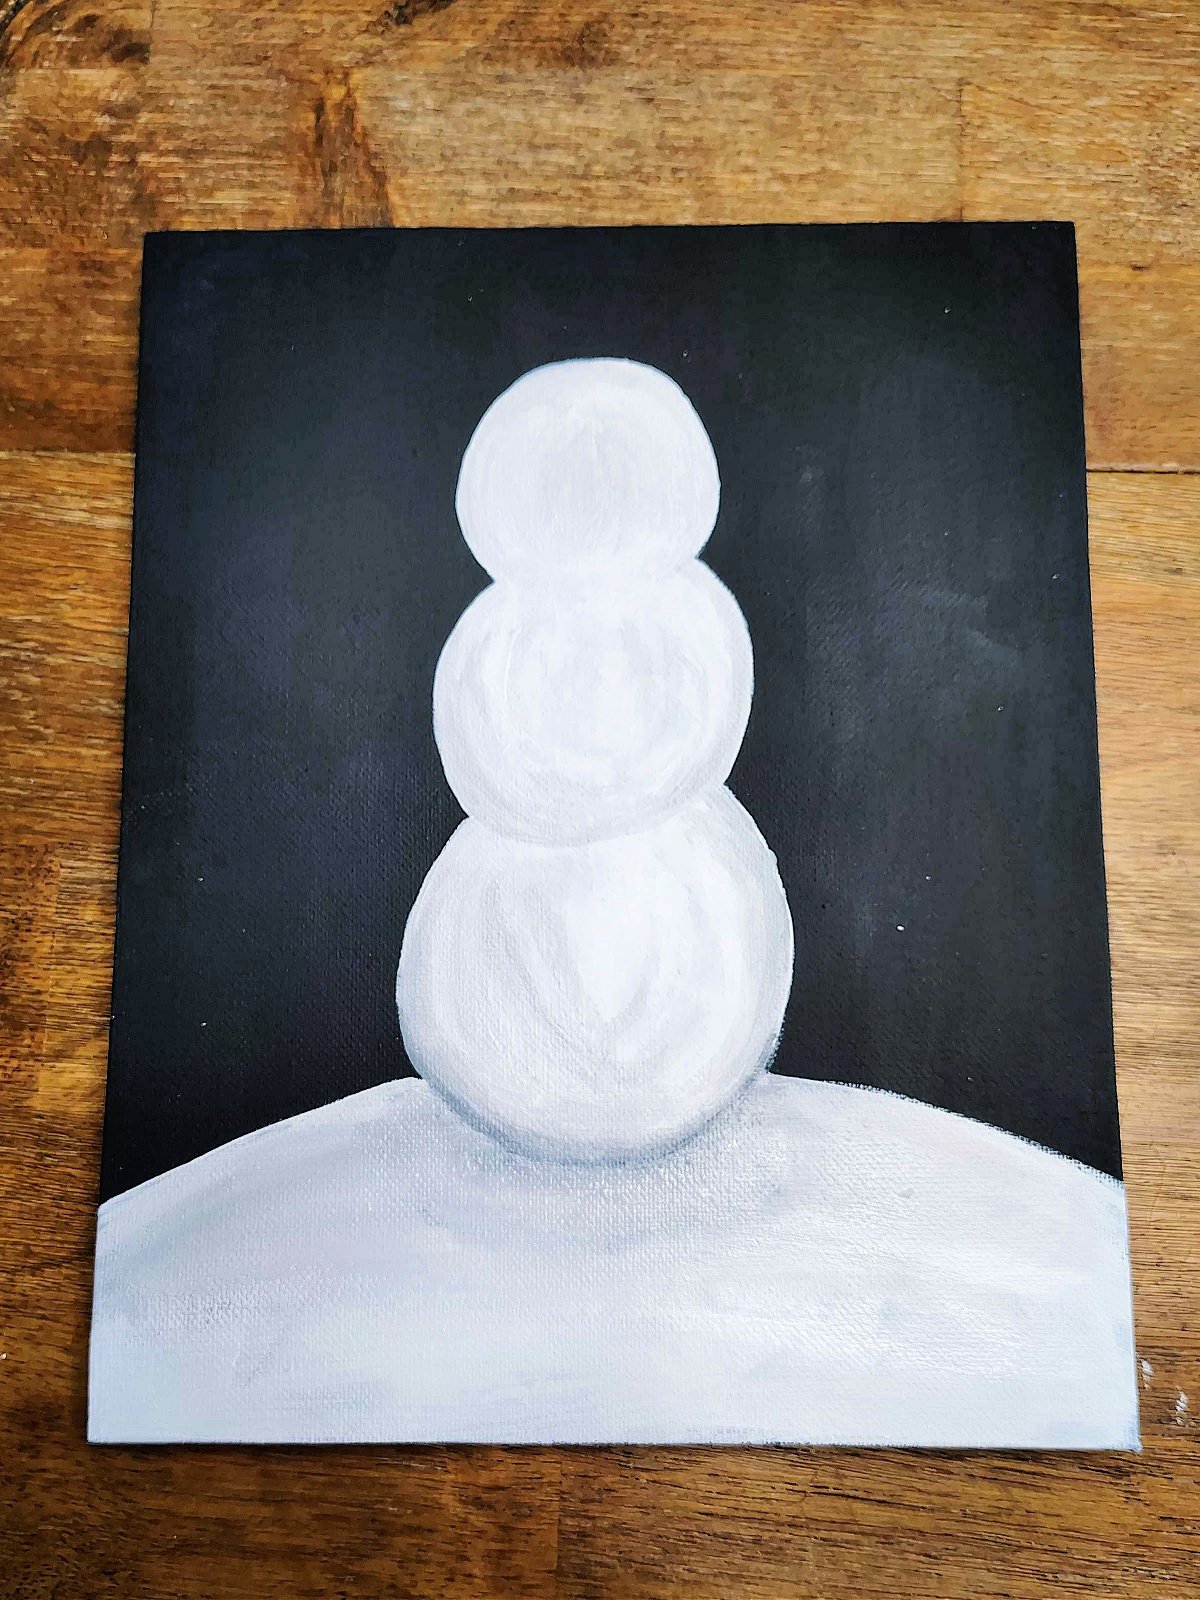
Step 3
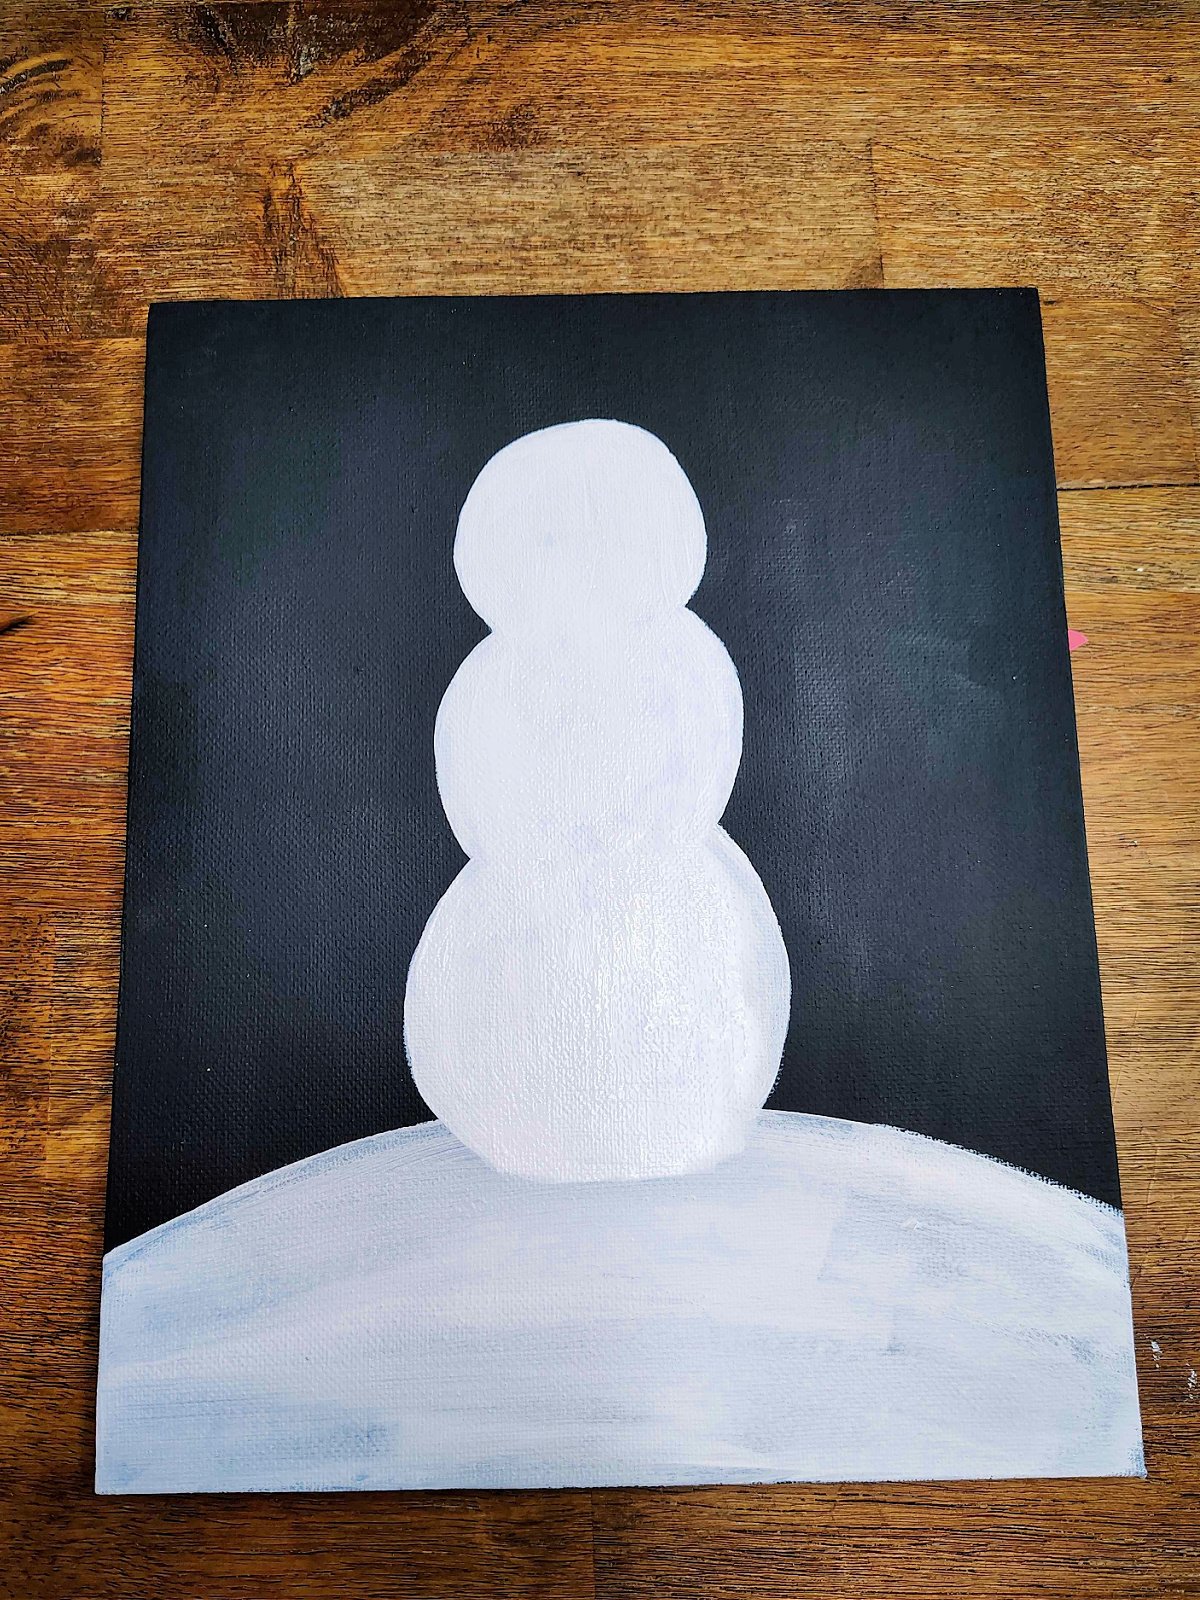
Paint your snowman white. It needs to overlap with the ground.
Step 4
Add detail to your snowman’s body using light gray. I painted details around each segment of the body, the bottom being the darkest.
Step 5
Paint darker details on the ground using a lighter gray to create a shadow of the snowman.
Step 6
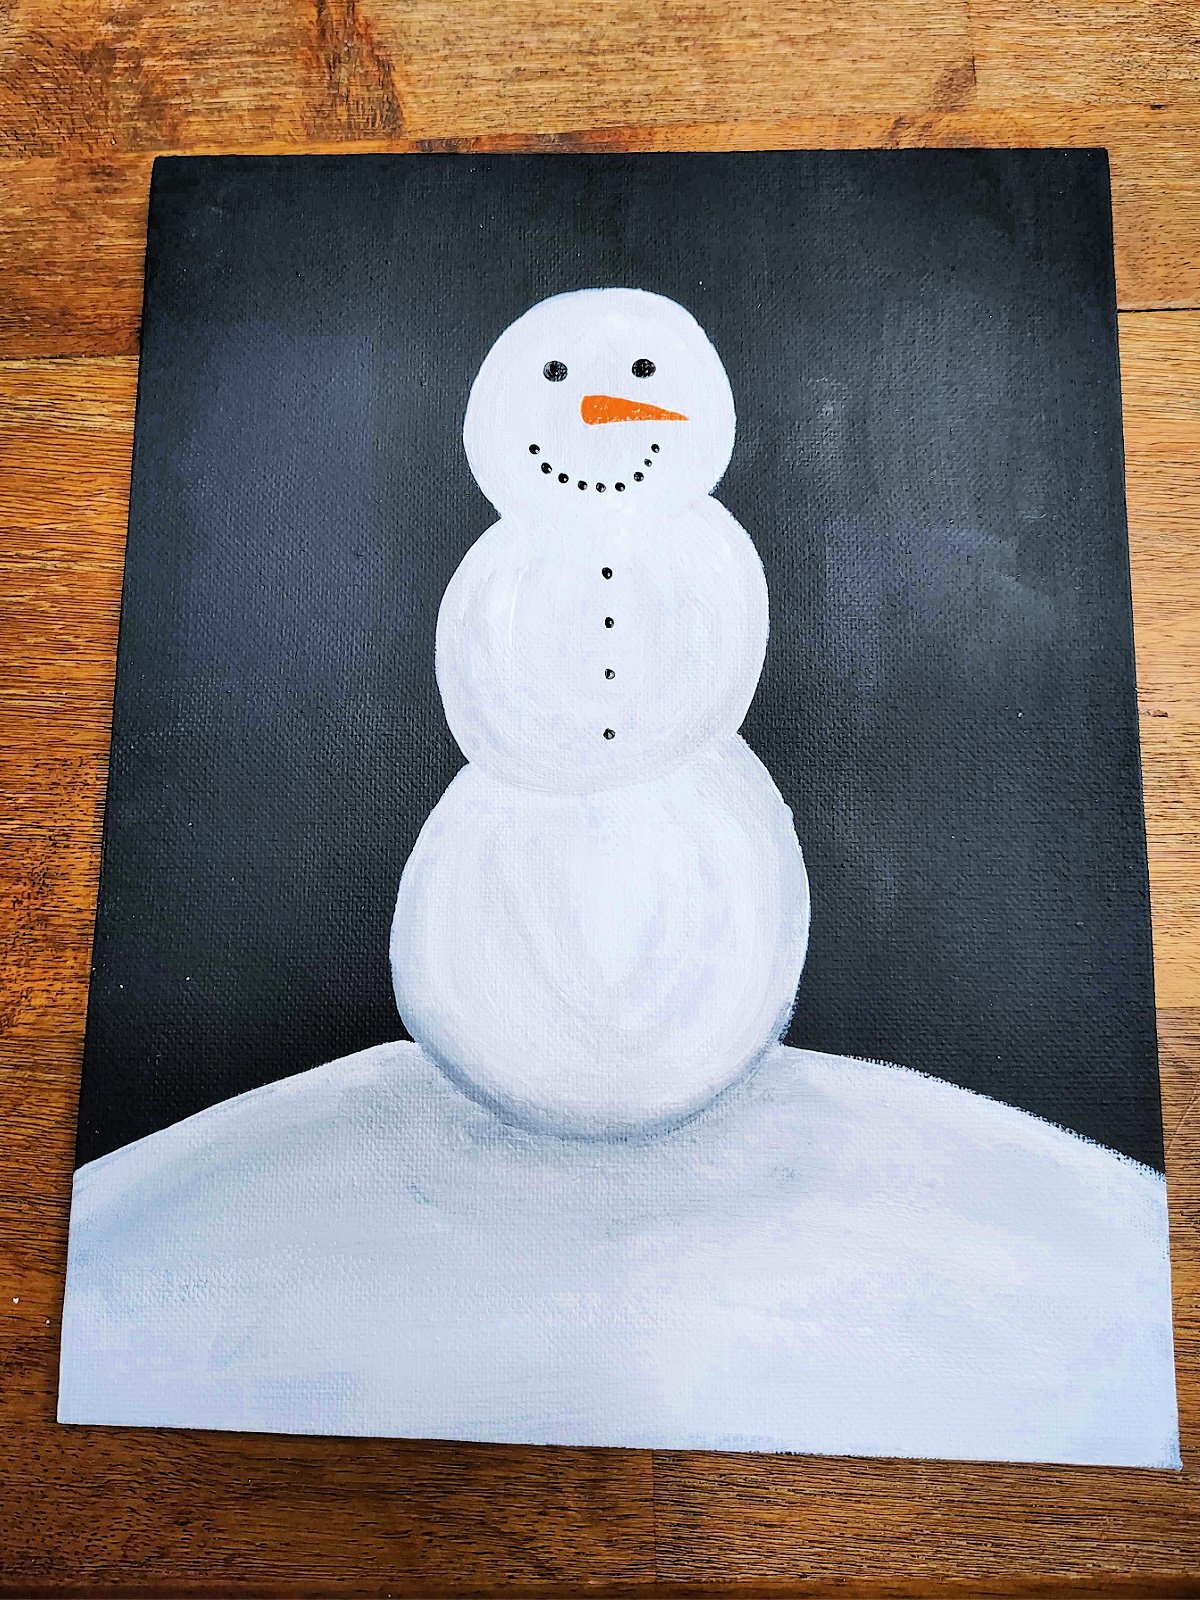
Use black paint to paint dots to make charcoal eyes, mouth, and buttons, and orange to create a carrot nose.
Step 7
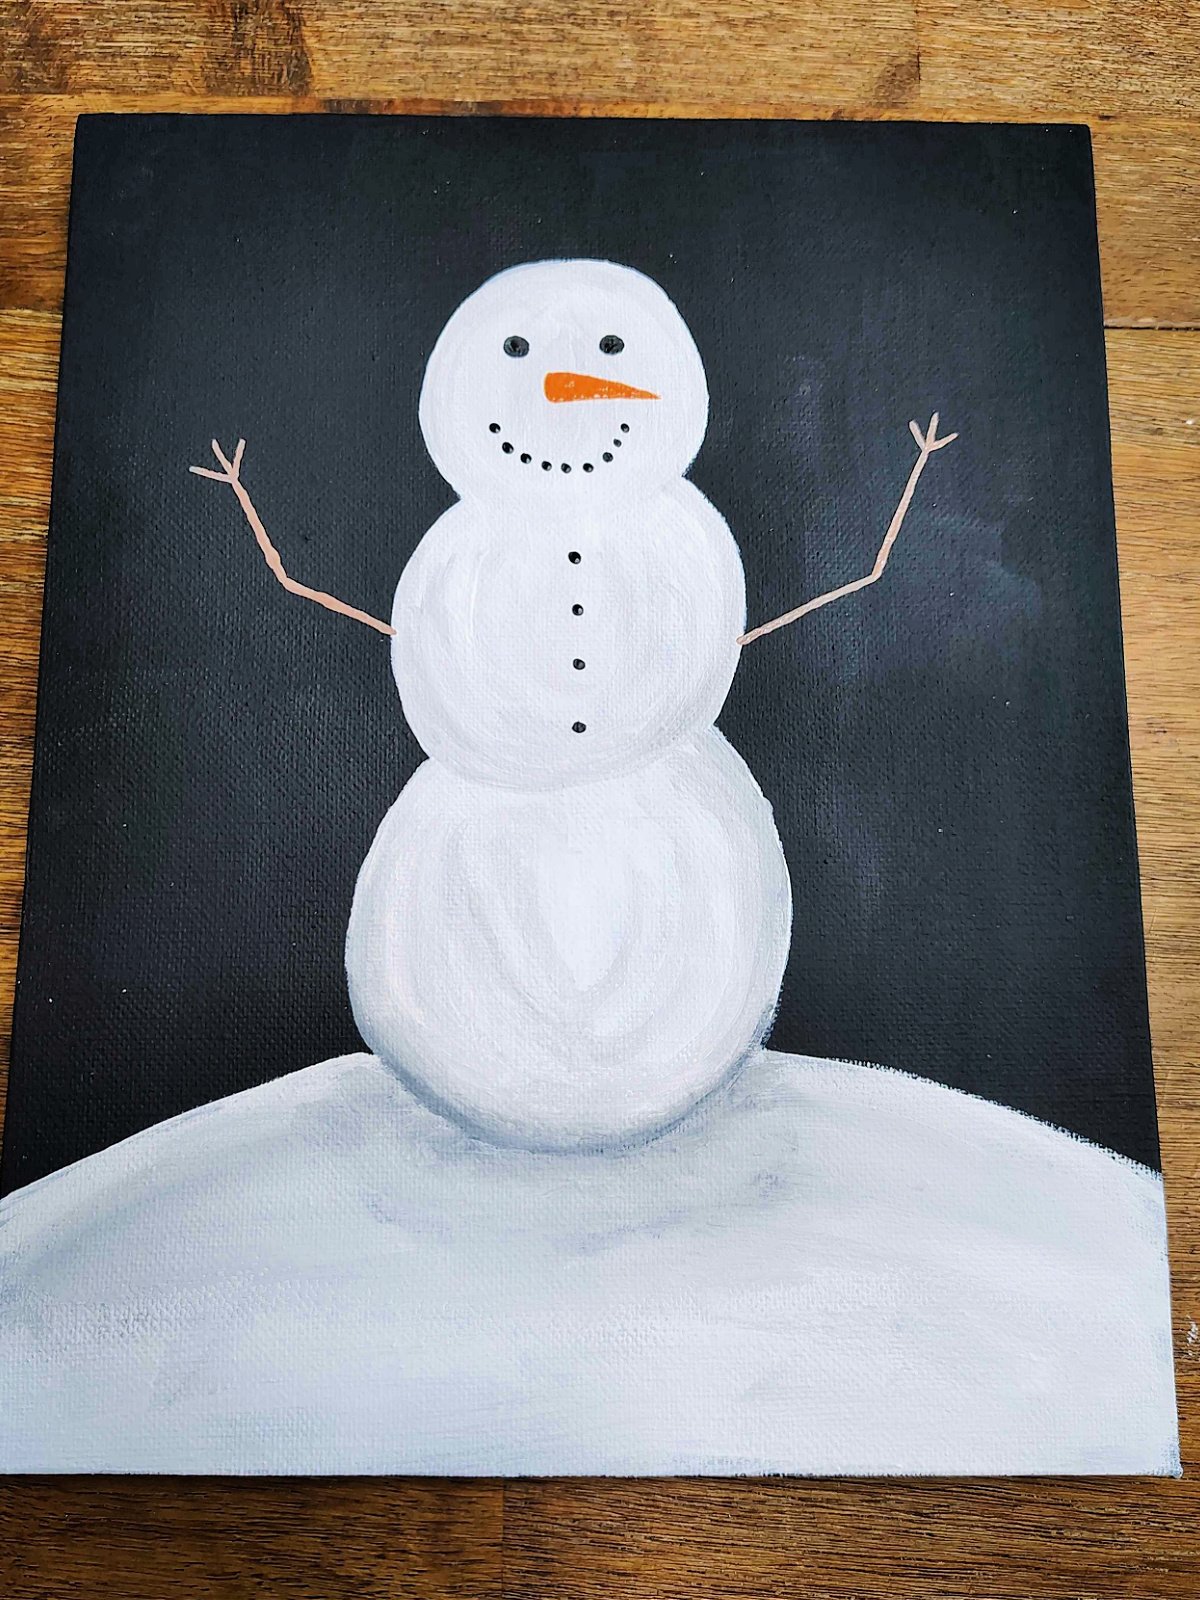
Use light brown to make arms and hands for the snow man.
Step 8
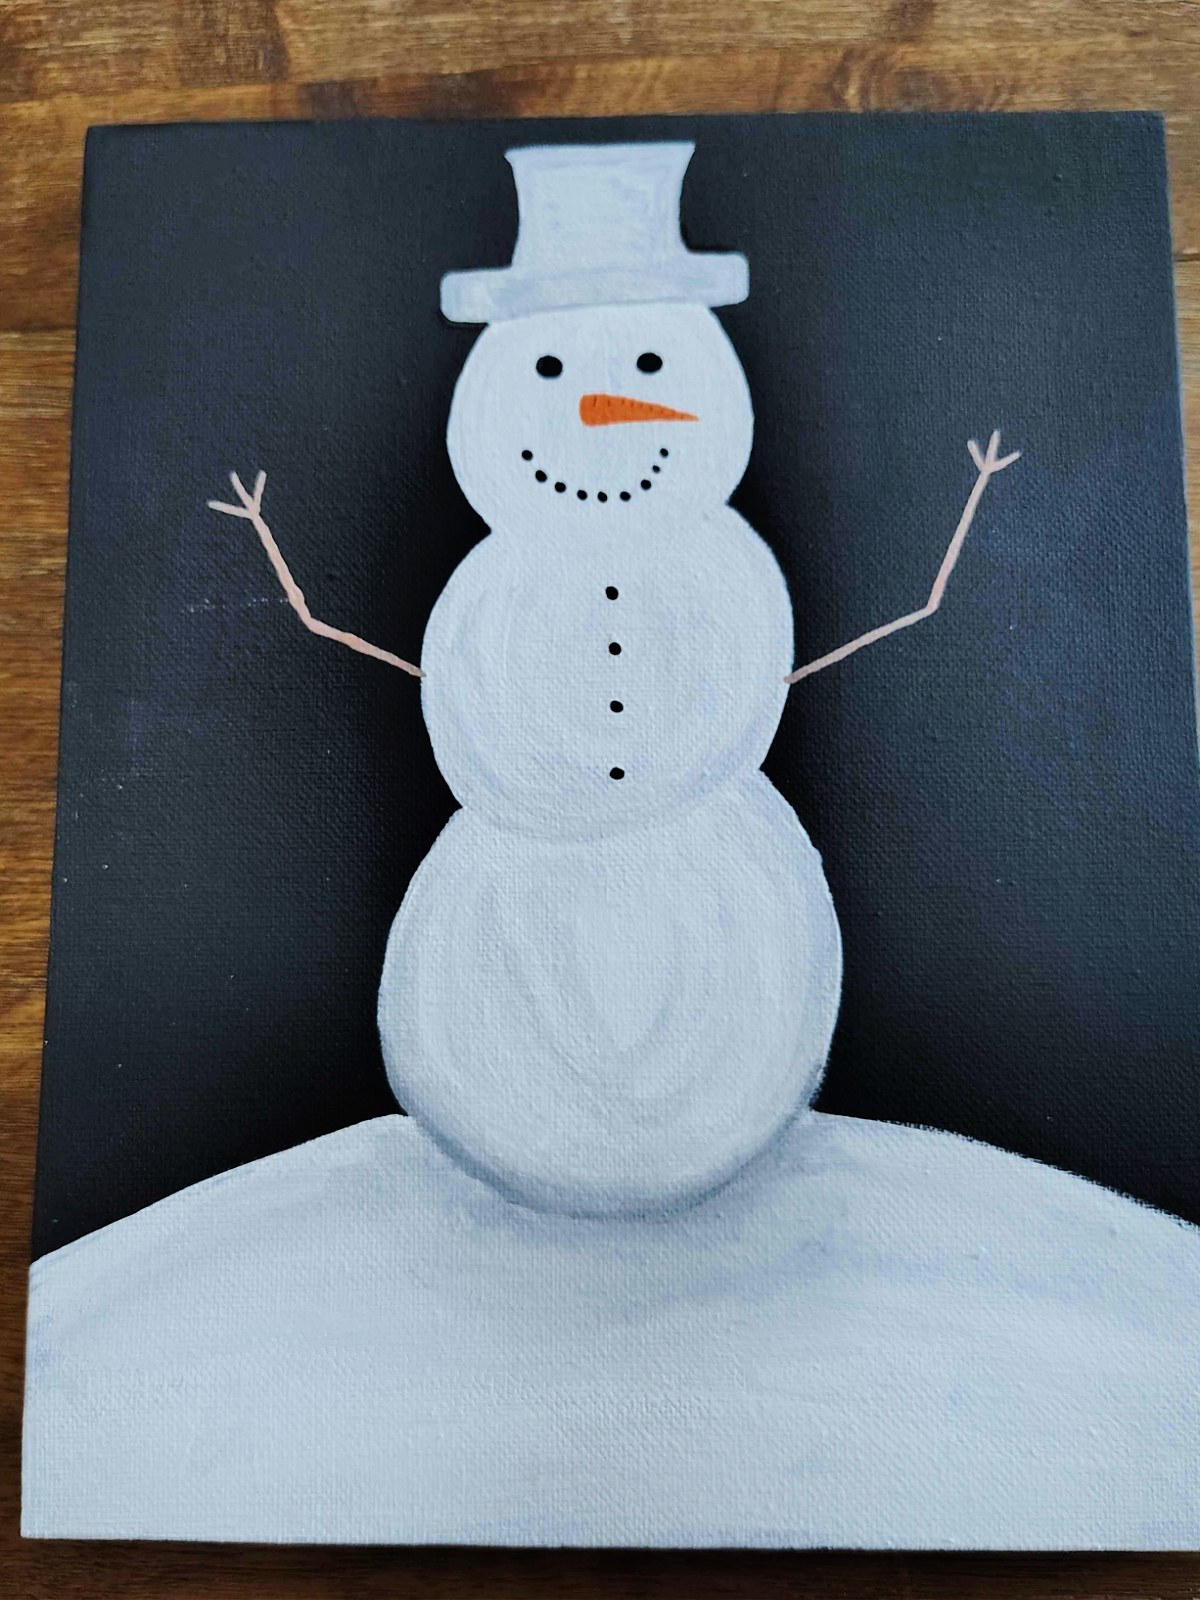
Use light gray to add a hat on the snowman.
Step 9
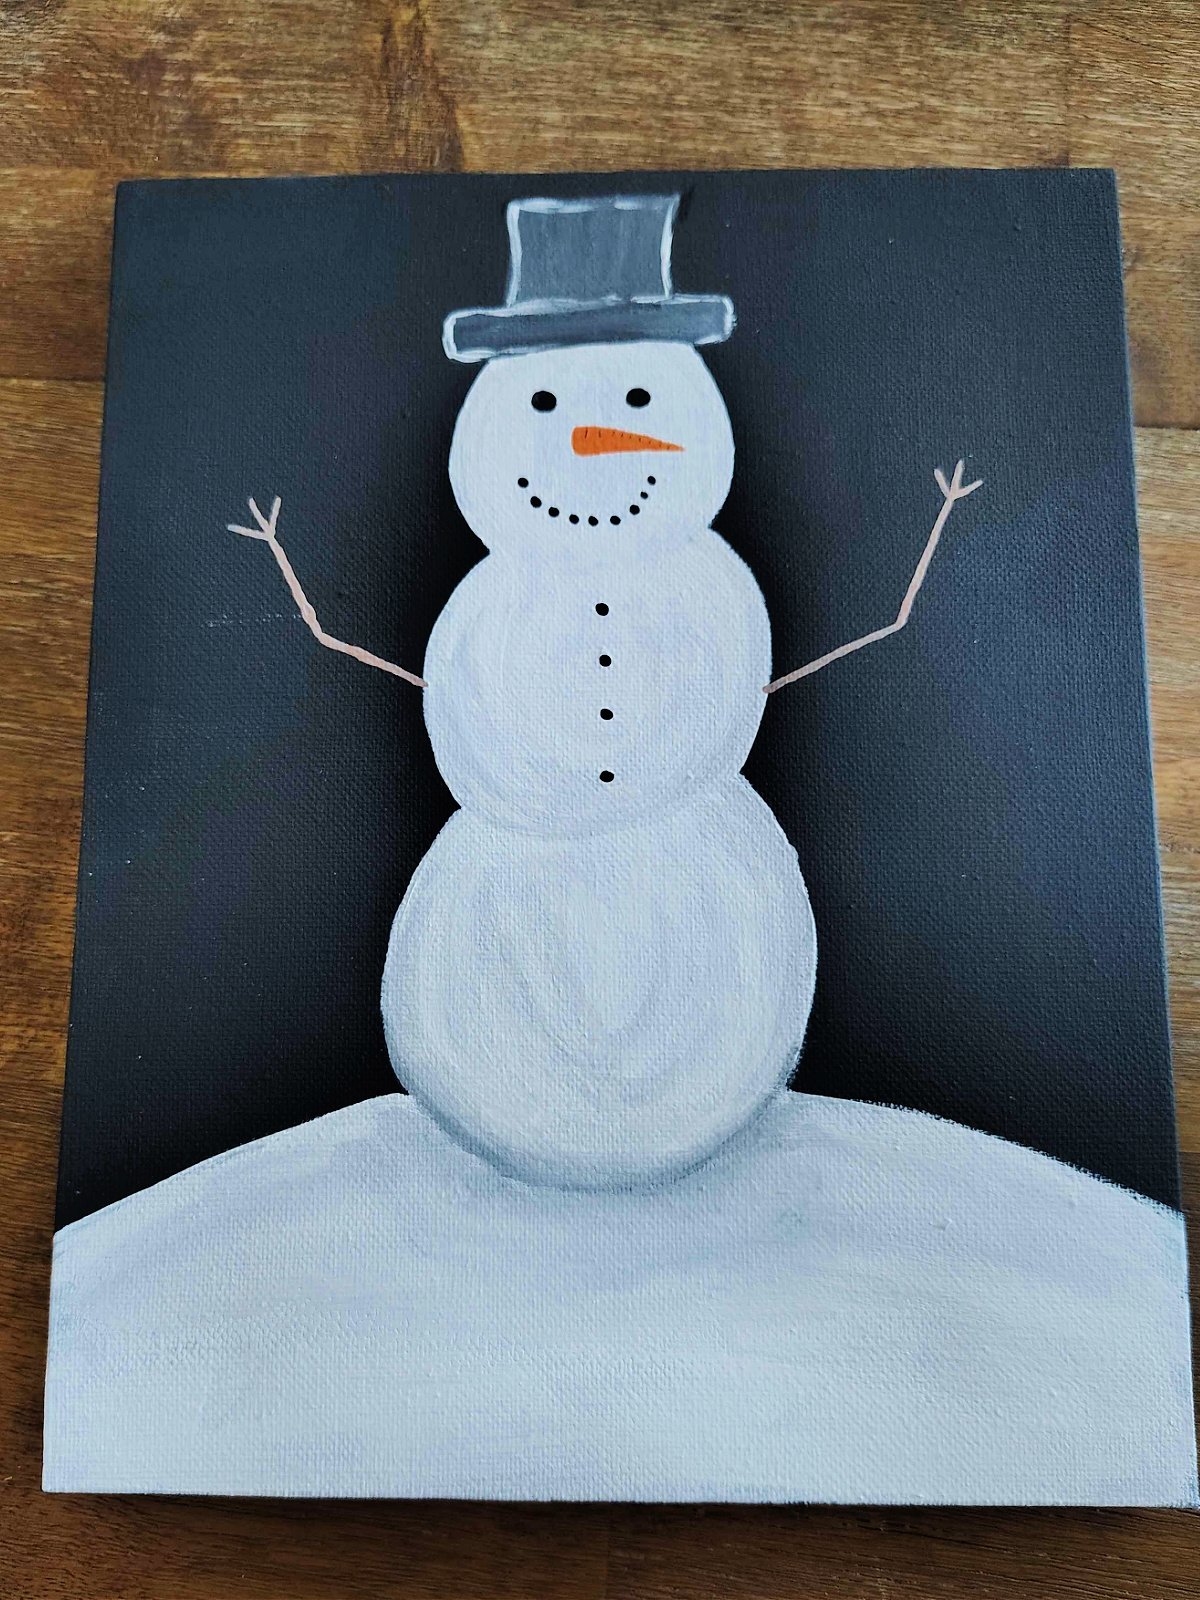
Use a darker gray over the lighter, before it dries, and then outline it with white.
Step 10
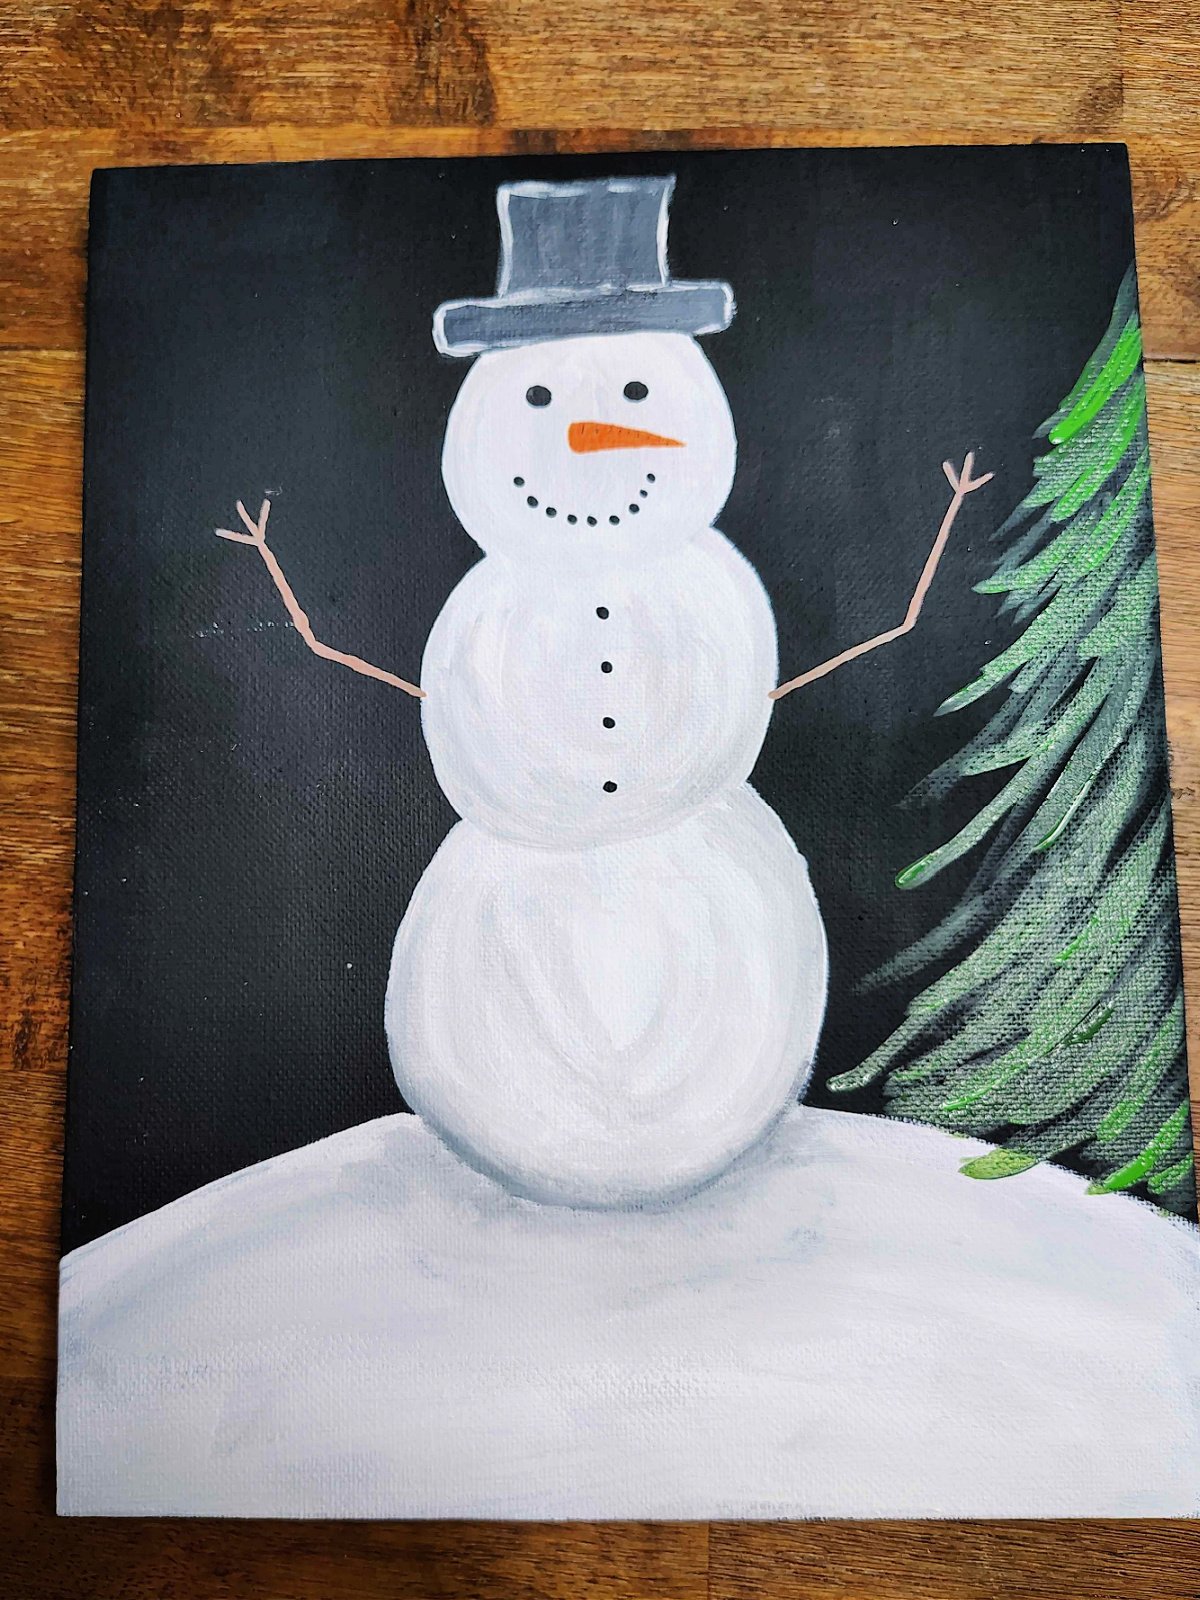
Add strokes of dark green to start making a Christmas tree. Now, add a lighter green over that.
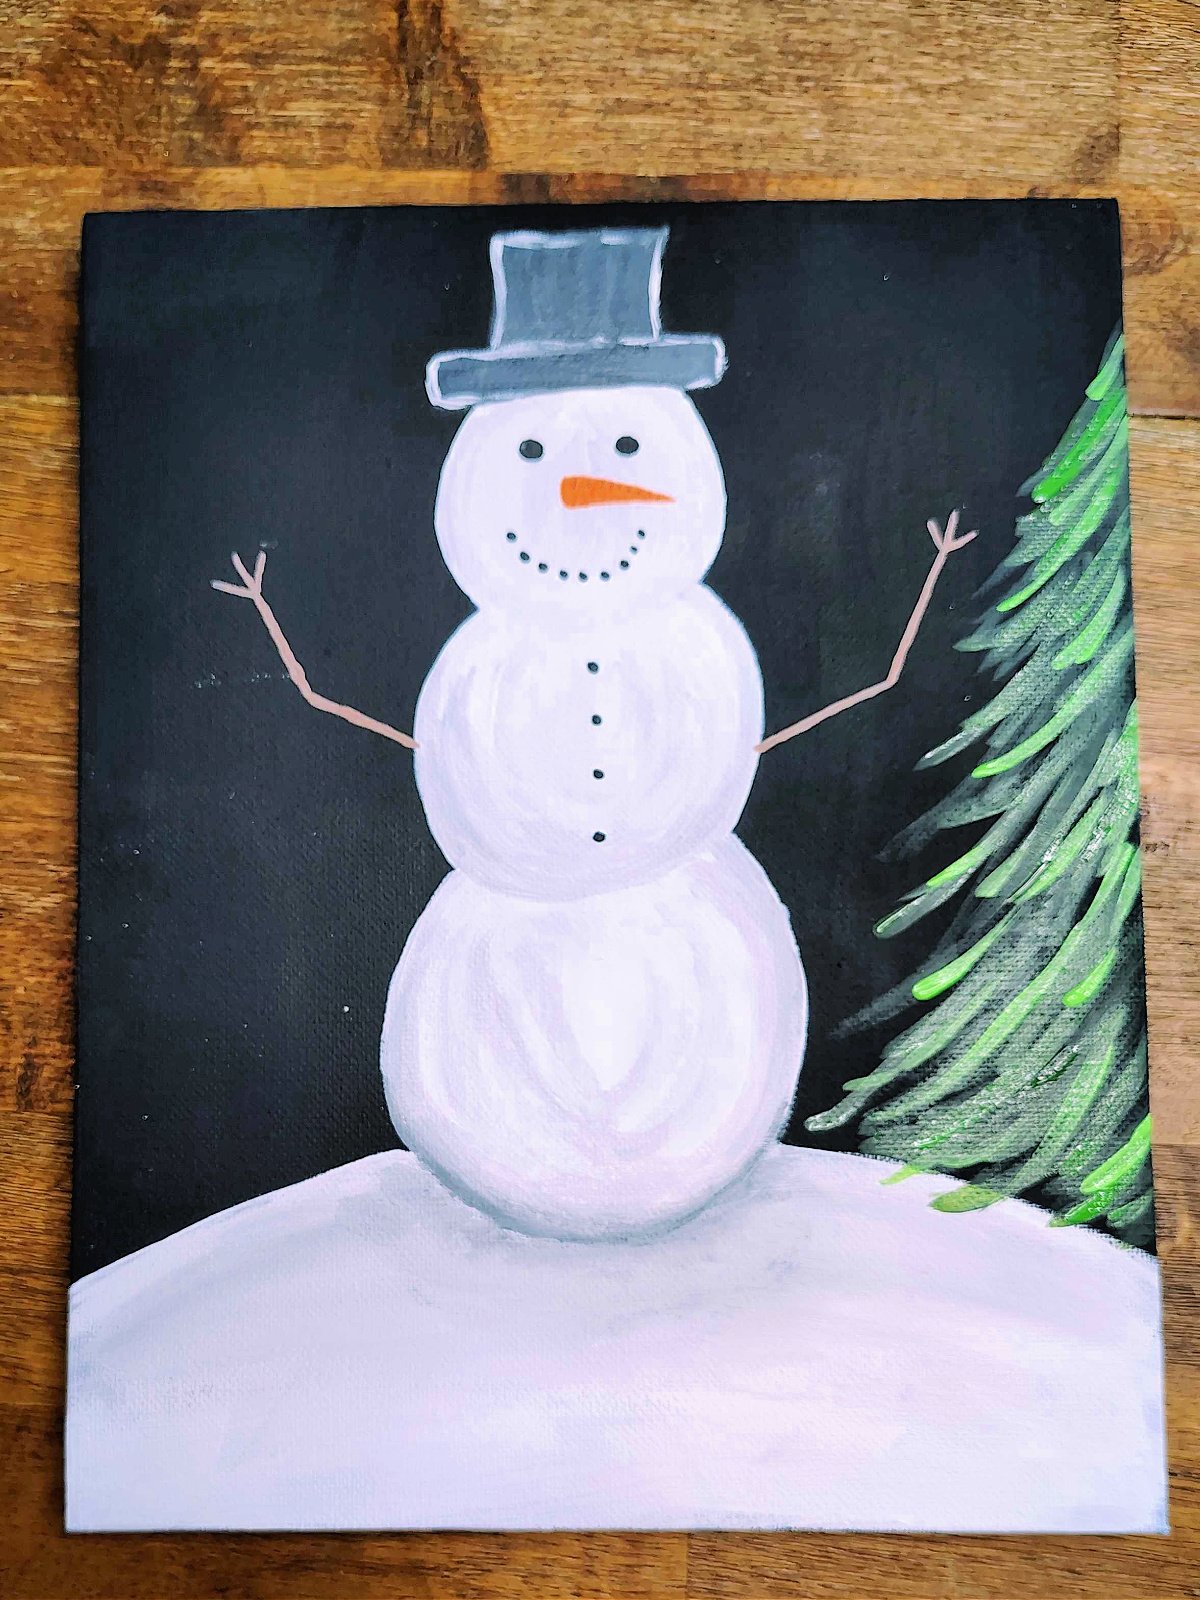
And an even lighter green over that.
Step 11
Paint a red bird on the snow. I free hand this by essentially giving it a pointed head, half circle body, and added feathers. Add black to it’s face with a white eye, an orange beak, and orange feet. Use black to outline the tailfeathers and the wing.
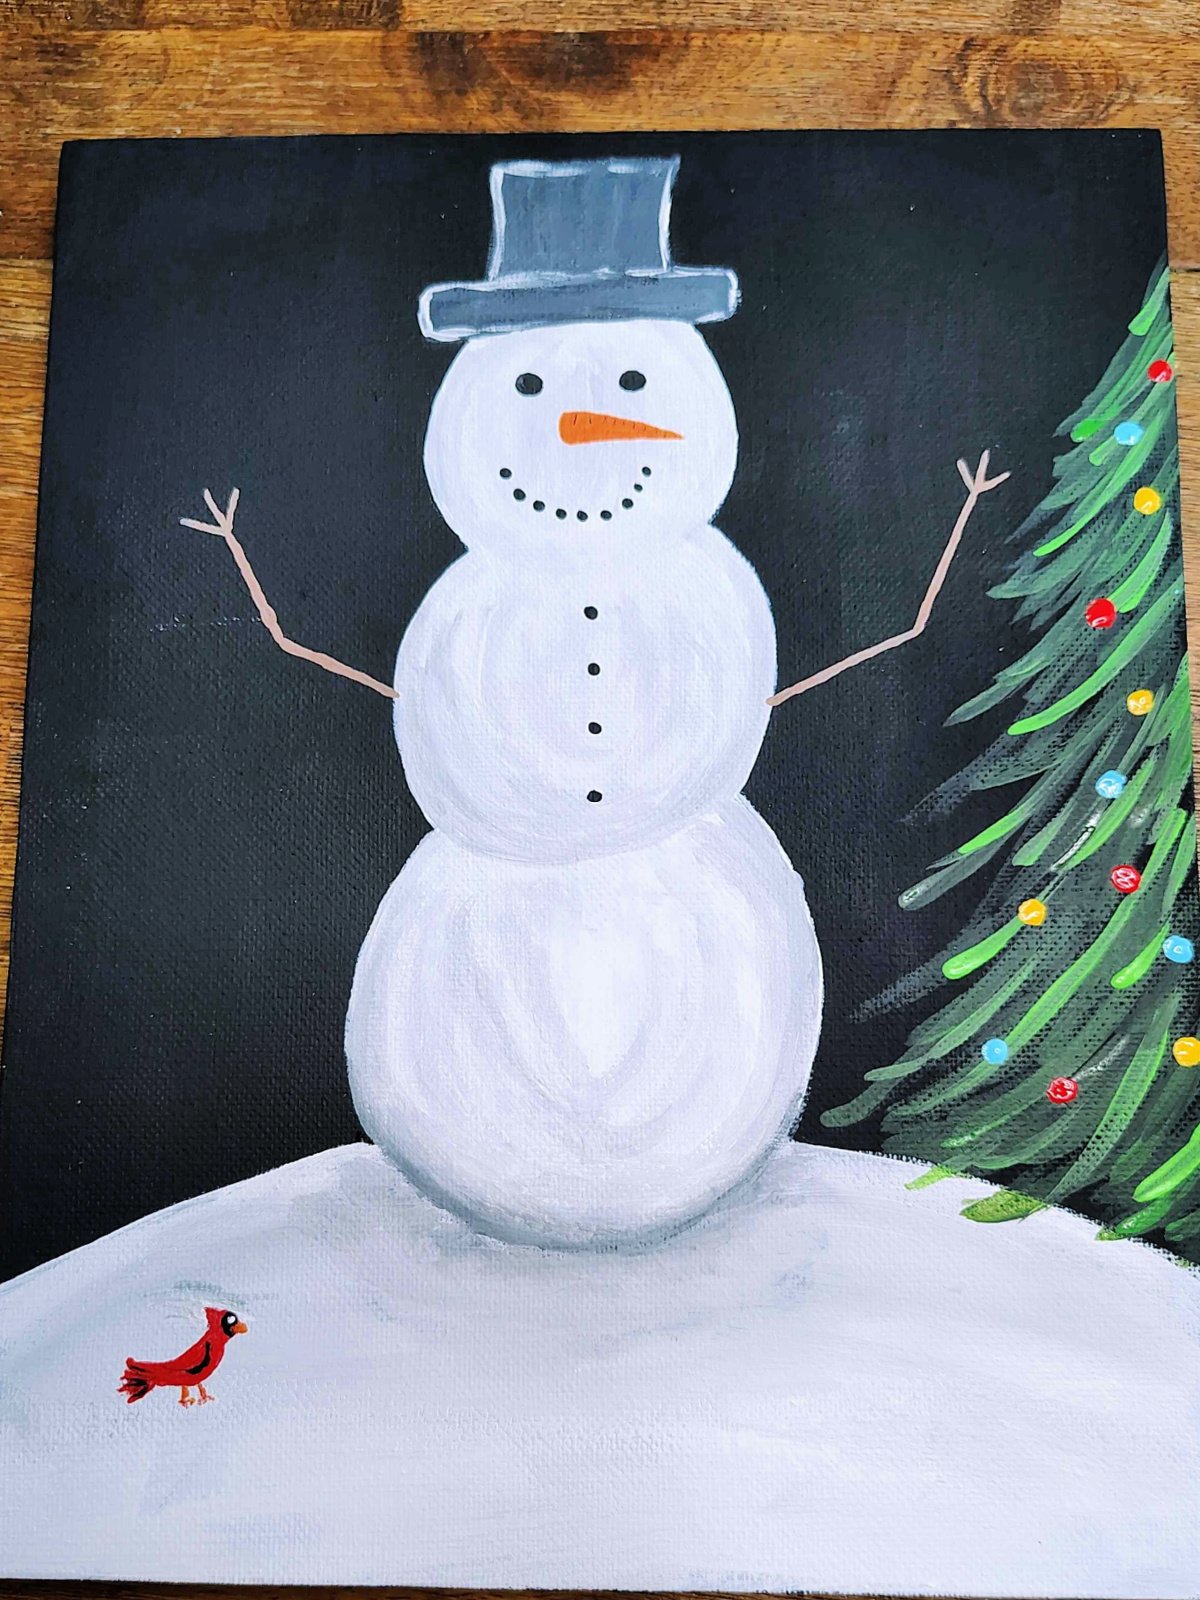
Step 12
Add dots of color to the tree to make ornaments.
Step 13
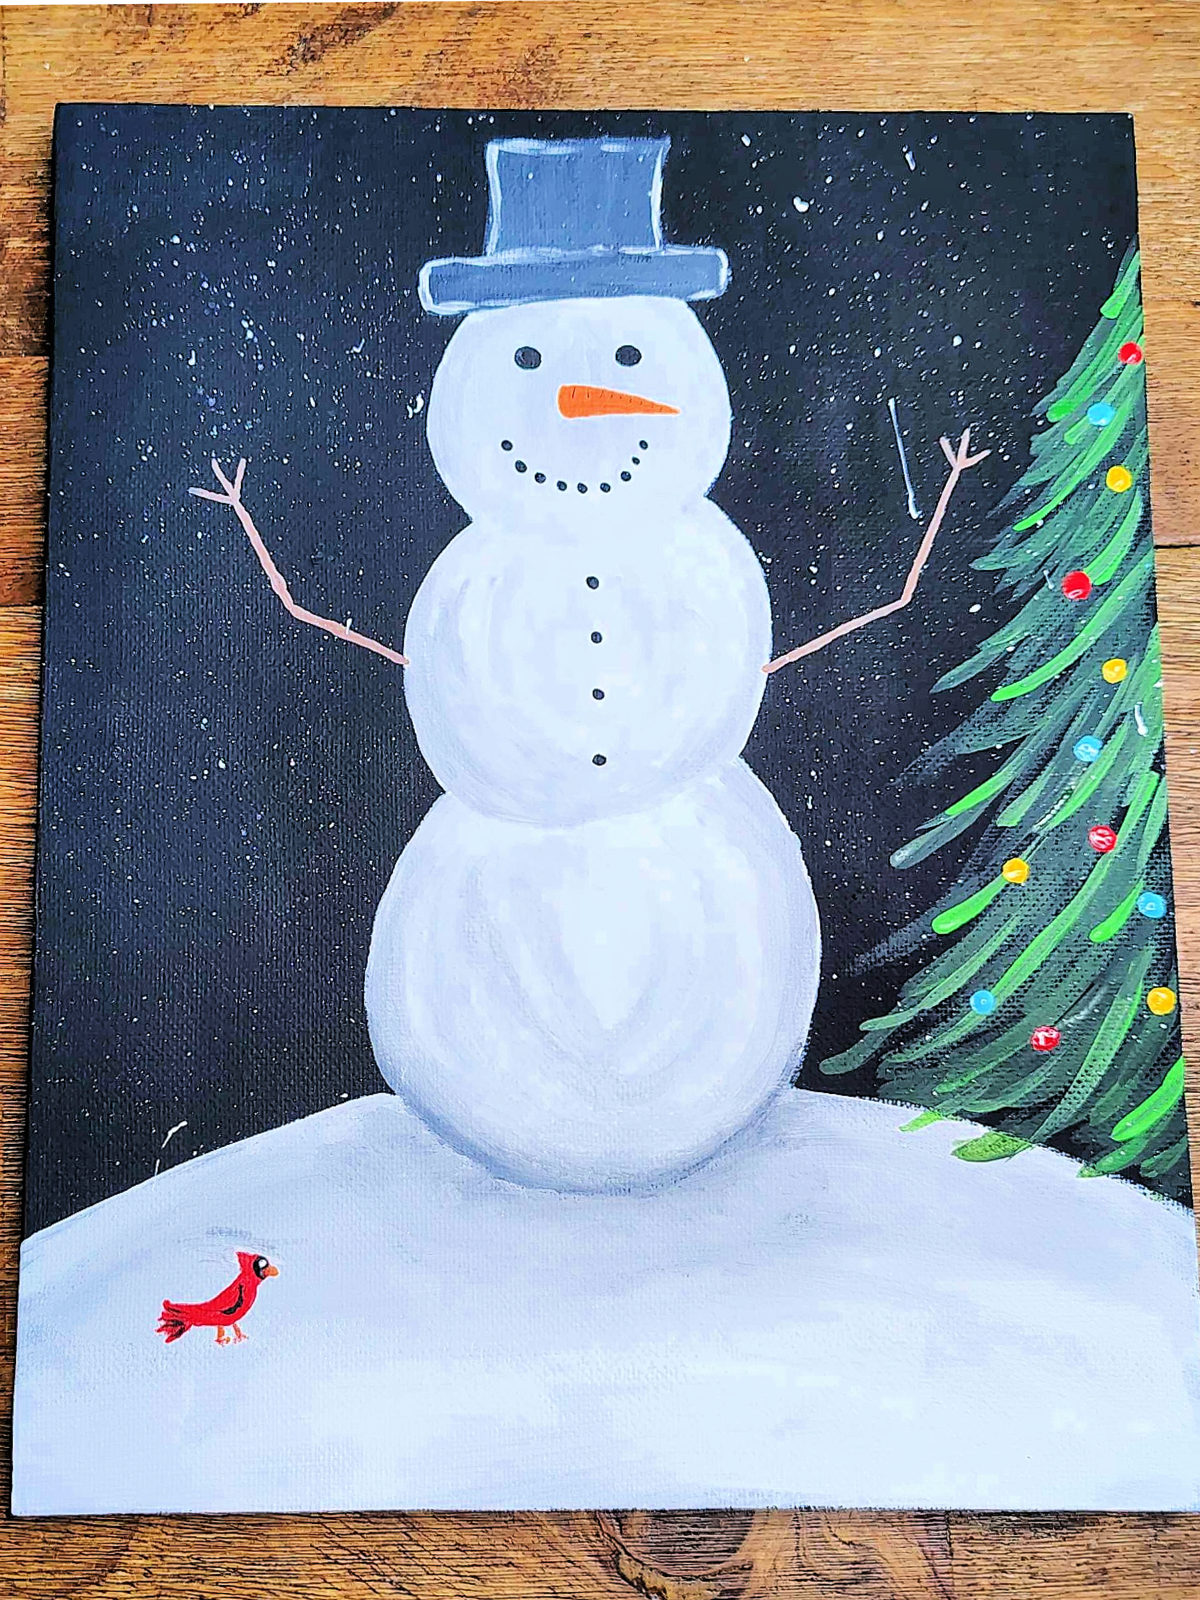
Lightly brush white paint onto a brush and then flick it on the painting to create snow. And you’re done!
How To Make This Snowman Craft Your Own
Just like all our crafts you can change things up to make this Christmas craft your own. You can do things like:
- Add glitter for snow.
- Actually paint detailed snow flakes.
- Change the color of the hat.
- Add presents under the tree.
- Add a star to the top of the tree.
- Put mittens and a scarf on the snowman.
Snowman Craft For Kids
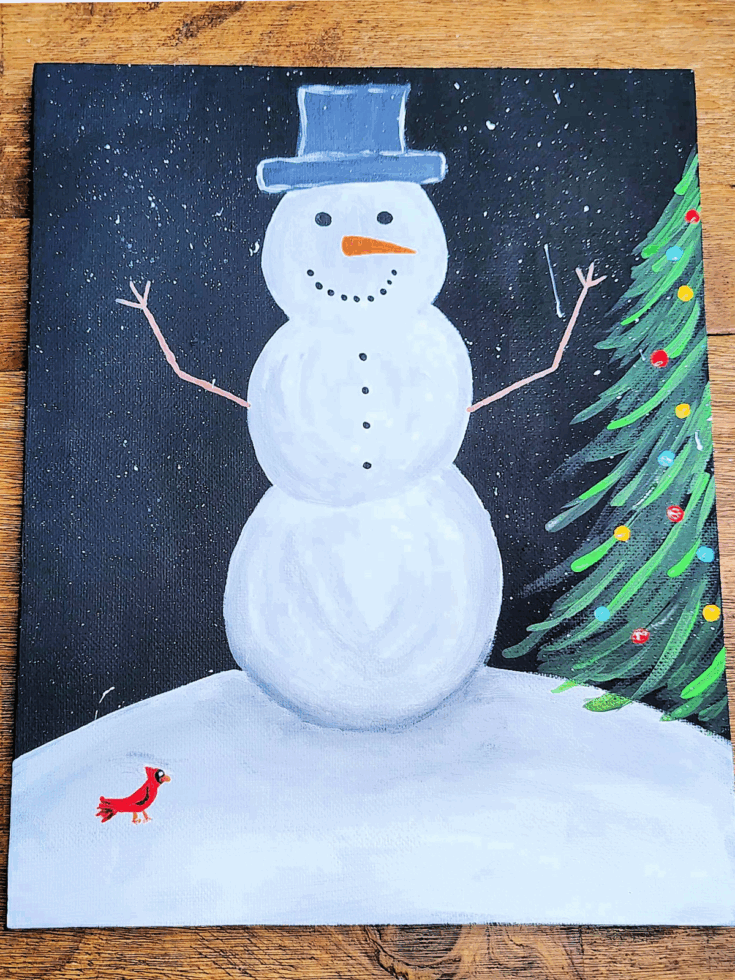
Let's make a snowman painting! It's simple, easy, and fun. Grab your acrylic paints and paintbrushes and paint a snowman on canvas to hang up as Christmas decor.
Materials
- Canvas
- Acrylic Paint
- Paint Brushes
Instructions
- Paint your canvas black. Let it dry.
- Paint the snow across the ground using white paint.
- Paint your snowman white.
- Add detail to your snowman’s body using light gray. I painted details around each segment of the body, the bottom being the darkest.
- Paint darker details on the ground using a lighter gray to create a shadow of the snowman.
- Paint darker details on the ground using a lighter gray to create a shadow of the snowman.
- Use black paint to paint dots to make charcoal eyes, mouth, and buttons, and orange to create a carrot nose.
- Use light brown to make arms and hands for the snow man.
- Use light gray to add a hat on the snowman.
- Use a darker gray over the lighter, before it dries, and then outline it with white.
- Add strokes of dark green to start making a Christmas tree. Now, add a lighter green over that. And an even lighter green over that.
- Paint a red bird on the snow. I free hand this by essentially giving it a pointed head, half circle body, and added feathers. Add black to it’s face with a white eye, an orange beak, and orange feet. Use black to outline the tailfeathers and the wing.
- Add dots of color to the tree to make ornaments.
- Lightly brush white paint onto a brush and then flick it on the painting to create snow. And you’re done!
More Snowman Crafts From Kids Activities Blog
- Make this silly salt dough melted snowman craft.
- We also have a snowman coloring page too.
- You can make snowmen with Styrofoam cups.
- We have 50 festive snow man crafts and activities.
- Try making these fun snowman pudding cups.
- You’re going to love these snowman soup printables.
- We have even more snowman coloring sheets.
- Wow, these DIY kid-sized wooden snowman are so cute.
- Make a super easy snowman using a toilet paper roll.
How did your snowman craft turn out? Did you have fun with this snowman painting?


0